Wire Looping Pliers Guide: How to Choose, Use, and Make Perfectly Uniform Loops and Jump Rings
yassy
Crafters!

Hello! It's Yassy from Crafters! (・∀・)
I love making all kinds of handmade items, and I equally love seeing and buying the amazing creations crafted by talented artists. Because I've encountered so many wonderful pieces over the years, I truly appreciate every day how much the right tools can impact the final quality of a project.
When making wire jewelry, have you ever run into frustrating issues like your earring hooks not matching as a pair, or your wire components coming out in completely different sizes and curves when you try to make multiples of the same design? Trying to create identical curves and intricate patterns using only hand-feel is exhausting, even for seasoned crafters.
The secret weapon that solves this dilemma in an instant is a wire bender (commonly known as a wire jig). By using a wire bender properly, anyone can produce identical, gorgeous wire components over and over again without the slightest discrepancy. In this guide, I will walk you through everything from the fundamentals and types of wire benders to how they differ from pliers, how to pick the right one, and practical tips for using them effectively!
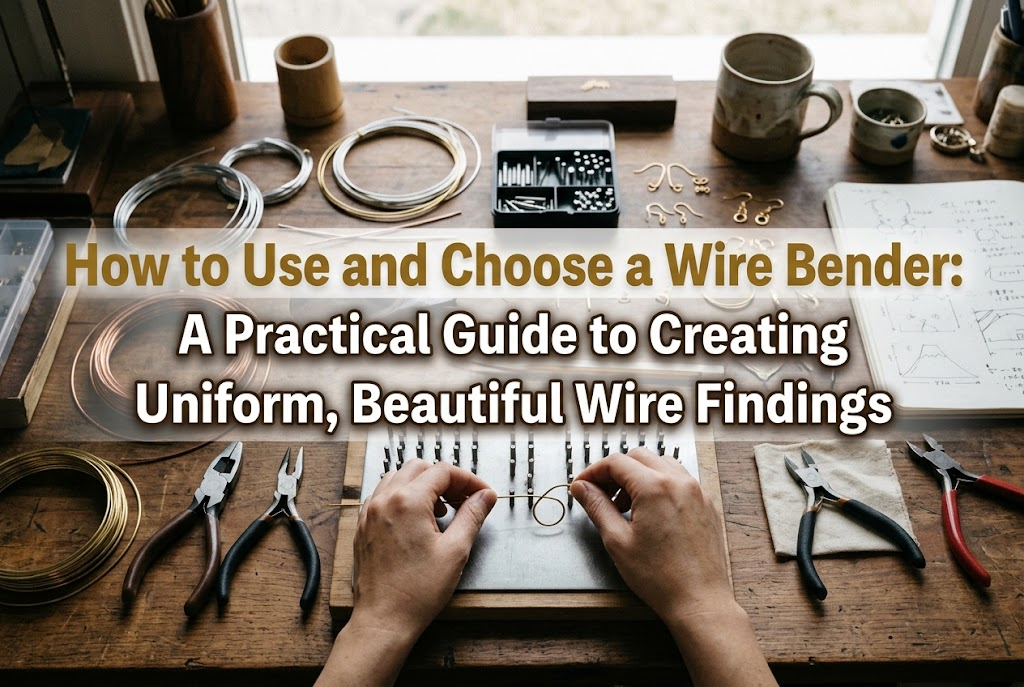
A wire bender—often called a wire jig or wire-bending tool—consists of a baseplate with a grid of holes into which you insert pegs (or pins). By guiding and bending wire around these arranged pegs, you can shape it into your exact planned design.
When you bend wire relying solely on finger pressure or round-nose pliers, subtle shifts in angles and curve sizes inevitably occur each time. With a wire bender, however, the pegs act as fixed guides, allowing you to reproduce accurate, machine-like shapes effortlessly.
The beauty of wire jewelry lies in precision and repeatability. For pairs of items like earrings, or multi-link necklaces where several identical motifs are connected, uniform components are an absolute requirement for a professional finish. A wire bender is a must-have tool that instantly elevates your craft to a professional standard, even if you are a beginner.
A wire bender is much more than a simple wire-curling gadget. By changing the placement and number of pegs, you can unlock endless designs. Here are some of the main components you can create:
One of the most frequent uses in jewelry making is crafting custom earring hooks and ear wires. When commercial findings don't quite fit your design aesthetic, you can make your own. A wire bender ensures that the left and right hooks share the exact same curve, height, and loop size with zero guesswork.
Custom connectors for linking gemstones and beads are another specialty of the wire bender. When you need a large batch of S-links or figure-eight components, weaving the wire sequentially across the pegs allows you to mass-produce uniform chain elements in very little time.
Shapes like hearts, stars, triangles, and crosses—which can be notoriously tricky to shape evenly by hand—can be formed cleanly just by placing your pegs and wrapping the wire around them. You can then attach beads inside these wire frames or fill them with UV resin, dramatically broadening your design horizons.
In wire wrapping, where natural stones or cabochons are encased in wire, a wire bender is extremely useful for forming the outer perimeter frame. By arranging the pegs to match the stone's silhouette, you create a solid, wobble-free base frame to build upon.
Wire benders come in several materials and builds. Understanding their traits will help you pick the model that best matches your workflow.
These jigs feature clear or translucent acrylic/plastic plates. Their biggest advantage is transparency: you can slip a sheet of graph paper or a printed design pattern directly underneath the baseplate and position your pegs right over your lines.
They are affordable and lightweight, making them an approachable first choice for beginners. However, because plastic is less durable than metal, attempting to bend heavy-gauge wire (such as 18-gauge or thicker) with excessive force can wear down the peg holes or cause the pegs to lean.
Crafted from aluminum or metal alloys, these jigs are ideal for serious crafters and professionals. They offer exceptional strength, ensuring the base won't bend or distort even when working with thick wire under high tension.
Their substantial weight keeps the base firmly planted on your workspace, allowing for stable, controlled bending. While built to last a lifetime, you cannot see through the base, meaning you'll need to map out your peg positions by counting holes rather than tracing templates from underneath.
Wooden benders have a warm, natural aesthetic that blends nicely into home craft spaces. However, wood is prone to warping from moisture or humidity, and the peg holes can loosen over extended periods of use. Take caution if you plan to make delicate, high-precision jewelry findings.
In addition to wire benders, there are several other shaping tools in wirework. Knowing how they differ and when to use each one will maximize your efficiency and quality.
Pliers are handheld tools used to grip and curve wire according to your hand's intuitive touch. While essential for freehand bends, custom angles, and micro-adjustments, relying entirely on human perception makes replicating the exact same shape dozens of times very difficult.
In contrast, a wire bender serves as a fixed jig to lock in consistency. The most efficient approach is to shape the overall silhouette on your wire bender, and then use your pliers for terminal loops and fine-tuning angles.
Wire mandrels are solid, cylindrical (or stepped) rods used to coil wire into uniform circles, jump rings, or loops. When you need consistent round rings, mandrels are far superior.
Wire benders, on the other hand, excel at designs that involve multiple curves, sharp corners, and continuous flowing patterns across several fixed points. If you need clean circular loops, reach for a mandrel; if you want graphic, multi-point shapes, choose a wire bender.
Stepped looping pliers feature barrel-shaped jaws of various diameters, which are wonderful for making consistent loops one at a time. However, they can only form a single loop per squeeze. Creating continuous wave motifs or combining multiple curves in one seamless sequence is a capability unique to wire benders.
Not all wire benders are created equal. Buying without checking the specs can leave you with peg holes spaced too far apart or an inadequate selection of pegs. Keep these points in mind when choosing:
The holes on a baseplate are typically arranged in either a straight grid (checkerboard) or a staggered (zigzag/offset) pattern. Grid layouts make it easy to form straight lines and right angles, whereas staggered layouts are better suited for smooth, flowing curves and rounded motifs.
For beginners, a baseplate featuring a combination of both grid and staggered sections is ideal, as it gives you the greatest design versatility.
The versatility of your wire bender is determined by the pegs that come with it. Look for a kit that includes a wide selection of diameters—ranging from slender pegs (around 1.5 mm to 2 mm) for tight loops to wider pegs (5 mm to 10 mm or more) for sweeping arcs.
Some kits also supply square or triangular pegs, which allow you to craft motifs with crisp, sharp geometric corners effortlessly.
If you are just starting out, choose a set that includes template pattern sheets or a pattern guide. In the beginning, it can be hard to visualize which peg arrangement yields a specific shape. Having guides that show you exactly where to insert your pegs to form hearts, loops, and petals ensures great results from day one.
For jewelry making, a compact baseplate around 10 cm × 10 cm (approx. 4″ × 4″) is the most comfortable size. Oversized plates clutter your workspace and can be unwieldy to rotate in your hands as you wrap wire around the pegs.
Once you have your wire bender, following the correct technique is crucial. If you pull haphazardly, the wire will ride up the pegs and twist out of plane. Here is the standard process:
Plan your design and press the pegs into the corresponding holes on the plate. Make sure each peg is seated straight and fully pushed into the base so it won't tilt under tension.
Catch the leading end of your wire around the starting peg. Secure it firmly with your thumb or anchor it in a dedicated starting hole (if your jig has one) so the wire doesn't slip as you begin.
This is the most critical step: when bending the wire around a peg, never pull from high up on the peg. Pulling upward causes the wire to lift diagonally off the board.
Always apply pressure with the pad of your thumb or finger right at the base of the peg, holding the wire flat against the plate as you bend it around. Take your time, wrapping firmly around each peg one by one.
Once the wire has traveled around all designated pegs, hold the motif carefully to prevent it from shifting, and cut off the excess wire using flush cutters. Tidy up the cut ends with flat-nose pliers if needed.
Lift the wire motif straight up off the pegs. Pulling at an angle will distort your finished shape.
Once removed, the natural spring of the wire may cause it to sit slightly unevenly. Lay it on a flat work surface and press down gently with an acrylic block or smooth flat pliers to make sure it is completely flat.
A common hurdle beginners encounter when using wire benders is "springback." Understanding how professionals manage this will take your work to the next level.
Metal wire is inherently resilient; when you release finger pressure after a bend, it naturally springs outward a fraction of a millimeter. To counter this, wrap the wire slightly past your target angle around each peg. Learning this slight overbend gives you crisp, accurate angles every time.
Straight off the jig, your wire component is relatively soft and can easily bend out of shape if tugged. To give it structural integrity, use work-hardening.
Place your finished piece onto a steel block or bench anvil, then tap it evenly with a nylon/rubber mallet or a flat chasing hammer. Hammering compresses the metal's internal grain structure, significantly increasing its strength. Tapping with a metal hammer also adds subtle reflective facets that give handmade wire components an elegant, high-end look.
Here are three frequent issues newcomers face and how you can prevent them:
Cause: Pulling the wire from the middle or top of the pegs rather than near the baseplate.Solution: Keep your finger right against the plate's surface at all times. Use your non-dominant hand to keep the wire flush to the plate while your dominant hand guides the bend.
Cause: Forcing the wire roughly against the metal pegs or gripping too hard with bare steel pliers.Solution: Guide the wire using the pads of your fingers. When tools are necessary, opt for nylon jaw pliers or silicone-tipped tools. Using high-quality coated craft wire (such as Artistic Wire) also helps prevent flaking.
Cause: Pulling upward on the wire while bending, which dislodges the peg from underneath.Solution: Only direct your force in two directions: sideways around the peg and downward toward the plate. Avoid any upward pull.
To enjoy wire crafting safely, keep these basic safety guidelines in mind:
Here are a few creative project ideas to spark your imagination once you get your hands on a wire bender:
Arrange pegs in an alternating zigzag row and weave your wire back and forth to create a fluid scalloped chain. By stitching seed beads or small gemstones into the gaps between the waves, you can build a stunning, intricate bracelet that looks store-bought.
Place pegs at key pivot points to form script-style initial pendants. Guiding the wire in a continuous, one-line flow creates personalized alphabet charms for necklaces and keyrings.
Create identical chandelier teardrops or open lantern frames, then suspend small briolettes or gemstone drops along the bottom rim. Because the left and right frames will match identically down to the millimeter, your earrings will achieve that coveted boutique-level finish.
In this guide, we explored how a wire bender works, how to choose the right one, and practical tips for getting flawless results.
Relying purely on hand-feel has its limits when symmetry and repetition are key. Adding a reliable wire jig to your studio frees you from the headache of mismatched findings and inconsistent batches.
Once you experience the joy of shaping crisp, identical curves and delicate wire motifs effortlessly, wirework becomes even more addictive! High-precision components give your entire finished jewelry line a polished, professional edge that you can share or sell with absolute confidence.
Add a wire bender to your jewelry toolkit and enjoy exploring the elevated world of wire design!
If you found this guide helpful, please feel free to share it with your fellow makers on social media! See you in the next article—this was Yassy from Crafters!





For example, if you are looking for articles about mizuhiki, try searching for "mizuhiki"; if you are interested in tools, try keywords like "nippers" or "pliers."
