Level Up Your Japanese Craft Band Weaving: The Exact Order to Upgrade Beyond Starter Kit Tools
yassy
Crafters!

Hello, crafters! This is Yassy from Crafters! (・∀・)
Whenever I pick up a piece of handcrafted leatherwork, my eyes instantly gravitate to one specific detail: the cut edge, known in Japanese leathercraft as koba (コバ).
I personally love making, admiring, and collecting handmade crafts of all kinds. When exploring handmade markets or artisan shops, whenever I find a handsome leather piece, I always examine the edge finish closely. A piece with meticulously burnished, glossy edges immediately radiates high-end craftsmanship and thoughtful care.
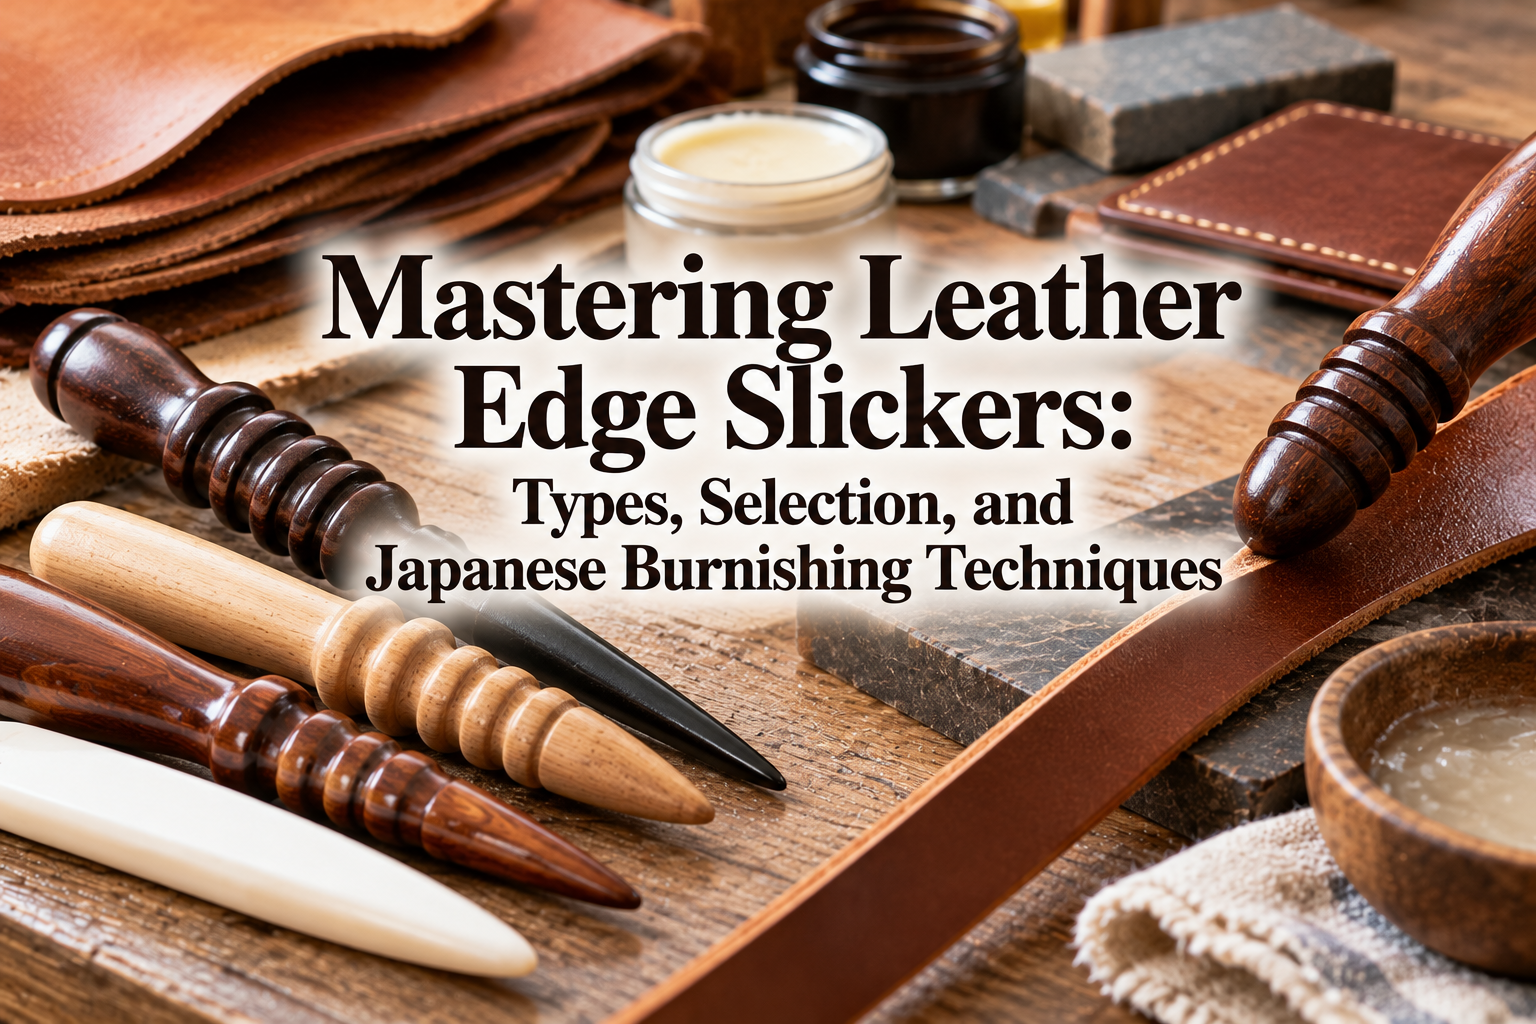
The indispensable tool for transforming raw cut edges into smooth, gleaming surfaces is the leather burnisher—often called an edge slicker (or heri-migaki / koba-migaki in Japan).
At first glance, it might look like a simple grooved wooden stick. However, understanding what this tool does and how to choose the right one is the fastest route to elevating your leathercraft projects from amateur to exceptional. In this guide, I will walk you through the role of edge burnishers, the different types available, how to choose the best one for your workshop, and key techniques to avoid common pitfalls.
An edge slicker (burnisher) is a specialized tool used to rub against cut leather edges, generating friction that compresses the loose fibers and produces a smooth, natural sheen.
Right after leather is cut, its raw edge reveals fuzzy, rough, and uneven fibers. Leaving edges untreated not only looks unfinished, but ongoing friction from daily use will cause the fibers to fray and degrade over time.
Polishing edges with an edge burnisher serves three essential purposes:
An edge slicker is not just a cosmetic tool; it defines both the visual beauty and the physical longevity of your work.
Edge burnishers come in various materials and shapes. Understanding their characteristics will help you find the ideal companion for your crafting style.
The most classic and widely used burnisher in leathercraft is made of wood. Wood offers balanced heft and firmness, generating ideal friction against vegetable-tanned leather.
The performance depends heavily on the wood species used. Tools crafted from dense, hard hardwoods such as ebony, rosewood, or pakkawood have extremely fine surfaces that resist wear, yielding an exceptional high-gloss sheen.
Inexpensive wood slickers may feature rough grain inside the grooves, requiring you to sand them smooth before first use. If you want to dive deeply into leathercraft, I recommend investing in a dense hardwood slicker right from the start.
These burnishers are made of clear acrylic or specialized resin.
Their greatest advantage is transparency: you can see right through the tool while working. This allows you to monitor how the leather edge compresses and whether finishing compounds are spreading evenly in real time.
They are also much easier to clean with water than wood, preventing dried gum or edge finishes from building up. Keep in mind that resin tends to produce less friction heat than wood, meaning you may need a few more back-and-forth passes to achieve the same gloss.
Thick, rectangular glass plates with beveled, smooth edges are also popular burnishing tools.
They excel at flattening long, straight edges in a single stroke, as well as smoothing down flesh-side (toko-men) fibers across large surfaces when used with gum tragacanth or burnishing agents like Tokonole.
Unlike grooved stick slickers, a glass plate applies even, flat pressure across a wide contact area.
These are wooden grooved attachments mounted onto mini rotary tools (such as Dremel tools).
Instead of manual back-and-forth rubbing, high-speed motor rotation generates instant friction heat. They save massive amounts of time when working on long edges, such as belts, bag straps, or perimeter edges of large wallets.
However, excessive rotational speeds can scorch burnishing compounds or discolor leather. Controlling tool pressure and rotation speed requires practice and patience.
Edge finishing involves a variety of tools and compounds that can confuse beginners. Here is how edge slickers differ from related items:
Finishing agents such as Tokonole (a staple in Japanese leathercraft) or edge coats are liquid or paste materials designed to bind leather fibers. The edge slicker is the mechanical tool used to apply pressure and friction over these agents.
Applying a burnishing agent alone will not create a hard, glossy edge; it requires the friction of an edge slicker to activate and compress the fibers. The two must work together as a team.
Sandpaper physically shaves away leather to level uneven surfaces. An edge slicker does not cut or abrade; it compresses and compacts fibers. Sandpaper establishes the shape; the slicker polishes it. One cannot replace the other.
Rubbing edges with folded heavy canvas cloth is another traditional technique. Canvas is flexible, making it ideal for tight curves and complex contours. The most efficient method is using an edge slicker first to firmly mold and compact the edge, followed by canvas for a final, mirror-like buff.
With so many slickers available, here are three essential criteria to guide your first purchase:
Your first tool should definitely be a stick-shaped wooden slicker featuring multiple groove widths along its body. Leather thickness varies widely across projects: a card sleeve might be 1.5–2.0 mm, while coin pocket gussets or bag handles can reach 4.0–6.0 mm or more. A slicker with four to five distinct groove sizes will handle almost any small leather goods project.
Look for a slicker with an elongated, tapered point. This narrow tip is invaluable for burnishing small, restricted areas, such as the inner rim of key fob holes or tight coin purse corners.
Avoid budget tools that show visible machining marks or ridges inside the grooves. Rough grooves will scratch your leather rather than polish it. Dense hardwoods like ebony or rosewood usually come pre-polished, offering substantial weight in hand and glass-smooth grooves.
Burnishing is not about brute force. Follow these five steps for consistent, professional results:
When two or more layers of leather are glued together, slight alignment discrepancies are inevitable. Level the edge first. Bevel the sharp corners slightly using an edge beveler (heri-otoshi), then sand the edge flat with 300- to 600-grit sandpaper until the seam disappears. This preparation determines 80% of your final finish quality.
Using a fingertip or an awl, apply a very thin coat of finishing agent (such as Tokonole) along the prepared edge. Too much agent will spill over onto the grain surface and cause staining. Spread just enough so the edge feels slightly moist.
Once the agent is semi-dry, place the leather edge into a groove that matches its thickness precisely. If the groove is too deep, it will miss the corners; if too shallow, it will squash and mushroom the leather. The leather should lightly touch the bottom of the groove while the sloped walls gently cradle both corners. Move the slicker back and forth in quick 5–10 cm strokes.
The golden rule of burnishing is to keep downward pressure minimal. Edge slickers work through friction heat, which reacts with the tanning agents in vegetable-tanned leather and the burnishing compound to harden the fibers. When you ease up on downward force and increase stroke speed, you will hear a high-pitched, satisfying squeak—proof that gloss is forming.
A single pass usually leaves slight surface irregularities. Once dry, lightly graze the edge with fine 1000+ grit sandpaper, reapply a micro-layer of agent, and burnish once more. Repeating this cycle two or three times yields a deep, glassy finish.
Cause: Pressing down too hard with the slicker. Heavy pressure squashes softened leather fibers outward, creating a flared, mushroom-cap profile.Solution: Lighten your grip immediately. Let the slicker glide quickly over the surface. If flared, sand the sides flush again and re-burnish with light pressure.
Cause: Applying too much agent, which overflows from the groove onto the top surface of the leather.Solution: Apply sparingly with a fingertip or cloth. If excess spills onto the grain, wipe it away immediately with a damp, tightly wrung cloth before starting to rub. Once dry, stains become permanent.
Cause: Inadequate sanding before burnishing.Solution: Friction cannot flatten rough ridges underneath. Pause burnishing, sand the edge thoroughly until it feels silky-smooth to the dry touch, and restart the process.
The edge slicker is one of the most fundamental yet deeply nuanced tools in leathercraft. Once you select a quality tool and learn to rely on speed and friction heat rather than heavy pressure, your leather edges will display a clean, dignified luster that turns every handmade item into an heirloom piece.
If you found this guide helpful, please share it with your fellow leathercraft enthusiasts! Until next time, happy crafting—this was Yassy from Crafters!


For example, if you are looking for articles about mizuhiki, try searching for "mizuhiki"; if you are interested in tools, try keywords like "nippers" or "pliers."
