Japanese Glass Art Upgrade Guide: 4 Essential Tools to Replace After Your Starter Kit
yassy
Crafters!

Hello, this is Yassy from Crafters! (・∀・)
I personally love making all kinds of handmade crafts, admiring gorgeous pieces at shops and exhibitions, and buying works from my favorite makers! With its glass-like clarity and vibrant colors, glass art is truly enchanting—just looking at it gets me excited.
Glass art is a wonderful craft that lets you easily enjoy the beauty of stained glass. However, when starting out, many crafters run into common problems: “The cut edges of my film look jagged and messy,” “Curves come out warped instead of smooth,” or “The corners don't line up neatly.”
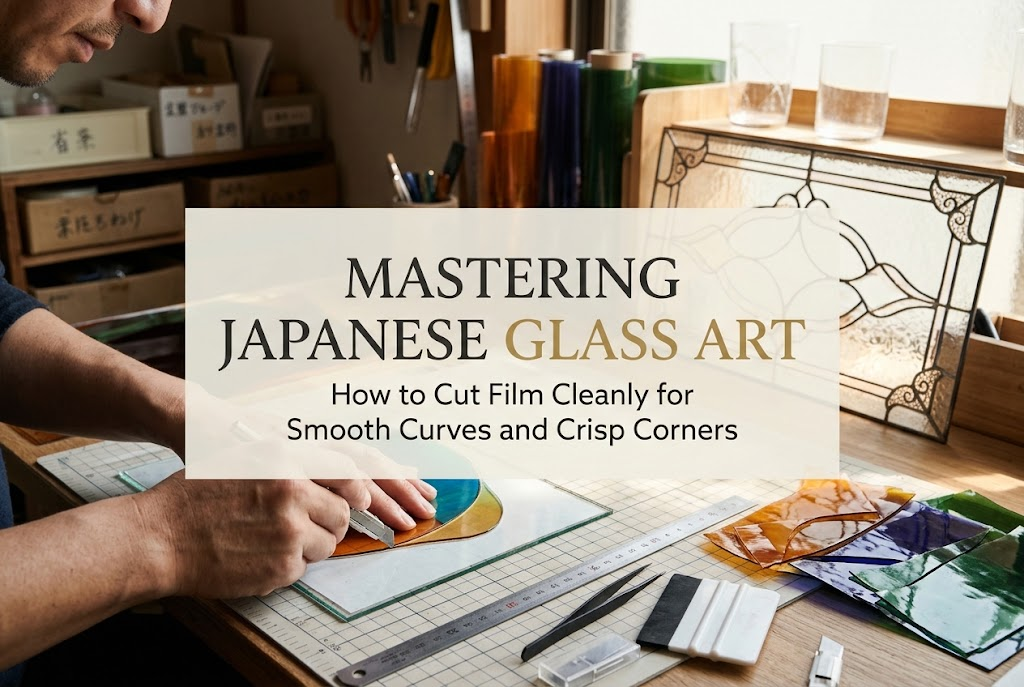
Film cutting is the single most critical process that dramatically changes the final look of your glass art. When your cuts are clean, the lead lines (lead tape) placed on top fit perfectly, giving your work a professional finish. In this article, I’ll share all the techniques and know-how you need to cut glass art film smoothly and with absolute precision!
Why do we need to be so meticulous about film cutting accuracy in glass art? Simply put, cutting precision directly affects not only the appearance of your work, but also its durability over time.
Glass art is created by applying specialized decorative film onto a base of glass or acrylic, and then applying lead lines along the borders (seams). If your cut lines are crooked or have frayed, jagged edges, several major issues can occur.
First, the rough cut edges might stick out from under the lead lines. Lead lines have a fixed width, so if your cuts stray too far off mark, film shavings or excess material will peek out from the edges. No matter how lovely your design is, this immediately makes the piece look amateurish.
Second, imprecise cuts can cause the film to lift or peel. If the cut edge isn’t clean and perpendicular—such as when a blade cuts at a slant and stretches or crushes the film edge—it won't adhere tightly to the glass. Air gets trapped underneath, and over time, the film begins to peel away.
Mastering clean, accurate film cutting is an absolute requirement for advancing your glass art skills. Once you master cutting, the overall quality of your work will jump to a whole new level.
Cutting film cleanly requires more than just practice and willpower—using the right tools is a fundamental prerequisite. If you compromise on tool selection, you won't achieve clean cut lines no matter how much you practice. Here are the essential items I arrived at after testing various tools myself.
For cutting glass art film, always use a pen-style design knife (craft knife) rather than a standard utility box cutter. Because the handle is thick and held like a pen, it gives you far superior control over fine details.
The most important factor here is the blade angle. Design knives usually come with either 30-degree or 45-degree blades. For glass art film cutting, choosing a 30-degree blade with a sharp, pointed tip is the correct answer. The narrow tip keeps your view unobstructed so you can follow intricate curves easily.
Furthermore, blade sharpness is critical. Please never keep using a dull blade just because "it still cuts." A dull blade crushes and tears the film instead of slicing it cleanly, which is the primary cause of jagged edges. Be decisive enough to switch to a fresh blade for every new project you make.
For straight cuts, always use a metal ruler (such as stainless steel) or a ruler with a built-in cutter guide. If you use a plastic ruler, the blade can ride up the side and shave off the plastic, damaging the ruler and causing dangerous, crooked cuts.
Choosing a ruler with a non-slip backing will completely prevent slipping during work. If your ruler lacks anti-slip backing, reinforce it by applying masking tape or anti-slip rubber sheets to the underside.
A proper cutting mat under your work surface is also essential. Use a craft or glass art cutting mat that offers moderate firmness and resilience. If the mat is too soft, the blade sinks in too deep, dragging the film and creating a messy cross-section.
Once you have your tools ready, it’s time to understand the unique characteristics of the glass art film you will be cutting. Knowing your material allows you to cut smoothly without exerting unnecessary force.
Glass art film is not just a simple colored sticker. It features a multi-layer structure composed of specialized polyester or vinyl layers designed for high light transmission, a UV-blocking layer to prevent fading, a strong adhesive layer, and a release backing paper.
Because of this multi-layer design, there is a distinct resistance when cutting. Pay special attention to film stretch. Applying excessive pressure or pulling the film with a dull blade causes the film to stretch out, after which it shrinks back and ruins your dimensions.
Temperature also affects film hardness. In a cold room during winter, the film becomes stiff, making it prone to cracking or resisting the blade. In hot summer weather, it becomes overly soft and stretches too easily. Working in an environment around 20°C (68°F) is a hidden key to achieving beautiful cuts.
Now, let's look at specific cutting steps and techniques. First up is straight-line cutting, which forms the foundation of all crafts. When your straight lines are crisp, the overall sharpness of your piece increases instantly.
Wobbly lines during straight cuts are usually caused by incorrect posture or grip. Hold your design knife slightly more upright than a pencil, maintaining an angle of roughly 45 to 60 degrees. Tilting it too low increases blade surface resistance, while holding it too vertical puts excess load on the tip, making it prone to snapping.
Avoid trying to move the knife using only your wrist. Keep your upper arm tucked close to your side and pull the knife using your entire arm from the elbow. This allows you to glide the blade at a consistent pressure and speed from start to finish.
Position your ruler, then press down firmly and vertically with your non-dominant hand. The secret is to apply pressure using your entire palm, not just your fingertips.
For the hand holding the knife, aim for a balance of 30% downward pressure and 70% backward pulling force. Guide the side of the blade gently along the edge of the ruler, but do not push outward against the ruler, as this can cause the ruler to shift and bend your line.
When cutting, never pause mid-stroke. Slicing through in one clean, continuous motion is the golden rule. If it doesn't cut through completely in one stroke, gently re-trace the exact same groove without moving the ruler.
Petals, waves, and organic curves are among the most frequent shapes in glass art designs. If your curves end up jagged, you might be misunderstanding the core technique. Let me share my secret "Swivel Method"!
The single biggest secret to cutting curves is keeping your knife hand fixed while rotating the film along with your cutting mat. Trying to turn your wrist while cutting inevitably hits the limit of your joint motion, causing the blade to catch and create jagged edges.
For right-handed crafters, keep your right hand holding the knife fixed at a stable position in front of you. Once the blade tip touches the film, use your left hand to slowly rotate the cutting mat or film itself. The knife stays at a constant angle relative to the cutting direction, while the film naturally passes under the blade.
Once you master this film-rotation technique, you will be able to cut amazingly smooth, elegant curves. Make sure to clear a wide work area so your cutting mat can spin smoothly without hitting anything.
When cutting tight curves (such as small circles), slow down your movement. Rushing to turn the piece quickly will cause the blade to tear the film and slip outward.
For small curves, hold the blade tip slightly more upright and carefully rotate the film around the turning axis. For wide, gentle curves, lower the blade angle slightly and rotate smoothly with longer, relaxed strokes. Adjusting blade angle and rotation speed according to the curve's radius is the mark of a pro.
When cutting sharp corners in squares or star shapes, do you try to turn the corner in a single continuous stroke? This is a major mistake! Doing so crushes the corner tip or tears the film, ruining your piece.
The golden rule for crisp, sharp point corners is the "Cross-Cut" (or V-cut), where you bring the blade inward toward the vertex point from both outer directions.
First, cut the first straight line inward toward the corner vertex. Once you reach the tip, lift the knife completely. Next, start the second line from the outside and cut inward toward the same vertex point. Having the two cut lines meet precisely at the vertex point creates a flawless, sharp corner with no gaps.
If you try to cut from the corner tip outward, the blade point is likely to catch, pulling the corner tip up and lifting the film. Always stick strictly to cutting from the outside toward the vertex.
For inner (concave) corners, apply the same principle: bring the blade down toward the vertex from both adjoining lines. What you must watch out for here is overcutting (undercutting past the vertex point).
If you slice past the vertex, the film can split from that cut line after being applied to the glass. When cutting inner corners, slow down about 1 mm before reaching the corner point, then hold the blade almost vertical and drop the tip right into the vertex to finish cleanly.
Even after cutting your film cleanly, don't celebrate just yet! Proper handling and preparation before applying the cut film to glass play a huge role in the final quality of your work.
Inspect the edges of your cut film by holding them up to a light source. If you spot even microscopic film shavings (burrs), gently brush them away with your fingertip or carefully remove them with tweezers.
If you apply film with burrs remaining along the edges, those tiny particles will create gaps between the film and glass, leading to small air bubbles. Get into the habit of running your finger pad gently along the edges to feel for any rough spots.
No matter how beautifully your film is cut, it won't matter if your target glass or acrylic sheet is dirty. Finger oils and ambient dust constantly settle on glass surfaces.
Right before applying film, thoroughly clean and degrease the glass surface using rubbing alcohol (isopropyl alcohol) or a microfiber lens cloth. Wiping with water alone leaves behind skin oils, which significantly reduces film adhesion. Even a single speck of dust can create an unsightly bump on the film surface, so work in a clean, draft-free room.
Here is a summary of common pitfalls beginners encounter in glass art, along with their causes and clear solutions. Check which area you might be struggling with:
Here are a few environment tweaks and handy tricks I use when creating my own glass art pieces! Adopting these will dramatically boost your work efficiency and cutting accuracy.
If you want to push your film cutting precision to the max, I strongly recommend working on top of an LED light table (tracing pad)! Slim light tables are easy to find online.
Illuminating your work from underneath brings pattern guidelines, film overlaps, and micro-gaps into sharp focus. Compared to cutting under room lighting or in shadows, lines become infinitely clearer, allowing you to cut with sub-millimeter precision. Once you experience this comfort, you won't want to work without one!
If you feel nervous about cutting expensive film right away, practice your cuts using scrap pieces left over from previous projects.
Place scrap film on your cutting mat and practice along the grid lines: try cutting 10 straight lines, 5 small and large circles of different radii, and a few S-curves. This helps you get a feel for your knife's sharpness and the tactile feedback of the film, drastically reducing mistakes on actual projects.
As with all crafts, gaining confidence through quick practice runs is the ultimate shortcut to success!
Cutting film for glass art might seem intimidating at first glance. However, by selecting proper tools, paying attention to blade angles, and mastering the fundamentals—like rotating your film for curves and cross-cutting for corners—anyone can achieve amazingly clean cuts.
The feeling of applying perfectly cut film to glass and framing it with glossy lead lines is the ultimate joy of glass art! Seeing your custom art panel or interior accent catch the light like polished gemstones is an experience like no other.
You don't need to aim for 100% perfection right from the start. Begin with smaller, simpler designs and enjoy cutting each piece carefully. As your cutting skills develop, the range of designs you can create will expand, making glass art even more fun!
If you enjoyed this guide, sharing it with your crafting friends on social media would mean the world to me!
Until next time, happy crafting! This was Yassy from Crafters!




For example, if you are looking for articles about mizuhiki, try searching for "mizuhiki"; if you are interested in tools, try keywords like "nippers" or "pliers."
