Why Are Your Japanese Tonbodama Glass Beads Distorted? Causes and Tips for Perfect Spheres
yassy
Crafters!
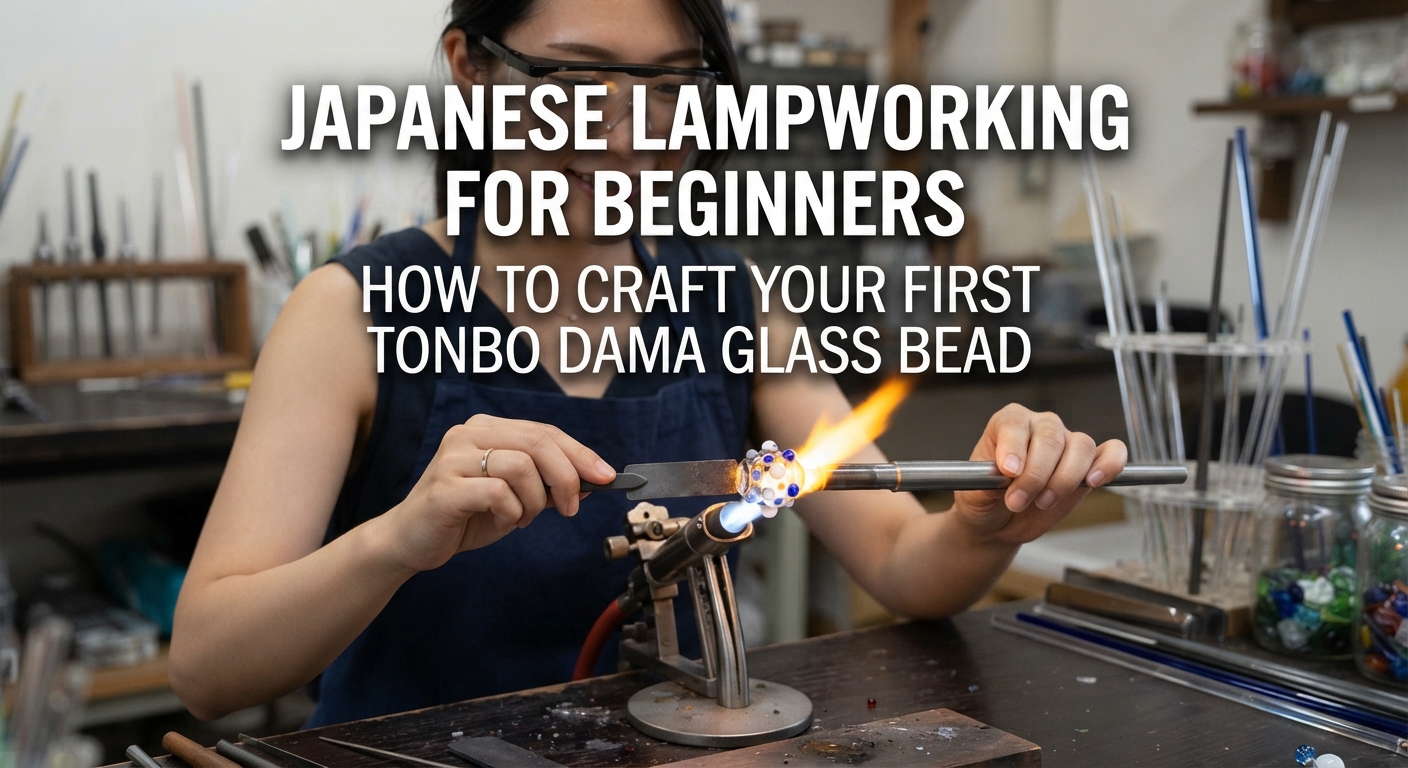

Hello everyone, Yassy from Crafters here!
Lampworking, the craft of melting glass rods over a burner flame to create your own glowing glass beads, is a mesmerizing experience. The vibrant transparency of glass and the unique sensation of seeing it melt like syrup in the flame are enough to captivate anyone who tries it for the first time.
However, when setting up a lampworking space at home, many beginners wonder where to start. You might ask yourself, "What kind of project should I make first? Is it okay to jump right into floral motifs or intricate patterns?"
To answer directly: the very first project a lampworking beginner should tackle is a simple, single-color bead without any patterns, known in Japan as a mujidama (plain bead). Once you can make a perfectly round plain bead, the best next step is to move on to a dot dama (dot pattern bead).
In this guide, I will thoroughly explain why beginners should start with plain beads, the basic techniques needed to achieve a perfectly round sphere, and how to troubleshoot the common mistakes every maker faces!
When you visit shops or exhibitions, you often see stunning tonbo dama (traditional Japanese lampwork glass beads) featuring delicate blooming flowers or intricate spiral swirls inside. Naturally, most people get inspired to start lampworking because they dream of making those fancy beads themselves.
However, attempting complex patterns right from the start is a recipe for frustration. If you try to add patterns before getting comfortable with how melted glass behaves, you won't be able to keep up with temperature control. The glass will warp, or worse, burn out and ruin your work.
All the core fundamentals of Japanese lampworking are packed into making a single-color plain bead (mujidama). You might think, "Isn't it just making a simple round ball?" But in reality, shaping a plain bead into a flawless sphere is the most essential and profound skill in glass bead making.
The process of creating a plain bead includes every fundamental movement needed for lampworking:
Only after these basic movements become second nature will you be ready to apply beautiful patterns. By repeatedly making plain beads, your body will naturally memorize how glass melts and how it sags under gravity.
Once you can consistently craft smooth, round plain beads, the next recommended step is the dot bead (dot dama). A dot bead is created by placing tiny dabs of a different colored glass on the surface of a plain bead to create polka-dot patterns (a technique called ten-uchi in Japanese).
Creating dot beads teaches you advanced heat control: keeping the base bead warm while melting only the tip of a thin glass rod to apply precise dots. Stepping up from plain beads to dot beads allows you to build your skill smoothly and steadily.
To enjoy lampworking safely, thorough setup and safety checks before turning on the burner are essential. Working with glass involves high-temperature flames and glass heated to nearly 1,000°C (1,800°F).
Before starting, always carefully read the instruction manuals for your burner, fuel gas, and air pump. Strictly follow the correct ignition and extinction procedures for your specific equipment, and inspect for gas leaks every single time.
If you have long hair, tie it back securely. Wear long-sleeved shirts and trousers made of 100% cotton to cover exposed skin. Avoid synthetic fabrics like polyester, as sparks can cause them to melt and stick to the skin, causing severe burns. Wearing specialized protective safety glasses to filter flame glare and protect your eyes is non-negotiable.
Finally, ensure adequate room ventilation by running an exhaust fan or keeping windows open before striking a flame.
When making Japanese tonbo dama, you use a stainless steel rod called a mandrel, coated with a clay-like slurry known as bead release (rikeizai). The release agent stops the molten glass from fusing permanently to the metal rod.
A very common trap for beginners is using insufficiently dried bead release. If you place a wet coat or a mandrel whose center is still damp into the burner flame, the trapped moisture will boil rapidly and explode with a sharp pop!
Flying bits of hot release are dangerous, and the exposed bare metal will cause the glass to stick permanently. Always let your coated mandrels dry completely at room temperature or prepare a generous batch in advance.
Here is the step-by-step process for making your first plain bead, alongside practical tips to achieve a beautiful finish.
After lighting your burner, hold the cold glass rod and mandrel near the outer edge of the flame—where the temperature is lower—to warm them up gradually (preheating).
If cold glass is introduced directly into the intense center of the flame, it will shatter violently due to thermal shock. Slowly rotate the glass rod as you bring it closer from a distance, inserting it into the flame only after it is warm enough.
Once preheated, move the tip of the glass rod into the hottest part of the flame, rotating it constantly as it melts. Watch for the tip to soften into a glowing, gather-like drop of warm candy or syrup.
The ideal viscosity is slightly firmer than room-temperature honey. If you melt it until it becomes runny like water, you will lose control over it; if it is too firm, it won't wind around the mandrel smoothly. The key is to keep spinning the glass rod steadily in the flame so the molten glass doesn't drip off.
Gently touch the molten gather of glass onto the coated section of your preheated mandrel. Slowly rotate the mandrel *away* from you (towards the back) to pull and wind the glass onto it.
Instead of pulling or pushing the glass rod forcibly, think of your motion as letting the rotating mandrel guide and roll the glass onto itself. Once you have gathered enough glass, pull the rod slightly thin and flame-cut it. Cutting it directly in the flame separates the glass neatly without tearing the shape.
Right after winding, the glass shape will look uneven and lumpy. Keep rotating the mandrel at a steady pace inside the flame to heat the glass mass uniformly.
As the glass softens, surface tension and gravity will naturally work together to pull the glass into a round shape. If you stop turning the mandrel, the glass will sag downward to one side, so continuous rotation is critical.
If you notice the glass slipping to the right, tilt the mandrel slightly to the left. Using gravity as your ally is the real secret to shaping a perfect ball.
Once you have a clean sphere, pull the bead out of the main flame and rotate it in the air above the flame until the red glow fades (flame-annealing/pre-cooling).
As soon as the bright red glow disappears, bury the bead and mandrel deep into a container filled with an insulating thermal cooling medium (such as vermiculite or perlite). Cooling hot glass rapidly at room temperature causes unequal contraction between the inner core and outer shell, making it crack with a loud snap.
Leaving the bead in the thermal cooling medium for at least 30 minutes to an hour lets it cool down slowly, resulting in a durable, beautiful glass bead.
No matter how careful you are, everyone runs into mistakes at first. But every mistake has a clear cause. Understanding these common failure patterns will dramatically speed up your progress!
This happens when the glass bead loses grip and spins freely on the mandrel, or slides off entirely. The culprit is either improper baking of the release agent or over-heating it.
If you don't preheat the coated mandrel until the release glows slightly red before winding glass, the release layer will flake off the metal and slide with the glass. Conversely, if you keep heating the glass at extreme temperatures for too long after winding, the release agent bakes away and breaks down.
If I were in your shoes, I would pay extra attention to preheating the mandrel *before* applying glass. By waiting until the release agent glows faintly red before bringing the glass to it, you can completely prevent this slipping issue.
Instead of a round sphere, your bead stretches into an elongated football shape or develops raised ridges on the sides.
A rugby ball shape happens when you wind the glass over too wide an area on the mandrel or rotate it too fast. Side ridges form when your starting and ending points of winding are spaced too far apart.
To make a beautiful sphere, focus on winding the glass tightly over a narrow width. Constraining the initial winding width allows the glass to gather neatly into a round ball when smoothed in the flame.
You put the bead into the annealing powder, but it cracked anyway—or it snapped while pulling it off the mandrel. This is caused by insufficient flame-cooling or bad timing when placing it into the cooling medium.
If you bury the glass in vermiculite while it is still glowing hot and fluid, the cooling powder burns onto the surface, disturbing the cooling rate and causing stress fractures. On the flip side, waiting too long in the air until the bead is cold renders the cooling medium useless.
The right moment is when the bright red glow fades and the glass surface sets slightly. With a few practice runs, your eyes will easily catch this sweet spot.
When you can make round plain beads without losing their shape, it's time to take your first step into pattern making with dot beads! Seeing a pattern take form under your hands for the first time is truly thrilling.
To make a dot bead, start by building a solid plain bead base. Once the base is shaped, hold it just outside the main flame to keep it warm (at a mild heat where it won't deform).
Next, pick up a thin stringer rod of a contrasting color. Melt just the tip of the stringer in the flame to create a tiny molten droplet.
Touch the molten tip gently onto the surface of your base bead where you want a dot. As soon as the glass fuses, draw the stringer slightly out of the flame and melt-cut it right at the boundary. Repeat this to create an adorable polka-dot arrangement.
Beginners usually struggle with two things during dot work: pushing the stringer too hard and creating giant blotches, or letting the base bead cool down too much, causing the dots to pop off later.
The key to success lies in the surface temperature of the base bead. If the base surface is too cool, the dots won't fuse properly and will peel away. But if the base is too hot, it will collapse the moment you touch the stringer to it.
My recommended technique is finding that exact temperature where the base bead retains its shape without warping, while melting *only* the tip of the stringer to place the dot. Passing the dotted bead briefly back through the flame to smooth the dots into the surface yields a sleek, beautiful finish.
When starting out with lampworking, it can be frustrating when beads don't turn out round or drop out of shape. But no one makes flawless glass beads right from the start.
For your first few sessions, I recommend treating the process not as "making finished art," but as "observing how glass behaves in the flame." Keeping your flawed early beads instead of throwing them away is wonderful motivation because you can visually track your growth over time.
Even with single-color plain beads, simply swapping the type of glass (transparent, opaque, or aventurine sparkle glass) opens up completely different looks. Enjoy striving for the quiet perfection of a simple one-color glass bead!
In this article, we covered why plain beads are the ultimate starting point for lampworking beginners, how to progress to dot beads, step-by-step techniques, and how to avoid common pitfalls.
You might feel nervous around the heat of the burner and the movement of liquid glass at first. However, with proper tool handling and strict safety measures, lampworking is one of the most rewarding and immersive crafts you can ever experience.
Rather than rushing into complex floral designs, take your time crafting basic round beads one by one. The joy when melted glass cools into a round, gem-like bead crafted by your own hands is truly unforgettable. Have fun and enjoy expanding your world of Japanese tonbo dama lampworking!
If you found this helpful, sharing it with your craft friends on social media would mean the world to me and keep me inspired!
See you in the next article! This was Yassy from Crafters!


For example, if you are looking for articles about mizuhiki, try searching for "mizuhiki"; if you are interested in tools, try keywords like "nippers" or "pliers."
