Why Are Your Japanese Tonbodama Glass Beads Distorted? Causes and Tips for Perfect Spheres
yassy
Crafters!

Hello, everyone! It’s Yassy from Crafters! (・∀・)
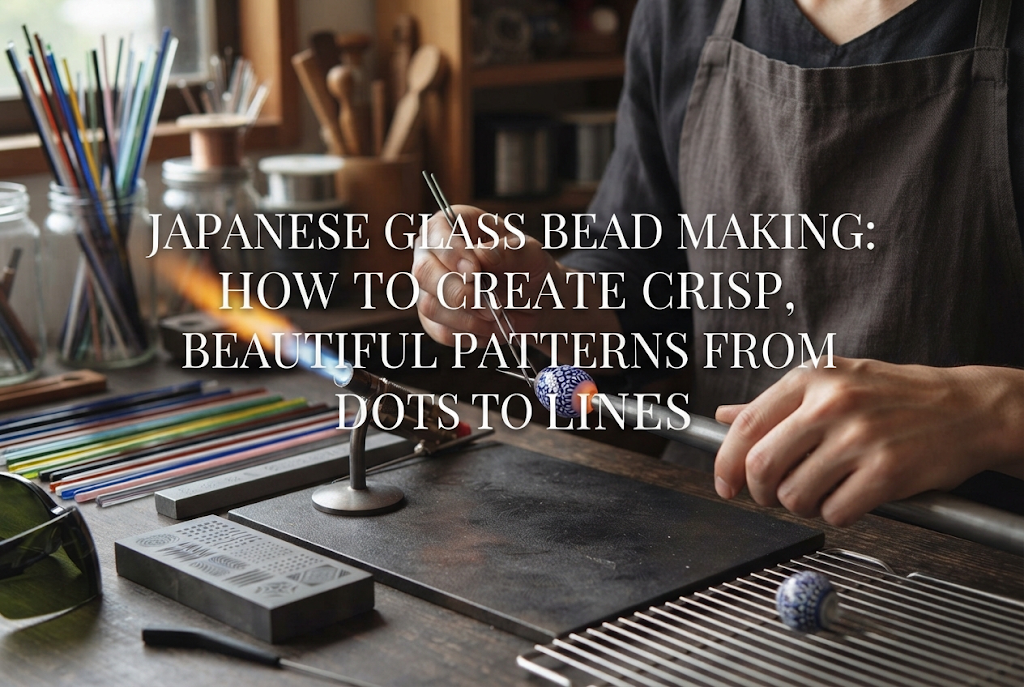
Melting glass in the flame of a burner to shape a smooth, round bead is a joy in itself when making traditional Japanese glass beads (known as tonbo dama). However, when you can apply sharp, vivid patterns exactly as you envisioned, the charm of your piece multiplies instantly!
Yet, many crafters hit a wall when trying to add patterns, facing common issues like: "My dots turn out misshapen," "My drawn lines wobble and vary in thickness," or "When I heated the bead to melt the pattern in, the design bled and blurred completely."
To produce crisp, beautiful patterns on tonbo dama, simply applying glass isn't enough. There are clear techniques involving temperature control between different glass parts and precise hand movements.
In this guide, I will break down practical techniques for major pattern-making methods—including dotting, line drawing, and raking (feathering)—to help you achieve stunning, razor-sharp designs!
When decorating tonbo dama, the most critical factor—and the one beginners most often overlook—is the temperature balance between the base bead and the glass being added for the pattern.
The biggest cause of distorted or blurry patterns is melting both the base bead and the pattern glass into a soft, gooey state at the same time.
The ideal foundation for applying clean patterns is keeping the base bead firm enough to maintain its shape (the surface should glow slightly red or be at the exact moment right after the red glow subsides), while only the tip of the pattern glass rod is softened like warm syrup.
If the base is too soft, pressing a thin glass rod against it will immediately dent the base and distort the outline of your pattern. On the other hand, if the pattern glass is too cold and hard, it won't adhere properly to the base—it will either snap off or require excessive force that crushes your design.
Always keep this mindset in place: Keep the base firm so it doesn't deform, and soften only the specific spot of pattern glass you want to apply. This is the starting point for all successful patterning.
Applying pattern glass is generally done just below or directly above the main flame (in your working zone). If you attempt to work directly in the middle of the flame, the intense heat will melt both pieces instantly, causing you to lose control.
Once the tip of your pattern rod is thoroughly melted in the flame, bring it slightly outside the flame to touch your target spot on the bead. As soon as it fuses, perform the necessary motion, then return the bead to the flame to blend it in. This crisp, rhythmically controlled movement produces a gorgeous finish.
Dotting (placing small glass dots) serves as the foundation for polka dots and floral patterns, making it an essential technique in glass bead making. However, making perfectly round dots of identical size requires proper technique.
Uneven dot sizes happen because the amount of hot glass gathered at the tip of your rod varies with each placement.
Before placing a dot, always hold the tip of your thin stringer (drawn glass rod) in the flame to create a tiny glass sphere at its tip. The diameter of this sphere directly determines the size of the dot on your base bead.
Once you confirm that a sphere of your target size has formed, proceed with the placement motion. Avoid rushing to apply glass before a proper gather forms, or melting too much glass into a heavy lump.
Follow these steps to position and release glass for perfect circles:
The absolute biggest mistake here is pulling the rod away at an angle. Angling the rod as you pull will drag the dot into a teardrop or oval shape. Always stick strictly to: Touch perpendicular, pull straight back.
Lines wrapped around a bead or straight vertical stripes will stand out instantly if they wobble. Drawing thin, uniform lines relies on coordinating your hands and using glass tension.
When drawing straight lines, trying to directly "paint" or rub the glass rod onto the bead surface often results in thick, blobby lines.
The secret to crisp lines is touching the tip of the melted stringer to the base once, then lifting the rod slightly—about a few millimeters to a centimeter above the surface.
While keeping it raised, slowly rotate the mandrel (the stainless steel rod holding the base bead). The molten glass will stretch into a thin thread and wrap around the rotating base. Once you master this technique of wrapping under gentle tension, you can draw surprisingly straight lines of consistent thickness.
The faster you rotate the base bead, the thinner the glass thread stretches. Conversely, rotating slowly lays down a thicker line.
Once you complete a full loop, use the hot edge of the flame at the point where the start and end meet to quickly melt off the stringer. To prevent a lump at the junction, concentrate heat on that spot and pull the rod away lightly to sever it.
By placing dots or lines and then dragging a pointed metal tool or tungsten needle across them, you can create intricate feather patterns, hearts, and chevron (arrowhead) designs. Sharpness here relies entirely on timing, temperature, and tool condition.
Never rake or drag patterns while the bead is dripping soft inside the flame! If the glass is too soft, it will cling aggressively to your tool, collapsing the entire bead structure.
The correct method is to lightly fuse your dots or lines onto the surface, then temporarily pull the bead out of the flame.
Wait 1 to 2 seconds outside the flame until the surface glass reaches a slightly tacky, semi-firm consistency. Then, stroke the surface smoothly using the tip of a cool (or slightly warmed) metal tool.
Aim to pull only the outermost skin of the glass. Sweeping through a dot pulls its center into a neat heart shape, while dragging across straight lines turns them into crisp, pointed chevron waves.
If old glass residue or soot is stuck to the tip of your steel wire or tungsten needle, your raked lines will turn out jagged, or black smudges will get trapped inside your bead.
Always wipe or file the tip of your tool clean before starting, and make it a habit to remove any buildup after every single rake. This habit alone dramatically improves the crispness of your lines!
Embedding glass slices with floral or star cross-sections (millefiori) is a immensely popular technique. However, many crafters run into trouble when flower petals flatten into ovals or star outlines melt into unrecognizable blobs.
Placing cold millefiori directly onto a hot glass bead causes thermal shock, making the piece snap or shatter. While preheating slices on a warming plate is essential to prevent this, care must also be taken during heating after placement.
Once you press the millefiori slice onto the bead surface, do not try to melt it in abruptly over intense heat. Slowly rotate the bead near the top of the flame (where temperatures are milder) to evenly distribute heat across the entire piece.
When the component warms up and softens slightly against the base, use a graphite paddle or flat press tool to gently tap the top of the slice, conforming it smoothly to the curve of the bead.
If you rely solely on flame heat to melt the slice into the bead, the sharp edges of the pattern will melt first, rounding off and ruining the crisp motif outline. By physically and gently pressing it flat with a tool, you can submerge the slice seamlessly while keeping its original pattern sharp.
Right after applying patterns, the surface of your bead will feel bumpy. To smooth these bumps into a seamlessly round sphere, you must melt them in. However, this is the most dangerous stage for ruining a design!
Rushing to flatten bumps by plunging the bead into the hottest core of the flame creates strong convection currents between the pattern glass and base glass. This causes the colors to swirl and blend, making your crisp pattern blurry.
The secret to melting in patterns while keeping them sharp is: Continuously rotate the bead at a steady speed slightly beyond the flame tip (near the tip of the oxidizing flame).
Allow heat to distribute evenly across the entire bead, waiting patiently for surface tension to naturally pull the high spots level. Never let the bead get so hot that it glows bright red and sags.
If you want to guarantee your pattern remains intact, or if you want to add dimensional depth, I highly recommend applying a thin layer of clear glass over your pattern—a technique often referred to as clear casing or potticelli.
Before the surface pattern is completely melted flat, wrap a thin coating of clear glass over it. This shields your design from direct intense heat while you shape the bead, creating a stunning lens effect that makes the pattern pop!
Preparation before lighting your burner is just as vital as your physical hand technique. Getting these preparations right will dramatically improve the precision of your patterns.
Trying to draw delicate designs using thick, off-the-shelf glass rods is like trying to write fine calligraphy with a fat marker. Before decorating, always stretch your glass rods in the flame to create custom thin rods (stringers).
Pre-making a stock of stringers with consistent thickness completely eliminates mid-project mistakes caused by uneven glass supply.
Trying to move both hands aggressively at the same time during patterning ruins your aim.
The rule of thumb is: Your left hand focuses entirely on controlling the rotation speed of the base bead, while your right hand gently guides the glass rod to the target spot. Tuck your elbows lightly against your sides and rest them on your workbench to prevent shaking. This stable posture is crucial for drawing steady, un-wobbly patterns.
Making glass beads involves working with open flames exceeding 1,000°C (1,800°F) and molten glass. Practicing proper safety precautions must always take priority.
A safe environment lets you stay calm, observe the flame, and focus on delicate pattern making. Take care of your equipment and treat your tools with respect!
Creating crisp, beautiful patterns on tonbo dama isn't just about raw artistic dexterity.
By faithfully practicing these fundamental rules—maintaining temperature differences between the base and pattern, preparing uniform stringers, and using gentle surface tension rather than harsh heat—the quality of your glass work will improve dramatically!
Even if things don't go perfectly at first, keep practicing while observing how glass melts and solidifies. Experiencing that moment when a crisp, vivid pattern emerges perfectly from the fire is one of the absolute best rewards in flameworking.
Give these techniques a try, and enjoy creating your very own beautifully patterned Japanese glass beads!
If you enjoyed this article, sharing it with your friends on social media or messaging apps would mean the world to me and keep me inspired!
Thanks for reading, and see you in the next article! This was Yassy from Crafters!




For example, if you are looking for articles about mizuhiki, try searching for "mizuhiki"; if you are interested in tools, try keywords like "nippers" or "pliers."
