Japanese Lampworking for Beginners: How to Craft Your First Tonbo Dama Glass Bead
yassy
Crafters!

Hello, everyone! It’s Yassy from Crafters! (・∀・)
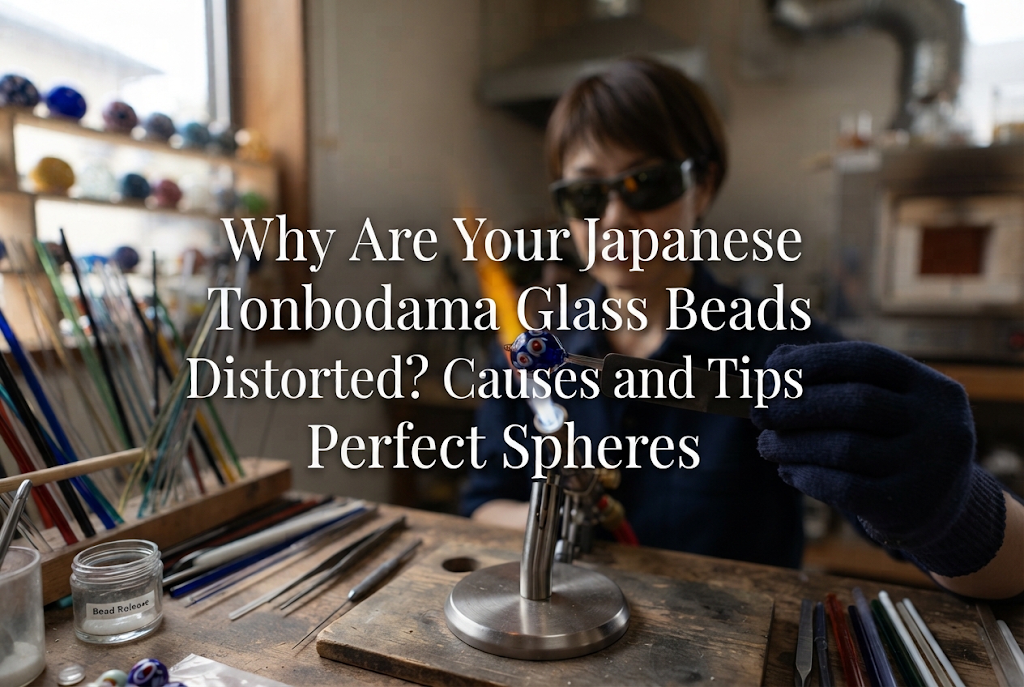
Facing the flame of a torch burner and spinning molten glass on a rod to craft tonbodama (traditional Japanese lampwork glass beads) is such a wonderful experience. Having a beautiful, self-made glass bead in your hand feels truly special! However, when beginners give it a try, many run into common frustrations: "Why does my bead turn into an oval like a rugby ball instead of a round sphere?" "Why is it bulged on only one side?" or "Why is the surface uneven and bumpy?"
There are clear, logical reasons why a tonbodama becomes distorted. Glass softens when heated and naturally sags under the pull of gravity. Because of this property, even a slight slip in hand movement or flame placement can cause the shape to lose its balance in an instant.
In this article, I will explain in detail the main causes of shape distortion in lampwork glass beads, along with practical techniques to prevent them and achieve beautifully symmetrical spheres and cylinders. I've packed this guide with insights on common beginner mistakes and practical habits I always keep in mind. Understanding the root causes is the key to creating perfectly shaped glass beads!
Distortion in tonbodama making does not happen by accident or bad luck. There is always a specific cause in your technique or preparation. First, let's review the five most common causes:
When one or more of these factors occur, the shape of the bead easily collapses. Let's look closer into each cause.
The most fundamental skill directly impacting bead shape is how you rotate the stainless steel mandrel. When glass is heated in the burner flame and melts into a gooey state, it drips downward just like a liquid due to gravity.
Before the molten glass can drip off, you must rotate the rod 180 degrees to bring the bottom side to the top. This continuous rotational movement evenly distributes the effect of gravity, keeping the bead spherical.
If your rotation speed is too slow, gravity wins, causing the glass to pool at the bottom into a distorted lump. Furthermore, if you pause rotation even for a second to inspect your work or apply decorative patterns, gravity will instantly ruin the shape.
Alternating between fast and slow rotations disrupts the delicate balance between centrifugal force and gravity. Many crafters slow down their rhythm when shifting their fingers or hand positions, which is a major reason beads look asymmetrical when viewed from the side.
Another frequent cause is uneven heat distribution. A tonbodama will never form a clean round sphere unless the entire bead maintains an equal degree of softness.
If the bead is positioned off-center in the flame, the side receiving more heat becomes soft, while the cooler side remains firm. The soft section sags or stretches under rotation, resulting in an asymmetrical, lopsided shape.
In an effort to round the bead quickly, crafters sometimes hold it in the absolute hottest part of the flame (just beyond the inner cone). Overheating destroys the viscosity of the glass, making it runny like liquid. Once glass becomes this soft, high-speed spinning will not save it; the shape collapses into waves or stretches into long ovals.
Conversely, pulling the bead out of the flame too often due to hesitation causes the surface to cool rapidly and harden. Trying to shape a bead that is hot inside but hard on the outside results in surface wrinkles and awkward, blocky distortions.
Failures often begin during the initial base-forming stage, when molten glass is first wrapped around the mandrel.
When transferring molten glass from the rod to the mandrel, you must apply it at a strict 90-degree perpendicular angle. If applied diagonally, the glass wraps in a spiral. A crooked foundation makes it nearly impossible to form a clean sphere later, as the volume of glass on the left and right sides will be unbalanced.
When coiling glass onto the mandrel, you must wrap the molten strand with consistent tension. Pulling too hard thins out the edges of the bead, while pushing too hard creates a bulky center. This initial unevenness translates directly into a distorted finished bead.
Your posture and hand stability while holding the mandrel play a massive role in shaping the glass.
If the tip of the mandrel tilts up or down during work, gravity pulls the molten glass toward the lower side. This results in a flared, morning-glory shape around one hole or a lopsided teardrop shape.
It is common to hold the end of the rod with the left hand and rotate near the middle with the right hand. However, if you rotate using only your right fingertips, the tip of the rod wobbles in a circular motion like a funnel. Without a steady, straight rotational axis, uneven forces act on the glass, causing oval distortion.
The bead release agent (separator) applied to the mandrel before wrapping glass can also cause shape issues if mismanaged.
If the release agent is thick in some spots and thin in others, the core diameter becomes irregular. Wrapping glass over an uneven base guarantees an unbalanced inner and outer structure from the start.
If the release agent is insufficiently dried or heated too rapidly in the flame, it can crack and detach from the steel rod. When this happens, turning the mandrel causes the glass inside to slip rather than turn smoothly, resulting in a severe loss of control over the shape.
Beginners often fall into three common misunderstandings. Correcting these mindsets accelerates skill development dramatically!
While it is true that surface tension pulls molten glass into a sphere, this only happens if the entire bead is held at a uniform, optimal temperature. If temperature variations exist across the bead, turning it repeatedly will not fix the hard and soft spots. The real principle is to rotate while maintaining uniform heat.
Attempting to press shaping tools (such as marvers, graphite paddles, or brass shapers) onto the glass inside the burner flame is a mistake. Applying a tool inside the flame causes soft glass to wrap around the tool or distort under pressure. Shaping tools should always be used immediately after pulling the bead out of the flame.
If you only look down at your work from a seated angle, you will miss horizontal distortions and rear bulging. A bead that looks circular from the top might actually be a pinched, rugby-ball oval when viewed from the side.
Here are practical techniques to prevent distortion and achieve ideal round tonbodama in your workshop.
The best way to keep the mandrel horizontal is to stabilize your elbows. Tuck your upper arms close to your body and rest your elbows securely on the workbench edge or against your torso.
When rotating, do not rely solely on fingertip movements. Coordinate both hands to rotate the rod along a single, straight central axis. Once the mandrel rotates smoothly without tip wobble, gravity-induced side distortion disappears.
To nurture a glass bead into a smooth sphere, you need to utilize different areas of the flame:
After wrapping the glass, move the bead slightly above the main flame into the gentle heat zone, turning it slowly to soak the heat evenly. Rather than scorching just the outer surface, soften the bead all the way to its center. This allows surface tension to pull the molten glass into a naturally smooth sphere.
Actively adjust your perspective while working. Lower your head occasionally to inspect the bead horizontally from the side. Tilt the rod slightly to view the symmetry around both mandrel holes from above.
By evaluating the bead as a three-dimensional object, you can identify excess bulges or cold areas early and correct them before the shape collapses.
When using a shaping marver or paddle, strictly follow these steps:
Forcing the glass onto a marver creates sharp edges or flattened spots. Treat the marver as a guide to smooth surface irregularities, not a mold to force a shape.
If a beginner comes to me asking how to fix distorted beads, my first piece of advice is to temporarily pause making complex patterns.
A structured step-by-step approach is the fastest route to mastering shape control. Here is my recommended training routine:
Before turning on your burner, practice rotating a cold stainless steel mandrel for five minutes. Keep your eyes fixed forward and rotate the rod at a steady rhythm, ensuring the tip does not wobble even a millimeter up, down, left, or right. Train your fingers to transition smoothly when switching grip positions. Mastering this removes 80% of hand-wobble distortion.
Put away all decorative techniques like air bubbles or dotwork. Using an opaque single-color glass (such as deep blue or green), produce ten simple spherical beads with a 15mm diameter in a row.
Without decorative distractions, your mind can focus entirely on glass wrapping, flame positioning, uniform heating, and rotation rhythm. By the tenth bead, you will clearly feel how molten glass naturally pulls itself into a sphere.
Once your cold beads are safely annealed, use calipers to measure each bead along its length, width, and diagonal axes. Even if a bead looks round to the naked eye, calipers might reveal it is 1mm wider on one side.
Discovering your personal tendencies—such as always wrapping slightly more glass on the left side—provides concrete goals for your next session. Objective measurements are a crafter's best tool for improvement!
Lampworking and tonbodama crafting involve high-temperature flames and molten glass. Maintaining strict safety standards is just as vital as refining your technique.
Before starting, always read the user manual for your glass torch burner (whether dual-gas or cassette canister type) thoroughly, and follow correct connection and ignition procedures.
A secure workspace allows you to relax, focus, and craft beautiful pieces safely. Please observe tool manuals and safety guidelines at all times.
We've covered the primary causes of distorted tonbodama beads and the techniques to fix them.
A distorted bead is never a sign of lacking artistic talent. It is simply the result of physical factors: irregular rotation rhythm, uneven heat exposure, or unbalanced glass volume.
Start by mastering the basics: keep your mandrel horizontal and rotate with a steady, relaxed rhythm. Wrap your bead in gentle, uniform heat, and let the natural surface tension of glass work its magic. You'll be amazed at how smoothly your beads turn out!
Review each step thoughtfully, and enjoy creating smooth, perfectly balanced tonbodama beads. I'm cheering you on!
If you enjoyed this article, sharing it with fellow crafters on social media or messaging apps would mean the world to me and keep me inspired!
See you in the next article! This was Yassy from Crafters!


For example, if you are looking for articles about mizuhiki, try searching for "mizuhiki"; if you are interested in tools, try keywords like "nippers" or "pliers."
