Why Pottery Warps: A Complete Japanese Craft Guide to Perfectly Shaped Ceramics
yassy
Crafters!

Hello, craft lovers! It's Yassy from Crafters! (・∀・)
I absolutely love making my own ceramic pieces, browsing talented artisans' stalls at pottery fairs, and using my favorite handmade vessels in daily life. Having morning coffee or a home-cooked Japanese meal served in a handmade dish instantly turns ordinary moments into something special.
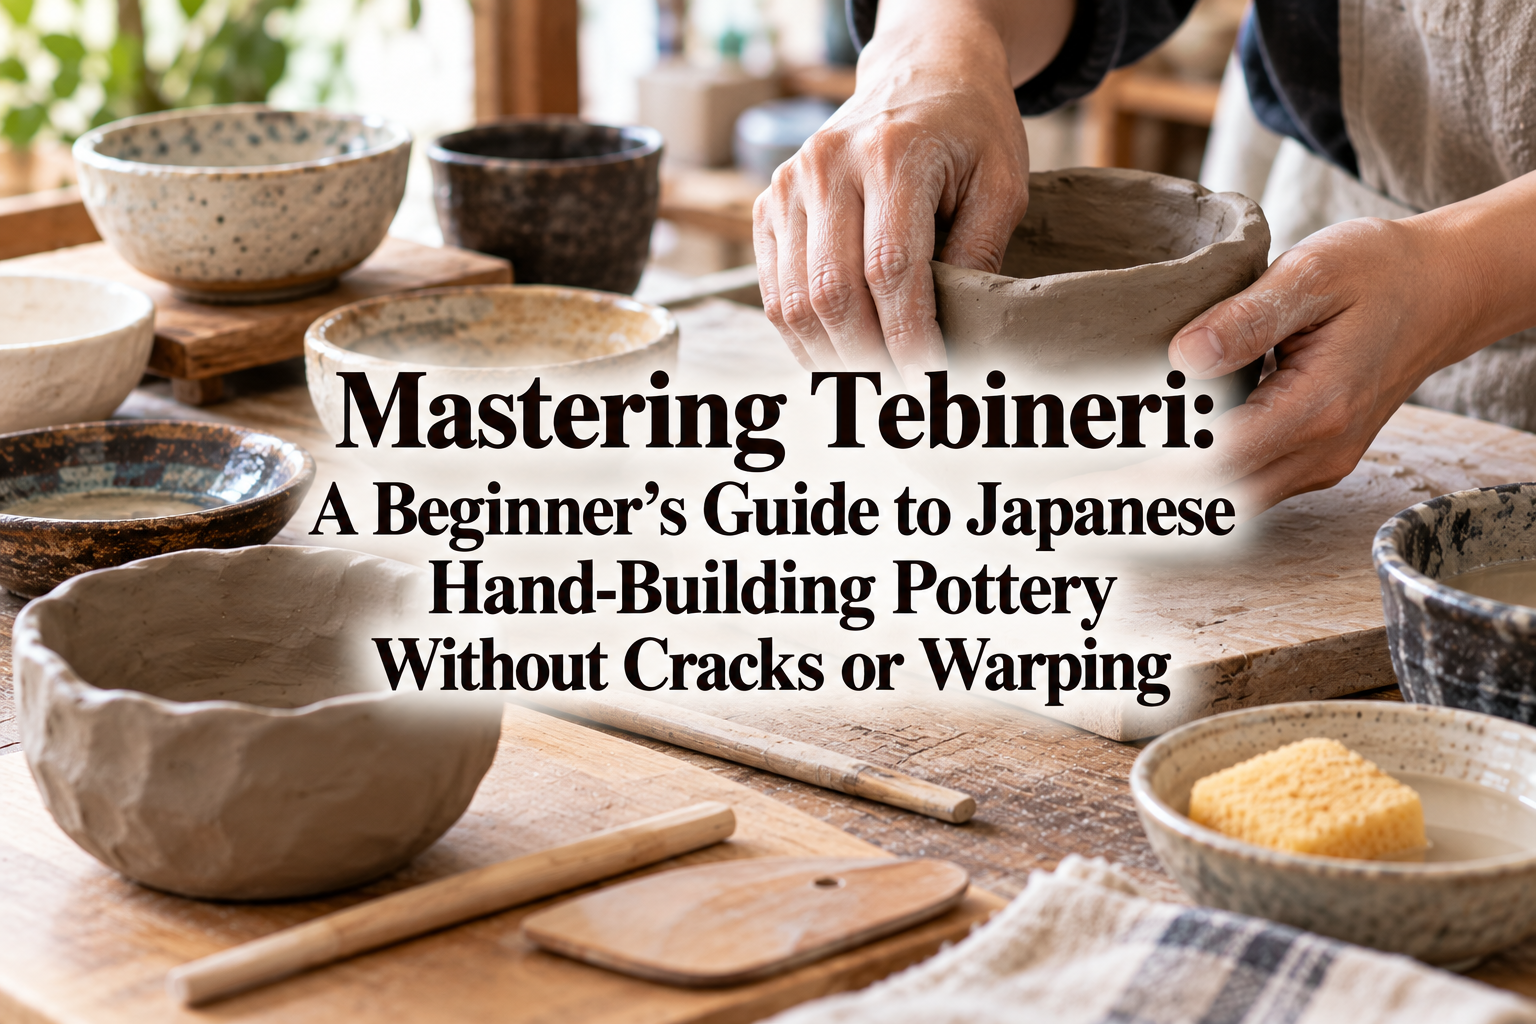
When people hear the word "pottery," many imagine a difficult process revolving around spinning an electric potter's wheel. But that is actually a common misconception! Tebineri (Japanese hand-building), where you shape clay freely using only your hands and simple tools, is the original form of pottery and undeniably the most profound and fun technique.
The greatest charm of Tebineri lies in its ability to create gentle curves, unique character, and a handmade warmth that electric wheels simply cannot replicate. However, if a beginner simply kneads clay and shapes it without proper knowledge, the piece will likely crack during drying or firing, lose its bottom, or warp out of shape. That is because pottery is governed by strict physical principles that cannot be ignored.
In this article, I will explain the essential techniques and step-by-step molding processes to guarantee success in hand-building pottery! From choosing the right technique to mastering the drying stage to prevent cracks, I'm going to share all my dedicated tips to help you achieve a professional finish. Armed with the right knowledge, you can craft your very own mug or plate that will last a lifetime!
Tebineri refers to the technique of shaping clay using your fingertips and palms rather than relying solely on the rotational force of an electric or manual potter's wheel. While wheel-throwing is ideal for making perfectly round, symmetrical vessels with uniform wall thickness, Tebineri allows you to freely express any form—including asymmetrical shapes, square forms, and organic, natural wobbles.
Wheel-throwing requires extremely precise control over clay moisture and finger pressure; a slight imbalance of force can instantly collapse your piece. On the other hand, Tebineri allows you to take your time and converse with the clay at your own pace, making it the most highly recommended technique for ceramic beginners.
The biggest strength of a hand-built piece is how comfortable it feels in your hands. Stacking cups that retain subtle finger indentations or mugs molded to fit the natural grip of a hand possess a gentle warmth that industrial mass-produced items or wheel-thrown ceramics can never imitate.
However, assuming that "shaping by hand means you can be careless" is a huge mistake. Precisely because it is hand-built, keeping the clay wall thickness uniform and thoroughly removing air pockets (bubbles) are absolute requirements that determine whether your creation succeeds or fails.
Hand-building pottery in Japan generally relies on three major basic methods. Selecting the correct method for the shape and size of the piece you want to make is the fastest route to success. Keep these characteristics and ideal uses in mind!
Tamazukuri (literally "ball making") is the oldest technique in pottery, where a single ball of clay is rounded, and your thumb is pressed into the center to gradually expand it into a bowl shape.
The primary advantage of this method is that because there are no clay seams or joints, the risk of water leakage or cracking at connection points is extremely low. It is exceptionally effective for making relatively small vessels such as teacups (yunomi), small bowls (kobachi), and sake cups (guinomis).
To stretch the clay to a uniform thickness, the golden rule is not to pinch solely with your fingertips, but to cradle the vessel with your entire palm while rotating it bit by bit to shape it evenly.
Himozukuri is a method where you roll clay into rope-like coils and stack them in rings or spirals around a flat base to build height.
This is a versatile technique for building taller items, such as deep mugs, flower vases, large jars, or pitchers. The critical step here is thoroughly blending the gaps between the coils upward and downward to erase the seams.
If the connection is weak, horizontal hairline cracks will appear after firing, leading to leaks. Make sure to fuse the clay completely on both the inside and outside using your fingers or a modeling rib (hera).
Tatara-zukuri involves using slab slats (guide sticks) and a rolling pin to flatten clay into an even sheet (tatara), which is then cut or draped over a mold to shape.
This method is best suited for square plates, flat platters, trays, or geometric mugs. Because the thickness remains perfectly uniform, it is an essential technique when you want to make neat dishes with a flat bottom.
However, flat clay slabs are particularly prone to warping during the drying stage. If humidity control is neglected while drying, the corners of your plate will curl up, so careful attention is required.
Here, I will explain in detail how to craft a ceramic mug—the most popular and technique-packed project in Tebineri—using the coil technique (Himozukuri). I have made countless mugs myself over the years, and if you follow these steps, you won't fail!
Before you begin shaping, always ensure there are no air bubbles trapped inside the clay. If air pockets remain in the clay, the air will expand inside the kiln during firing, causing the piece to explode.
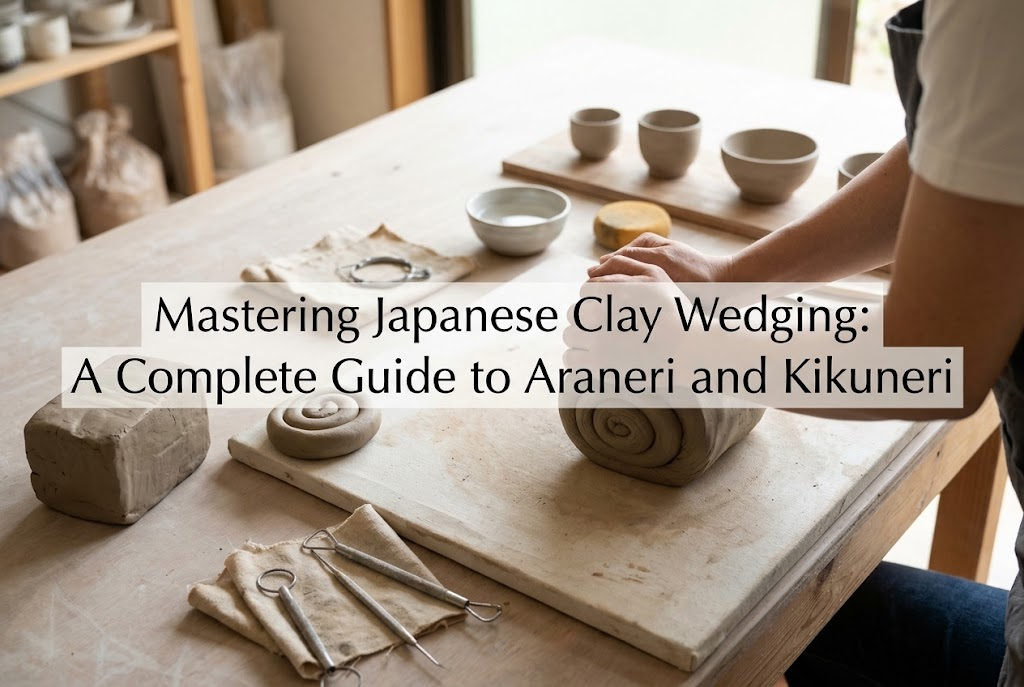
Because performing the traditional Japanese chrysanthemum kneading technique (Kikuneri) is quite difficult for beginners, it is best to use commercially prepared vacuum-pugged clay that has already been de-aired. Once you open the clay package, cover it with a tightly wrung, damp cloth to prevent the surface from drying out.
First, create the bottom section. Flatten a piece of clay with your palm, then roll it out to a thickness of about 8 mm using a rolling pin. Placing two 8 mm slab slats (tatara-ita) on either side while rolling guarantees a perfectly uniform thickness.
Use a bamboo knife or a circle cutter to cut out a circle for the base size you want (e.g., 8 cm in diameter). If the base is too thin, it cannot support the weight above it and will cave in, so make sure to maintain a solid thickness of 7 mm to 8 mm.
Next, prepare the clay coils for the walls. Lightly roll clay between your palms into a thick cylinder, then place it on your worktable. Spread both hands flat and roll from the center outward evenly. Roll smoothly without applying force to the heels of your hands to make several smooth coils about 1 cm to 1.5 cm in diameter.
Apply Dobe (a wet clay slip used as ceramic glue) along the edge of the base, then use a needle tool or bamboo scraper to score deep, grid-like scratches (called Metate in Japanese). If you stack coils without scoring, they will 100% detach when dry! Firmly press the first coil onto the scored base, cut the overlapping ends diagonally, and join them seamlessly.
Every time you stack a coil, use the pad of your thumb or a wooden modeling tool to drag the top clay downward, erasing the joint line. Do this on both the outside and inside walls, smoothing the clay up and down until the joint is fully integrated into a single wall.
Score and apply slip for each subsequent coil layer, building up until you reach your target height (e.g., around 9 cm). Remember the absolute rule of pottery: clay shrinks by roughly 10% to 15% as it dries and fires, so always make your piece slightly larger than the desired final size.
Make the handle using the same clay. Roll a piece of clay into a rod, flatten it slightly, bend it into an arch, and let it rest for about 15 minutes to firm up slightly. If attached while completely floppy, the handle will sag and deform under its own weight.
Once the handle feels a bit firmer, score deep cross-hatch marks on both the mug body and both ends of the handle, then apply a generous amount of clay slip (Dobe). Press the handle firmly against the body. For extra security, roll a tiny thin coil of clay around the joint seam and smooth it over with a tool to reinforce it. Handles experience the most physical stress during use, so compromising on reinforcement can lead to a disaster later on!
About 90% of failures in hand-built pottery stem from improper moisture management during shaping and drying. Here are the three major pitfalls beginners face and how to fix them.
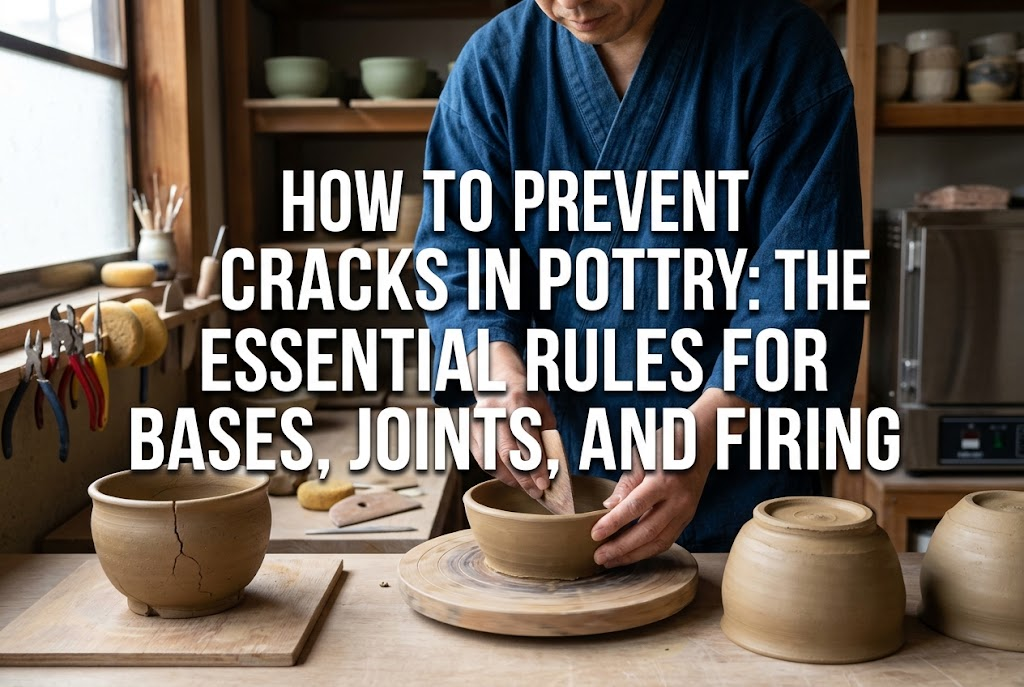
Leaving your freshly made piece in a drafty area or directly under air conditioning to "dry it faster" is strictly forbidden! Rapid evaporation causes uneven shrinkage between the surface and interior of the clay, leading to severe cracking.
Once shaped, place your piece in a location away from direct sunlight and wind, loosely covered with a plastic bag to allow slow drying. The golden rule is to dry in stages: seal the bag on Day 1, open a small gap on Day 2, and remove the plastic to cover it with newspaper on Day 3.
When joining clay parts in Tebineri, simply wetting the surfaces and pressing them together will cause the joint to crack and separate as it dries.
You must score cross-hatching marks at least 1 mm deep into both joining surfaces using a needle tool or serrated scraper. Use Dobe (clay slip) that has the consistency of thick mayonnaise rather than plain water. When the slip penetrates the deep scores, the clay particles interlock, creating a strong mechanical and chemical bond.
If the base is 10 mm thick while the walls are only 4 mm, the thin walls will dry and shrink much faster than the base. The thick, lagging base cannot shrink at the same rate, resulting in severe warping or large cracks forming along the bottom seam.
Always use a wire cutter or your finger sense during Tebineri to check that the overall thickness of your piece remains consistent (around 6 mm to 8 mm). Shave down overly thick areas using a bamboo modeling tool or a loop tool to keep the wall thickness uniform throughout.
Hand-built ceramics can sometimes look a bit amateurish, but paying attention to a few finishing details can instantly transform them into professional-looking works worthy of a craft market! Here are my personal must-do secret techniques:
The Kōen is the top rim of the vessel that comes into contact with your lips or food. If left as-is after hand-building, the edge can feel rough, uneven, or uncomfortable to drink from.
This is where chamois leather (Nameshigawa) shines! Fold a damp piece of chamois leather in half, gently sandwich the rim of your cup inside it, and smooth it along the edge while rotating your hand turntable. This brings fine clay particles to the surface, creating a beautifully rounded, silky-smooth rim. This single extra step improves your piece's quality tenfold!
Trying to achieve a perfect shape while the clay is soft and floppy right after molding is impossible. In Japanese pottery, the state where the clay has dried slightly to the firmness of a chocolate bar is called Kawaneri (leather-hard).
At this stage, touching the clay won't leave dents, but you can carve and trim it comfortably with bamboo tools or loop tools. Don't miss this leather-hard window! Place your piece on a turntable to shave away external unevenness or carve out a clean foot ring (Kōdai) at the bottom. 70% of shaping is done during initial molding, but the remaining 30% is perfected during leather-hard trimming!
Beginners often try to smooth out surface bumps by rubbing the entire piece aggressively with a wet sponge. Please avoid doing this! Using too much water washes away the fine mud particles on the surface, exposing coarse sand grains underneath and making the texture unexpectedly rough.
If you want to flatten surface unevenness, do not rely on water. Instead, use a wooden rib or a metal scraper to lightly scrape across the dry surface to smooth it out.
If you're wondering which hand-building technique suits your intended project best, refer to these guidelines to eliminate stress during creation!
Here are straight answers to common questions from beginners starting their hand-building journey!
No, genuine ceramic clay cannot be fired in a standard kitchen oven (which tops out around 250°C / 480°F)! Firing real pottery clay requires high temperatures ranging from 1100°C to 1230°C (2000°F–2250°F) or higher.
If you want to craft at home, either use specially formulated oven-bake clay (like Yako craft clay) or take your hand-built ceramic pieces to a local pottery studio or kiln-firing service for proper firing. If you intend to use your piece for daily food and drink, firing in a real ceramic kiln is an absolute requirement.
If you take too long shaping, heat from your hands and dry room air will rob moisture from the clay, making it stiff. Bending stiff clay creates surface cracks.
If you notice small cracks, wet your fingertip slightly and pat the area gently to smooth it out. However, avoid spraying the entire piece heavily with water mist, as this will weaken the structure and cause it to collapse. If working for an extended period, keep unused portions of clay covered with a damp cloth at all times.
There is no need to purchase an expensive set right at the start! The essential basic tools you need are just 7 items: a cutoff wire, a hand turntable, a bamboo modeling knife, chamois leather, a finishing sponge, a wooden rolling pin, and slab slats (tatara-ita).
With these basic tools, you can successfully complete almost any Tebineri project. Buying a basic starter tool kit from an online craft supplier or ceramic store is the most cost-effective approach.
Before leaving your freshly molded piece to dry, always run through this final checklist. Catching issues now prevents regrets after firing!
Any piece that clears all these checks will survive the kiln without cracking and emerge as a wonderful, durable piece of handmade pottery!
Tebineri pottery is the ultimate handmade experience, allowing you to create one-of-a-kind functional tableware directly with your own hands!
There is no need to worry about the speed or rigid precision required by an electric wheel. Subtle finger marks and organic wobbles aren't mistakes—they are proof of your personal handiwork and represent the true value of your piece.
Select the right approach among the three main techniques (Pinch, Coil, Slab), score and slip your connections thoroughly, and let your piece dry slowly. Following these core rules allows even beginners to create strong, beautiful ceramics that rival professional craftwork!
Drinking tea from a mug you shaped yourself or eating a meal off your own handmade plate enriches everyday life immeasurably. I hope you enjoy the tactile feel of the clay and craft your very own Tebineri masterpiece!
If you enjoyed this guide, sharing it with your craft-loving friends on social media or messaging apps would mean the world to me and keep me motivated! Thanks for reading, and see you in the next article! This was Yassy from Crafters! (・∀・)






For example, if you are looking for articles about mizuhiki, try searching for "mizuhiki"; if you are interested in tools, try keywords like "nippers" or "pliers."
