Japanese Pottery Tools Guide: How to Choose Essential Tools for Shaping, Trimming, and Finishing Clay
yassy
Crafters!

Hello, this is Yassy from Crafters! (・∀・)
As someone who absolutely loves making, viewing, and collecting handmade crafts of all kinds, today I want to tackle one of the most heartbreaking problems ceramic artists face: cracks in pottery.
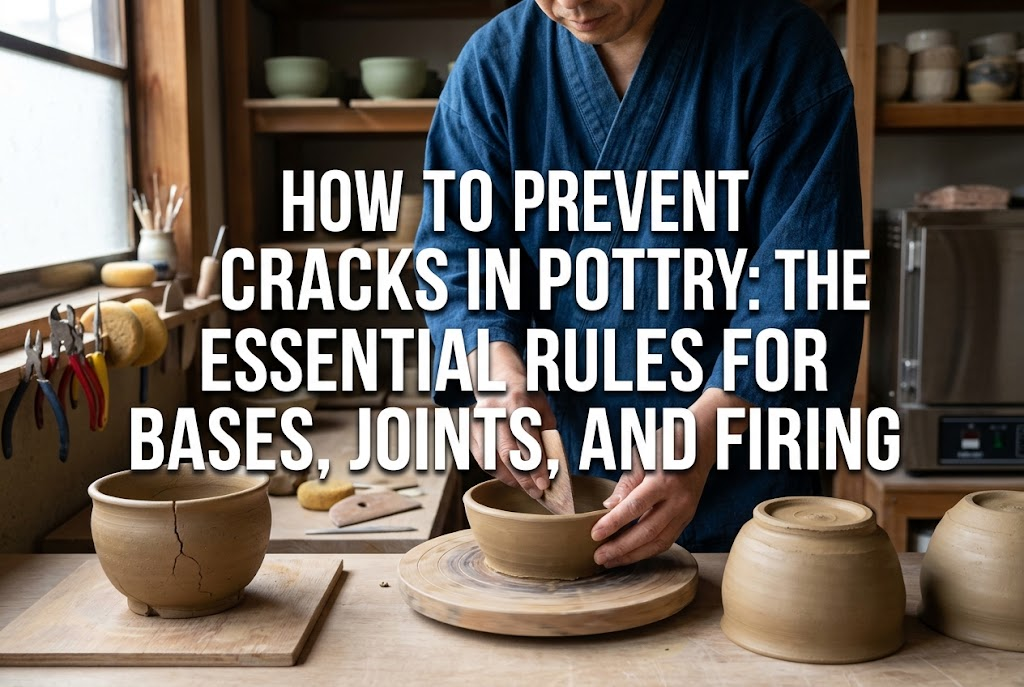
Have you ever spent hours carefully throwing or handbuilding a piece, trimmed it to perfection, thought “This is flawless!” and then discovered a hairline fracture creeping across the base or handle after drying or opening the kiln? Seeing a crack appear on a favorite piece is genuinely discouraging.
However, cracks in ceramics are never random bad luck. There is a 100% physical cause and a clear mechanism behind every single crack. Once you grasp the nature of clay and follow the fundamental rules of drying and firing, you can completely eliminate cracking from your studio practice!
In this guide, we will explore everything from clay shrinkage and the essential Japanese forming technique known as shime (compressing the clay), to moisture equalization, joining methods, and thermal stress management during firing. I have packed this article with common beginner misconceptions and my own tried-and-true techniques, so be sure to read through to the end and apply these methods to your own work!
The first concept every potter must understand is that clay inevitably shrinks during two distinct phases: drying and firing. Cracking occurs fundamentally when different parts of a single piece shrink at different rates or by different amounts, creating internal tensile stress as the clay pulls against itself.
Wet clay contains a substantial amount of water. As it dries, moisture evaporates from the surface, causing the clay particles to draw closer together and fill in the voids. This is drying shrinkage. Later, during the bisque and glaze firings at high temperatures, the particles sinter and fuse together, shrinking the piece once more. This is firing shrinkage.
If an entire piece were to shrink at the exact same speed and proportion throughout, it would never crack. However, in reality, pieces have thick sections and thin sections, or parts exposed to drafts that dry quickly alongside parts resting on boards that stay damp. When one section begins to shrink before another, massive pulling forces develop between them. The moment the clay can no longer withstand this tension, it yields with a sharp “crack.”
It is worth noting that a crack is distinctly different from an explosion in the kiln. Explosions happen when trapped moisture inside thick clay suddenly boils into expanding steam. Cracking, on the other hand, is driven by uneven moisture distribution, drying tension, and thermal stress. Correctly identifying the true cause is your fastest path to zero failures.
Cracks can develop at four distinct points in the pottery-making journey. Accurately diagnosing when a crack formed on your piece is an essential requirement for applying the right solution.
This is by far the most frequent stage for cracking. You finish shaping a piece, set it aside, and as it dries, fractures appear around the rim, across the base, or along the foot ring (kodai).
Cracks at this stage are 100% caused by uneven drying rates. For example, the rim of a bowl has a large surface area exposed to air, making it dry the fastest. Meanwhile, the base resting flat against a work board cannot release its moisture easily, drying significantly slower. As the rim contracts while the base remains unchanged, severe tensile stress pulls across the walls and rim, splitting the clay.
These cracks appear where separate clay parts have been joined together, such as mug handles, teapot spouts, or decorative appliqués on plates. The crack typically traces neatly along the seam where the two pieces meet.
This failure comes down to two issues: a mismatch in clay hardness (moisture content) between the body and the attachment, and inadequate bonding with slip (dobe). If you attach a freshly pulled, soft handle onto a leather-hard cup body, the handle will shrink much faster than the cup, literally pulling itself off the surface and tearing a deep fracture along the seam.
These fractures occur either while the kiln is heating up or while it cools down after reaching peak temperature, and they are usually only discovered upon opening the kiln.
Heating cracks occur when the kiln temperature rises too quickly before all residual moisture has escaped the clay. Cooling cracks (known in Japanese pottery as samashi-ware or samashi-nyu) happen when eager potters crack open the kiln door too early while the interior is still hot. When cold room air rushes against the hot ceramics, the rapid surface contraction fractures the piece, behaving exactly like cold water splashed onto hot glass.
These fine cracks appear the moment a bisque-fired piece is dipped into liquid glaze, or they show up right after the glaze firing, traveling from the glaze layer deep into the clay body itself.
Bisque ware is extremely porous and dry, absorbing water aggressively. If thin areas of a piece absorb water too rapidly during dipping, localized expansion creates stress that triggers a crack. Furthermore, if there is a severe thermal expansion mismatch between the clay body and the glaze upon cooling, the glaze can pull on the clay with enough force to fracture the entire vessel.
Here are three classic crack patterns that beginners struggle with most, along with their root causes and fail-safe prevention techniques.
An S-shaped or straight crack tearing across the base of a trimmed bowl or cup is arguably the most common ceramic headache for beginners.
Causes:
Solutions:The golden rule for preventing base cracks is firm, intentional compression. Whether handbuilding or throwing on the wheel, take your fingertips or a wooden rib and firmly press down on the base, smoothing from the center outwards to consolidate the clay particles. This simple compression drastically improves base strength.
Always sponge out standing water from the bottom of your piece immediately during forming; sitting water softens the clay particles and lays the foundation for future cracking. When trimming the foot, measure your base thickness carefully with a bamboo gauge or pin tool to ensure a consistent thickness of roughly 5 mm to 8 mm (0.2 to 0.3 inches).
A clean split opening right along the junction where a handle meets the cup body, appearing either during drying or after firing.
Causes:
Solutions:Keep this absolute rule in mind: the handle and the body must be at the exact same stage of hardness before joining. After pulling or shaping your handle, do not attach it immediately; let it rest in the same room until its firmness matches the leather-hard cup.
To join, score both surfaces thoroughly with a needle tool or serrated rib in a deep criss-cross pattern. Apply a generous layer of slip made from the same clay body, press the parts firmly together until excess slip squeezes out, and blend the seam smoothly with a tool or damp brush. Adding a thin, rolled coil of clay around the joint and blending it in provides excellent structural reinforcement.
Once joined, tent the entire piece under plastic for at least 24 hours. This resting period allows moisture from the slip and the handle to distribute evenly throughout the body, virtually eliminating joint cracks.
Vertical fractures that start at the rim of an open plate or shallow bowl and split inward toward the center.
Causes:
Solutions:The rim is the most vulnerable part of any vessel because it dries faster than the rest. As the final touch during forming, compress the rim using a lightly dampened piece of chamois leather or soft cloth, gently pressing down while supporting the sides to compact the edge particles.
When setting the piece aside to dry, drape plastic loosely over the rim to shield it from air currents and slow down its evaporation rate. Synchronizing the drying pace of the rim with the thicker base is the secret to protecting your edges.
In ceramics, drying requires just as much care as shaping. Treating drying as passive waiting will undo all your hard work. The definitive rule for preventing cracks is simple: dry slowly and uniformly.
Never place fresh greenware directly in front of an air conditioner, heater, or a sunny window. While fast drying may seem convenient, it triggers immense shrinkage stress within the clay and almost guarantees fractures.
Here is my reliable 3-step drying routine for zero-crack results:
Once you finish forming a piece, wrap it loosely inside a plastic bag and let it sit overnight before trimming. This step allows moisture gradients created during forming to redistribute naturally, bringing the entire piece to an even leather-hard state.
After trimming, transition into gradual drying. Keep the piece loosely draped under plastic with the bottom slightly open to release moisture slowly over 1 to 2 days.
Once the clay lightens in color and feels rigid to the touch, remove the plastic and cover the piece lightly with newspaper in a shaded room away from drafts. Newspaper is an exceptional drying aid because it shields the piece from sudden air movements while permitting moisture to evaporate gently.
Pay close attention to what your piece rests on. Setting wet clay on plastic or metal prevents moisture from escaping through the base, keeping the bottom damp while the rest dries. Use absorbent surfaces such as wooden boards, bisque ware slabs, or boards lined with several layers of newspaper.
For tall tumblers or deep bowls, flip the piece upside down once it reaches soft leather-hard condition so the foot faces up. This exposes the slow-drying bottom to the surrounding air, naturally balancing the drying rate of the entire vessel.
Even after successful drying, mistakes in heating and cooling can still ruin your work. Follow these kiln guidelines to protect your pottery.
Before loading greenware into a bisque kiln, ensure it is 100% bone dry. If clay containing residual moisture exceeds 100°C (212°F), steam trapped inside will cause micro-cracking or catastrophic explosions.
A simple, dependable Japanese studio trick is the “lip check.” Gently touch the piece to your cheek or lips. If the clay feels cool or damp, moisture is still present inside. Truly bone-dry clay feels neutral and warm to the touch, matching room temperature. Never bisque fire a piece until it passes this test!
When starting a bisque firing in an electric or gas kiln, keep the temperature increase very slow from room temperature up to 200°C (392°F). Ramping at roughly 50°C to 80°C (90°F to 145°F) per hour ensures that any remaining trace moisture escapes gently without thermal shock.
After a glaze firing finishes at peak temperatures (around 1200°C to 1250°C / cone 5 to cone 9), the cooling phase is critical.
Never crack open the kiln lid or door while the chamber is still above 200°C (392°F)! Inrushing room-temperature air will instantly shock the outer surface of your pottery, creating sharp cooling cracks (samashi-ware).
Exercise patience and keep the kiln closed until the temperature drops below 100°C (212°F), or ideally until it reaches room temperature. That final waiting period is what guarantees your vessels emerge intact.
Even with careful precautions, unexpected variables can occasionally produce a crack. Rather than tossing your piece into the trash, consider these methods to repair or repurpose your work.
If you catch a small crack on bone-dry greenware or bisque ware, make a repair paste by crushing scrap clay of the same body into a fine powder, then mixing it with a small amount of grain vinegar and water-based wood glue (PVA glue).
The acidity in the vinegar improves the plasticity of the clay particles, helping the paste bind tightly into the crevice. Work the paste deep into the crack, let it dry, sand it flush, and proceed with firing for a subtle repair.
For cracks on finished glazed pieces, the Japanese traditional art of kintsugi is the ideal remedy. Kintsugi uses Japanese lacquer (urushi) or modern craft resins to bond fractures, finishing the repair with dusted gold or silver powder.
Instead of hiding the damage, kintsugi elevates the crack into a unique decorative landscape (keshiki). A simple mug or bowl with a delicate golden vein becomes an irreplaceable, one-of-a-kind art piece.
If a piece has a through-and-through crack along the base, it will leak and cannot be used for food or drink. However, it can make a wonderful cachepot for potted houseplants, a vase for dried flower arrangements, or a catchall tray for jewelry and keys. Deciding how to give new purpose to an imperfect piece is one of the joys of working with handmade pottery.
Cracks in ceramics are preventable once you understand how clay behaves:
Pottery is an ongoing dialogue with clay, water, and fire. By respecting clay’s physical tendencies and handling each stage with patience, you will soon enjoy opening your kiln to beautifully finished, crack-free work. Keep experimenting, enjoy the drying and building process, and create pottery that you will cherish for years to come!









For example, if you are looking for articles about mizuhiki, try searching for "mizuhiki"; if you are interested in tools, try keywords like "nippers" or "pliers."
