A Crafter’s Guide to Japanese Shaping & Polishing Tools: How to Choose the Right Finishing Tools for Handmade Projects
yassy
Crafters!

Hi, I'm Yassy from Crafters! (・∀・)
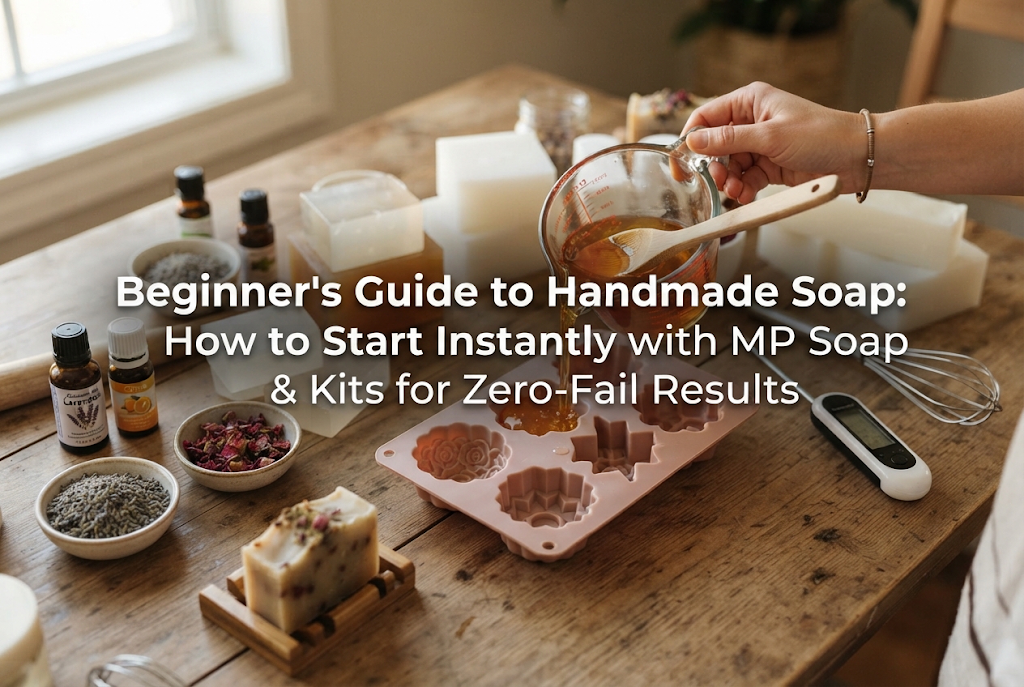
Spending time crafting your own soap with your favorite colors and scents is a truly blissful experience. Personally, I love making various handmade items, admiring the wonderful creations of other artisans, and buying materials and artwork at my favorite craft shops. Among all these activities, handmade soap making is a fantastic craft that combines the joy of creating with the practical delight of using what you make to relax.
However, many people hesitate to try soap making, assuming it requires dangerous chemicals, difficult temperature control, or expensive specialized tools. Let me give you the clear truth right away: if you choose the right method and follow the correct steps, even complete beginners can make perfect, safe soap starting today!
In this guide, I will explain all the necessary knowledge and steps so that crafting beginners can jump into soap making without confusion or failure. There's no need to take a long, roundabout path. Grab a starter kit or supplies from online stores like Amazon and kick off your dream handmade soap lifestyle today!
In the world of handmade soap, there are two primary methods: the Cold Process (CP) method and the Melt & Pour (MP) method. For beginners, understanding the difference between these two is crucial. Getting this wrong from the start carries a high risk of injury or getting discouraged.
Here is an overview of each feature and a clear answer on which one beginners should choose.
The Cold Process method is a traditional technique where plant oils (such as olive oil or coconut oil) are mixed with an aqueous solution of caustic soda (sodium hydroxide) to trigger a chemical reaction (saponification). Because the nutrients from the oils and natural glycerin remain intact, it produces high-quality soap that feels wonderful on the skin.
However, the CP method poses high hurdles for beginners. Caustic soda is a hazardous, strongly alkaline substance. In Japan, buying it requires showing personal identification and a signature stamp at a pharmacy. Furthermore, dissolving it in water causes an intense heat reaction and produces toxic fumes, making long sleeves, rubber gloves, protective goggles, and masks mandatory. Additionally, the soap must be dried and cured in a well-ventilated area for about a month before it can be used.
While it is authentic crafting, gathering tools from scratch and handling hazardous chemicals is simply too daunting for first-timers.
The Melt & Pour (MP) method involves melting pre-made MP soap base (glycerin soap) using a microwave or a double boiler, adding colors and fragrances, pouring the mixture into molds, and letting it cool and harden. True to its name, the process is extremely simple.
Since no dangerous caustic soda is used, the process is entirely safe as long as you exercise basic caution with heat. There is no need for a drying or curing period; once hardened, the soap is ready to use that very day. Because of its high transparency, this method is ideal for creating stunning jewel-like soaps or botanical soaps filled with flowers.
Without a doubt, the method beginners should pick first is MP Soap (Melt & Pour). Without handling hazardous chemicals, you can complete a high-quality soap on the same day you gather your supplies, allowing you to enjoy a sense of achievement and fun with zero risk.
Even if you are interested in the CP method later on, the smartest approach is to start with MP soap to get a feel for the workflow and design aesthetics before stepping up. Start with MP soap without hesitation!
Here are the essential tools and supplies required to start making MP soap. None of them require specialized commercial machinery, and all are easy to obtain.
These core supplies determine the shape and texture of your soap. Keep these criteria in mind when choosing materials:
The tools used during crafting are simple items you likely have at home or can easily buy online:
When starting soap making, the biggest mistake a beginner can make is buying ingredients and tools individually from various shops. Buying item-by-item wastes money on multiple shipping fees and makes it hard to know which colorants suit MP soap or which mold size is best, leading to purchase errors.
The cheapest, fastest, and most foolproof way to start is to buy a starter kit on online stores like Amazon. It really is the best option available!
Searching for "MP Soap Starter Kit" or "Handmade Soap Kit for Beginners" on Amazon or similar sites will bring up plenty of kits featuring stylish molds and colorful mica powders. Beginners should simply order a highly rated starter kit to get fully prepared.
Once your materials and tools are ready, let's start making soap! The steps are simple, but a few tricks ensure a beautiful finish. Here are 5 basic steps to complete your soap with zero failures.
Using a kitchen knife, slice the solid MP soap base into small cubes of about 1–2 cm (0.5–1 inch). Cutting it small ensures even heat distribution in the microwave, preventing uneven melting or overheating. Taking the time to chop it finely is your first step toward success.
Place the cut soap base into a heat-resistant container and heat it in the microwave (500W–600W). What you must never do here is heat it for a long time all at once. If the soap base boils, water evaporates, causing a film to form on the surface or resulting in a wavy texture after cooling.
For about 100g of soap base, start by heating at 500W for 20 to 30 seconds. Take it out to check, and if solid chunks remain, heat in short 10-second bursts. Once residual heat makes the whole mixture a smooth liquid, heating is complete.
Add mica powder or other soap colorants alongside your essential oils to the melted base. A good rule of thumb is 10 to 20 drops (approx. 0.5 ml to 1 ml) of essential oil per 100g of soap base.
Using a stirrer or bamboo skewer, mix gently and quickly to avoid creating bubbles. Because MP soap begins to set fast as its temperature drops, working efficiently is key.
Slowly pour the mixture starting from the edge of the silicone mold. Pouring too fast traps air and creates large bubbles, so pour gently.
After pouring, spray 1 or 2 spritzes of anhydrous ethanol onto the small bubbles on the surface. The surface tension breaks instantly, popping the bubbles and leaving a remarkably smooth, professional surface. This single ethanol step elevates your work dramatically.
Once poured into the mold, let it sit undisturbed on a flat surface to cool and harden. At room temperature (around 20°C / 68°F), it will harden firmly in 30 to 60 minutes. If you are in a rush, let it lose its surface heat completely, then pop it in the refrigerator for 15 to 20 minutes.
Once fully set, gently pull the edges of the silicone mold outward and push the soap out from the bottom. The moment it pops smoothly out of the mold is a delightful highlight for everyone!
Once you can make basic single-color soap, try your hand at elevated design techniques. Here are three popular designs that showcase the transparency and quick-setting speed of MP soap.
Jewel soap, immensely popular on social media and handmade marketplaces, highlights the real charm of MP soap making. Here is how to craft it:
Slicing reveals vibrant layers and crystal-like patterns inside, finishing into a soap that resembles genuine minerals. Best of all, leftover shavings can be melted down and reused, so nothing goes to waste!
This design embeds real dried or preserved flowers inside high-transparency clear MP soap.
Note: Fresh flowers will rot or discolor inside the soap, so always use fully dried flowers. Lavender buds, mini roses, and pressed flowers look breathtakingly beautiful.
Pour a thin layer of clear soap into the mold, place the flowers once the top layer forms a thin skin, and gently pour the remaining clear soap over them. This prevents flowers from floating or sinking, fixing them perfectly in the center.
This technique layers different colored soaps to create striking, strata-like geometric lines.
The secret is to let the lower layer set on top before pouring the next layer. If you pour while the lower layer is still liquid, colors will bleed together. Once a film forms on the lower layer and doesn't stick to a gentle touch, slowly pour the next color, cooled down to around 50°C (122°F). Spritzing a little ethanol on the lower surface right before pouring ensures the layers bond strongly together.
While MP soap making has a low failure rate, beginners often encounter a few specific issues. Knowing these causes and fixes beforehand will keep your crafting smooth and frustration-free.
Cause: Microwave heating for too long at once, causing the soap base to boil. Moisture escapes, making the soap thick, hard to pour, and unpleasant to use.
Solution: Always heat in short, precise increments. If a thick skin forms from overheating, scoop it off with a spoon, add a few drops of purified water, stir gently, and melt it back to smooth liquid over a warm double boiler.
Cause: Droplets of moisture may appear on the soap surface when left in a room. This is known as soap "sweating." MP soap is rich in glycerin, a natural humectant. Glycerin strongly attracts moisture from the air, drawing room humidity onto the soap's surface as water beads.
Solution: As soon as you unmold finished soap, wrap it tightly in plastic food wrap without leaving air pockets. Sealing it in wrap blocks air contact and completely prevents sweating. Store wrapped soaps in a dry area or in an airtight container with silica gel desiccant packs.
Cause: Adding excessive essential or carrier oils (like olive oil) to boost scent or moisturizing power causes the oils to separate from the MP soap base, leaving the soap sticky or unable to harden.
Solution: Keep added oils strictly under 1% of the total volume. For 100g of soap base, use a maximum of 20 drops (about 1 ml) of essential oil and just a few drops of additional moisturizing oil. Sticking to recommended ratios is an absolute rule for glossy, firm soap.
When enjoying handmade soap, it is helpful to understand basic legal regulations, such as Japan's Act on Securing Quality, Efficacy and Safety of Products Including Pharmaceuticals and Medical Devices (Pharmaceutical and Medical Devices Act). Following proper rules ensures you stay safe and compliant.
How a soap is used changes its legal classification:
If you wish to sell your MP soaps on handmade platforms or marketplace apps, clearly list them as non-cosmetic items such as "decorative interior ornaments" or "aroma craft decor." Follow the rules so everyone can enjoy handmade crafts safely!
We've covered the wonderful appeal of soap crafting along with practical tips for zero-fail beginner success. Let's recap the key points:
With ingredients ready, you can craft impressive, boutique-worthy soaps in just 30 minutes. Coloring your soap in favorite shades and surrounding yourself with soothing aromas makes this a wonderful hobby to melt away daily stress.
Don't waste time hesitating! Open Amazon or your favorite online craft store, add a starter kit and MP soap supplies to your cart, and launch your handmade soap lifestyle today. Your sparkling, homemade soaps will surely bring extra joy to your daily handwashing and bath routines!
If you enjoyed this guide, sharing it with friends on social media or messaging apps would mean the world to me! Thanks for reading, and see you in the next article! This was Yassy from Crafters!


For example, if you are looking for articles about mizuhiki, try searching for "mizuhiki"; if you are interested in tools, try keywords like "nippers" or "pliers."
