Starch Paste vs. Craft Glue: Choosing the Right Adhesive for Japanese Tsumami Zaiku
yassy
Crafters!

Hello! This is Yassy from Crafters! (・∀・)
Have you ever tried your hand at Tsumami Zaiku (the traditional Japanese art of folding small fabric squares into flowers) only to feel frustrated that your finished flower looks unbalanced? Do your petals look inconsistent in size, or does the overall shape warp as you assemble it on the base?
Even when each petal seems folded neatly on its own, it is very common for beginners to notice uneven sizes once all the petals are arranged together. Tsumami Zaiku is a delicate Japanese craft made from tiny fabric pieces, where a single millimeter of misalignment or a slight change in pressure from your fingers directly impacts the final petal size.
Rest assured, there are clear reasons why petal sizes turn out inconsistent. By mastering a few fundamental techniques and thorough preparation, you can create remarkably uniform and breathtakingly beautiful petals every time.
In this guide, I will break down the exact steps and key points—from initial preparation to folding, trimming, and final assembly—so you can perfect your Tsumami Zaiku flower petals!
Before jumping into the solutions, let's look at why petal sizes become uneven in the first place. Understanding these root causes helps you identify exactly where errors occur in your process.
The five main causes of size variations are:
In Tsumami Zaiku, it is no exaggeration to say that the battle is decided during the cutting stage, long before folding even begins. For example, if you aim to cut 2.5 cm squares but end up with a mix of 2.4 cm and 2.6 cm pieces, those tiny differences create significant variations in volume and puffiness once folded. This directly translates to visibly mismatched petal sizes in your finished flower.
Let's go through the concrete solutions for each step.
The very first step to uniform petals is preparing flawless, precise squares. If this preparation is sloppy, no amount of folding skill can fix the size variations.
When cutting fabric into squares, do you cut pieces one by one with fabric shears? Standard scissors force you to lift the fabric off the table while cutting, which often results in slanted edges or stretched fabric dimensions.
To cut perfect squares, always use this essential trio: a rotary cutter, an acrylic grid ruler, and a cutting mat.
Lay your fabric flat on the cutting mat, press the grid ruler down firmly, and glide the rotary cutter along the edge. This allows you to cut straight, accurate strips without pulling or distorting the fabric. Once you have uniform strips, layer them and slice vertically at the exact same width to produce multiple identical squares at once.
Fabric has a direction of weave (the grainline) formed by intersecting warp and weft threads. Fabric stretches easily when pulled diagonally (on the bias), but stretches very little along the direction of the threads.
If the edges of your squares are not aligned parallel to the fabric's warp and weft, the fabric will stretch unevenly on either side when folded diagonally. This uneven stretch is a primary cause of lopsidedness or asymmetrical volume when forming Maru-tsumami (round folds) or Ken-tsumami (pointed folds).
Always align the grain of your fabric straight before cutting your squares along the grainline.
A widely used material in Tsumami Zaiku is Ichikoshi Chirimen, a Japanese rayon crepe fabric featuring a fine textured weave (shibo) that is soft and elastic. If you press down too hard with your ruler while cutting Chirimen, the fabric squashes and stretches; once you release the pressure, it shrinks back, altering your square's size.
When cutting Chirimen, avoid pressing down excessively hard, and let a sharp rotary cutter glide gently over the fabric. If you work with thin silk fabrics such as Habutae, using a non-slip ruler will help maintain high precision.
Once you have exact squares, the next stage is folding. Here, you need high "reproducibility"—meaning holding the fabric at the exact same point and applying the exact same force every single time.
When folding a square into triangles and pinching it with tweezers, where exactly do you grip the fabric? The depth and distance from the tip determine the angle and height of the petal fold.
A common beginner mistake is gripping the fabric at slightly different locations by feel. This naturally causes inconsistent petal shapes.
A helpful technique is to mark a line on your tweezers tip using masking tape or a permanent marker. By setting a personal rule—such as "insert the tweezers from the square's corner right up to this mark before pinching"—your depth remains completely uniform, keeping every petal's height and width consistent.
Maru-tsumami is loved for its soft, rounded appearance, but how much you open or flatten the curve can drastically change its final size. Keep these three points in mind:
Opening the petal with your fingers creates that lovely puffiness, but relying solely on finger sensation leads to variations. Make it a habit to check the horizontal width of opened petals against a ruler on your table from time to time.
Ken-tsumami features sleek, sharp tips. Size variations in Ken-tsumami usually stem from misaligned tips or inconsistent spine angles.
When folding triangles repeatedly, even a millimeter of tip misalignment changes the final petal length. Take care with every fold to align the corners crisply using the tip of your tweezers. Additionally, make sure the back spine line is straight when gluing the final seam.
After folding a petal, you enter the step of trimming excess fabric from the bottom edge—a process known in Japan as ashi-giri (or tan-giri).
This trimming step is actually the single most critical key to achieving perfectly uniform petal heights!
The bottom section of a folded petal consists of multiple layered fabric folds, resulting in uneven thickness and irregular lengths. If you glue these untrimmed bottoms directly onto the base, the petals will stand at varying heights, making the flower appear uneven from above.
Trimming the bottom edges horizontally (or at a controlled angle) with precision scissors forcibly unifies both the height and bottom surface area of every petal.
Use small, high-precision craft scissors with sharp tips. Scissors with thick blades will push the fabric while cutting, causing slanted edges.
Using the width of your tweezers as a cutting guide ensures every single petal is trimmed to the exact same height. Cut horizontally for flat flowers, or at a slight angle for 3D, hemispherical flowers.
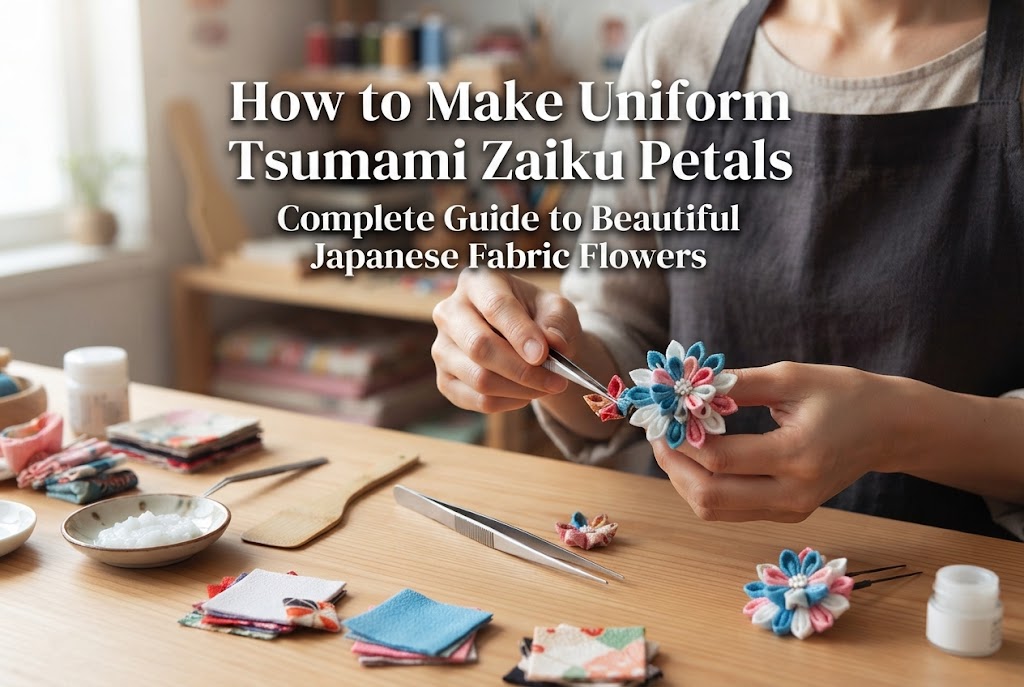
Tsumami Zaiku can be made using traditional rice starch paste (denpun-nori) or convenient wood glue. Whichever adhesive you choose, you must account for glue quantity and moisture absorption.
In traditional starch paste techniques, folded petals rest on a wooden board coated with paste, absorbing moisture and becoming soft and supple.
However, if some petals rest for 5 minutes while others sit for 30 minutes, the difference in moisture absorption will alter the fabric stretch and petal puffiness. When using starch paste, fold all petals for one flower quickly, place them on the paste board together, and let them rest for the exact same duration before assembling.
With wood glue, applying too much glue allows it to seep into the fabric and harden, preventing delicate adjustments with tweezers later. Applying too little glue causes petals to open up during assembly.
Use a toothpick or fine spatula to apply a tiny, consistent dot of glue only to the very base (adhesive area) of each petal. Consistent glue amounts ensure uniform compression when pressed onto the base substrate.
Even if your petals are individually flawless, placing them unevenly during final assembly (fuki) will ruin the overall balance. Here are professional techniques to ensure symmetry during assembly.
Before attaching petals to your fabric-covered cardboard base (maru-daishi), draw clear guidelines on the surface using a pencil or fabric marker.
For a 6-petal flower, draw 6 radial lines passing through the center; for an 8-petal flower, draw 8 radial lines. Adding concentric circles around the center makes placement even easier.
By aligning the center line and tip of each petal along these guidelines, the spacing, angles, and distances from the center will be perfectly symmetrical, creating a professional circular flower.
Avoid attaching petals one after another in a simple clockwise circle. Going in order around the circle often leads to running out of room or leaving awkward gaps for the final petals.
The golden rule for even placement is diagonal cross-placement:
Building in a cross pattern guarantees your balance won't collapse!
When overlapping round petals slightly side-by-side, inconsistent overlap depth alters the total diameter of the flower. Set a clear rule for yourself—such as "overlap neighboring petal edges by 1 millimeter"—and verify each placement from above with your tweezers.
Here are some of my personal workflow tricks that I use in my own Tsumami Zaiku work to maintain consistent quality!
When making multiple flowers, do you cut, fold, trim, and assemble one complete flower before moving on to the next? Completing one full flower at a time causes your hand sensitivity and pressure to shift over time, making Flower #1 look different from Flower #2.
To keep sizes uniform, always work in batch lines:
Performing the same action repeatedly builds muscle memory in your hands, drastically reducing variations in pressure and angle.
No matter how careful you are, humans aren't machines—making 100 petals will naturally yield a few slightly larger or smaller pieces. Even pros experience minor variations!
My solution is sorting before assembly. Line up all folded petals on a flat workspace and inspect them closely. Separate them into three groups: "slightly larger," "average," and "slightly smaller."
When assembling a single flower, use petals exclusively from the same group! Even if a group of petals is slightly smaller than average, assembling them together yields a perfectly harmonious flower.
Focusing deeply on Tsumami Zaiku can cause tension in your shoulders and hands. Stiff hands apply excessive force on tweezers, crushing petals into smaller shapes.
If you notice your petals getting stiffer or smaller during work, put your tweezers down, take a deep breath, and rest your hands. Gentle, steady pressure is the fastest path to producing uniformly gorgeous petals.
Incorporating these points into your routine will dramatically elevate the quality of your finished flowers. It might feel like extra effort at first, but it quickly becomes second nature!
We've covered the complete process for mastering uniform petal sizes in Tsumami Zaiku, from initial prep to final assembly.
Remember, if your petals were uneven in the past, it wasn't a lack of talent or dexterity! It was simply a result of small compounding factors like millimeter-level cutting slips, shifting tweezers grips, or varying trim heights.
Review the key takeaways:
When petal sizes align perfectly, Tsumami Zaiku flowers radiate breathtaking elegance and craftsmanship whether viewed from afar or up close.
Give these techniques a try in your next craft session to create the flawless Tsumami Zaiku flowers of your dreams!
If you found this guide helpful, please share it with your craft friends on social media or messaging apps—it truly encourages me!
Until next time, happy crafting! This was Yassy from Crafters!



For example, if you are looking for articles about mizuhiki, try searching for "mizuhiki"; if you are interested in tools, try keywords like "nippers" or "pliers."
