Why Your Amigurumi Stitches Are Loose: Causes and How to Keep Your Fabric Tight and Neat
yassy
Crafters!

Hello, this is Yassy from Crafters! (・∀・)
Have you ever crocheted an amigurumi carefully according to a pattern, only to look at the finished piece and feel that something is slightly off? Maybe the head looks a bit lopsided, the surface feels bumpy, or it just lacks that refined, store-bought cuteness.
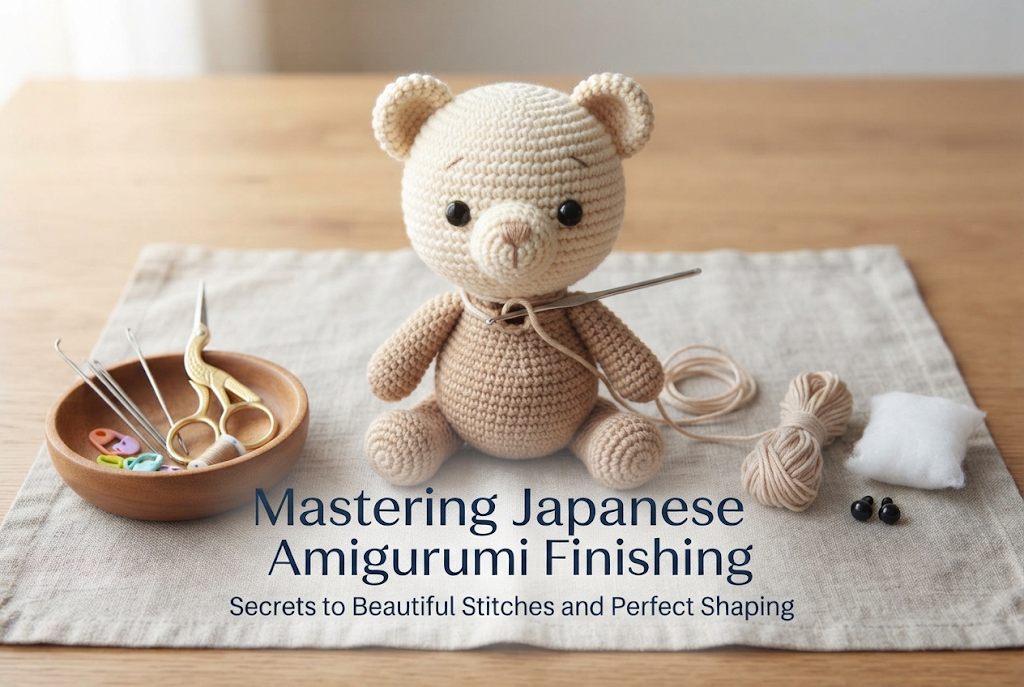
In reality, the final quality of an amigurumi depends just as much on the assembly and finishing touches as it does on crocheting the stitches themselves. No matter how neat your stitches are, if the stuffing, sewing of parts, or final adjustments are done carelessly, the finished piece will end up with an unpolished, homemade look.
On the flip side, once you master key finishing techniques, you can transform a plushie made from the exact same pattern and yarn into a professional-looking masterpiece! Today, I will walk you through practical, step-by-step finishing techniques to bring your amigurumi crafting to the next level.
Many beginners tend to think that "finishing the crochet rows = almost done." However, in the world of craft-making, crocheting merely produces the raw material parts. The true creation of a plushie lies in the subsequent assembly and fine adjustments.
Commercial plush toys and works by popular amigurumi artists look stunning because their overall form is smooth, the seams between parts are nearly invisible, and their proportions look flawless from every angle. This beauty isn't purely due to innate talent; it is built on a logical, step-by-step finishing process.
By finishing your work thoroughly, you can correct minor stitch distortions, distribute the stuffing evenly, and bring out a lively, expressive face. Taking the extra time for these steps is the fastest route to dramatically elevating your plushie's quality.
Let's start by reviewing how to handle individual crocheted pieces. Most amigurumi parts are crocheted in continuous spiral rounds using single crochet. Because of this, a visible height step (a "jog") naturally forms on the final round. If you attach a part with this step left unadjusted, it causes unevenness and bulges at the seams.
Right after completing the final round, there is a clear height difference between the last stitch and the previous round. The most effective way to smooth this out is to work 1 or 2 slip stitches into the stitches next to your last single crochet.
Stepping down gradually from the height of a single crochet to the flat height of a slip stitch turns a harsh step into a gentle slope. A helpful tip here is not to pull the slip stitch too tightly; keep the loop the same width as the top of a regular single crochet so it doesn't pucker inward.
When closing off a piece at the top of a head or bottom of a body after decreasing, simply pulling the yarn tail tight often leaves a pointy bump in the center. The technique to prevent this and achieve a flat, clean surface is the "Invisible Close."
Once you finish your final decrease round (for example, down to 6 stitches), cut the yarn leaving about 20 cm (8 inches) and thread it onto a tapestry needle. Next, weave the needle through the front loop only of each remaining stitch, going from the outside toward the inside.
After passing through all the loops, gently pull the yarn tail like drawing a cinch string. The central hole will shrink neatly inward, leaving a smooth, flat circle without any protruding bump. Insert the needle tail into the center hole, push it deep into the body, and bring it out elsewhere before cutting. This completely hides the knot inside.
The way you stuff your amigurumi is perhaps the single biggest factor affecting its overall quality. A common mistake among beginners is either under-stuffing—leaving the plushie squishy and prone to collapsing—or over-stuffing to the point where stitches stretch open and white fiberfill leaks through. To create a beautiful amigurumi, proper stuffing amount and post-stuffing shaping are essential.
Do you pull fiberfill out of the bag and shove large clumps straight into your piece? Inserting big clumps creates uneven density inside the fabric, causing the surface to look lumpy and wavy.
When stuffing, first tear the fiberfill into thin, small pieces with your hands to fluff up the fibers and trap air. The golden rule is to add these small pieces gradually, layering them along the inner walls of the crocheted fabric.
As for order, fill the prominent areas first—such as tips, corners, or chubby cheeks that need structural emphasis—and then fill the central void. Using tweezers or locking forceps helps deliver fiberfill precisely to the tiny corners of small parts.
A good rule of thumb for firmness is that when you push firmly with your finger, the piece feels elastic and bounces right back. Aim for a firm density while watching closely to ensure the stitches aren't stretching open. Proper stuffing density prevents your amigurumi from losing its shape over time.
Do not close or sew a piece immediately after stuffing it. You should always perform a "hand massage" first.
Enclose the stuffed piece between both palms, roll it around, and press gently but firmly with your fingertips to distribute the inner fibers evenly. Spherical parts in particular tend to become slightly oval or boxy due to the direction of spiral stitches. Massaging them in a circular motion in your hands brings them closer to a perfect sphere.
When crafting my own pieces, I dedicate plenty of time to this hand-shaping step. Massaging entangles the inner fibers, eliminates lumps, and leaves the outer crocheted fabric taut, smooth, and beautifully shaped.
Attaching parts like ears, limbs, and muzzles onto the main body is often the most nerve-wracking stage of amigurumi making. If a part shifts by just a few millimeters or the sewing line wobbles, the entire facial expression can be ruined.
Never compromise on the temporary pinning phase. Using only 2 or 3 straight pins allows parts to shift while sewing, leading to regrets when you realize something turned out crooked.
Even for a tiny ear, use at least 4 to 6 pins around its perimeter to lock its contour in place. Using long pearl-head pins designed for plushies ensures they penetrate deeply and stay firmly anchored.
Once pinned, make sure to inspect your work from these three key angles:
The secret is not just checking the piece sitting on a table, but picking it up to eye level and looking at it from a slight distance. If anything feels off, don't hesitate to re-pin until you find the perfect placement.
To attach parts cleanly, use a ladder stitch (or mattress stitch), picking up a stitch on the body and then a stitch on the part alternately. This hides the joining thread inside the stitches, creating a seamless look as if the piece were molded as one.
Here are key points for clean joining:
If yarn tension is too loose, gaps will form and the part will wobble. If pulled too tight, the fabric will pucker and create deep dents. Aim for a balanced tension where the stitches sit flush against each other while maintaining a smooth surface.
The eyes and nose breathe life into an amigurumi. However, simply inserting safety eyes or embroidering a nose onto flat crochet fabric can leave the face looking flat and amateurish. Here are professional tricks to add depth to facial features.
If you observe real animal faces, eyes sit inside subtle socket indentations in the skull structure. Creating slight indentations for amigurumi eyes adds depth and 3D dimension, making the expression infinitely sweeter.
Before attaching safety eyes or sewing eyes on, thread strong yarn onto a tapestry needle. Insert the needle from the back of the head or base of the neck, bringing it out at the marked eye position. Insert the needle one stitch over, and bring it back out at the nape or neck.
Pull both yarn ends gently to draw the eye position inward, creating a small indentation. Once you reach your desired depth, knot the yarn securely inside to hold the shape, then install or sew the eye into that socket. This simple technique dramatically improves the side profile and gives the face an endearing charm.
When embroidering noses or mouths, embroidery thread can sink into gaps between stitches, causing straight lines to look jagged. Preventing this requires thoughtful thread selection and needle placement.
Before embroidering, insert fine pins as guidelines to outline your intended stitching route. Also, avoid piercing directly through yarn fibers to prevent fraying; instead, aim precisely for the small natural spaces between crochet stitches.
When filling a nose using satin stitch, lay the threads parallel to eliminate gaps, but be careful not to pull so hard that you crush the fabric underneath. Place the thread lightly to retain a plump, glossy texture for an elegant, neat snout.
Once all parts are attached and the face is complete, it is time for the final finishing touches. Doing this final step makes a world of difference in cleanliness and premium quality.
Handling crocheted fabric during assembly can leave stitches slightly irregular or stiff due to friction and hand moisture. A steam iron solves this instantly.
Never press the iron directly onto your amigurumi. Direct heat crushes yarn fibers, creates permanent shiny patches, and ruins the texture. Hold the iron 2 to 3 cm (about an inch) away from the plushie, letting only the steam envelop the piece.
The warm steam causes wool or acrylic fibers to swell gently, smoothing out uneven stitches naturally. Immediately after steaming, while the fabric is warm, gently pat and shape the piece with your hands, then leave it completely untouched until it cools down. As it cools, the shape sets, locking in an amazingly smooth, neat silhouette.
Yarn tails from sewing should be pulled deep inside the body to hide them, but sometimes an end pokes out to the surface during use.
To prevent this, tie a small knot at the end of your sewing yarn, push the needle deep into the body, and bring it out some distance away. Pull the thread slightly taut and cut it right at the base of the fabric. Lightly massage the body, and the cut end will snap back inside, remaining completely hidden.
Finally, inspect the surface for stray fuzz generated during crafting, and carefully trim it away using small embroidery scissors. Cleaning up surface fuzz highlights the beauty of your stitches and gives the finished piece a crisp, clean appearance.
Here is a checklist to objectively evaluate your finished amigurumi quality. I personally use this checklist to conduct a final inspection whenever I complete a new piece.
If you notice anything concerning during your check, have the courage to pick up a needle and adjust it. That extra bit of care translates directly into the persuasive quality of your finished work.
Finishing an amigurumi neatly doesn't require special talents or expensive tools.
It comes down to smooth transitions at the end of rounds, stuffing in small layers, using plenty of pins to check placement, and relaxing the fabric with steam. Carefully accumulating each of these small steps elevates handmade amigurumi into refined, boutique-quality creations.
It might feel like extra effort at first, but once you get the hang of these finishing techniques, watching your crocheted parts transform into adorable, lifelike characters is immensely rewarding. Try incorporating these finishing tips into your next project and create your best amigurumi yet!
If you enjoyed this article, sharing it with your crafting friends on social media would mean the world to me! Until next time, happy crafting from Yassy!


For example, if you are looking for articles about mizuhiki, try searching for "mizuhiki"; if you are interested in tools, try keywords like "nippers" or "pliers."
