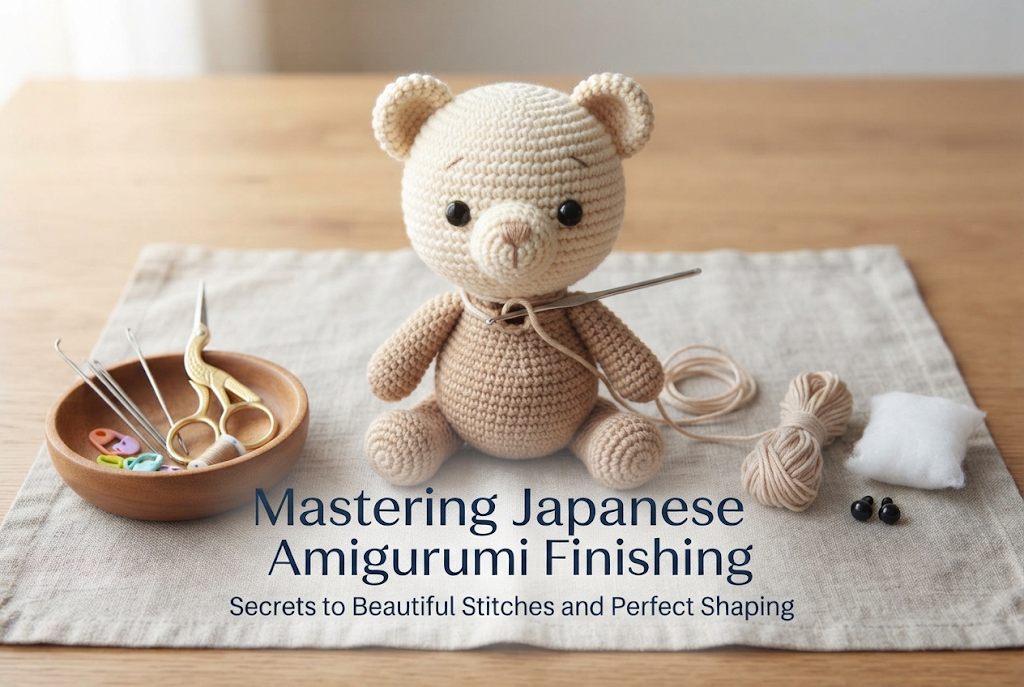
Mastering Japanese Amigurumi Finishing: Secrets to Beautiful Stitches and Perfect Shaping
yassy
Crafters!

Hello, crafters! It’s Yassy! (・∀・)
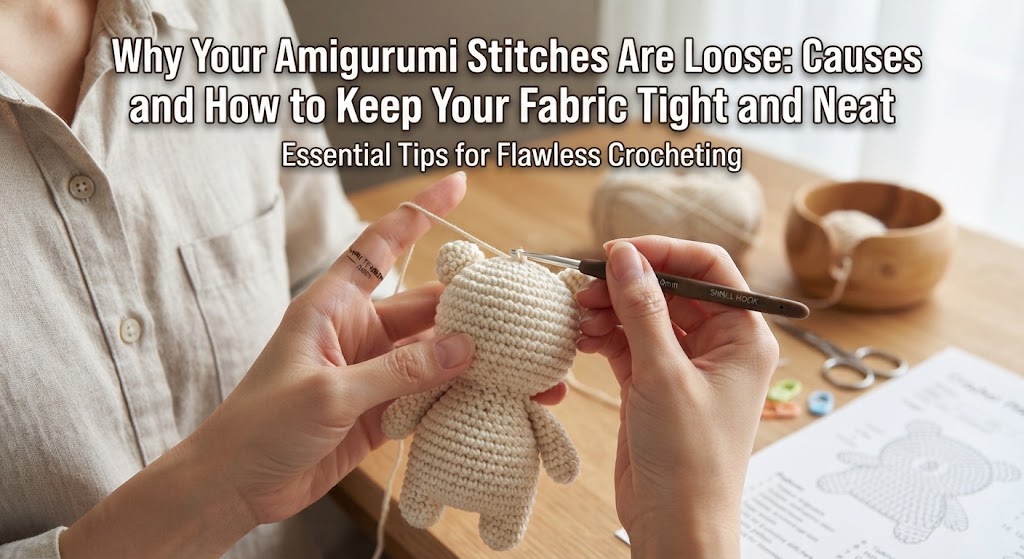
Have you ever encountered this frustrating problem while crocheting cute amigurumi: "Why are my stitches so loose and full of gaps?" or "When I stuff my piece, the fabric stretches out and the white stuffing peeks through!" Even if you follow the pattern carefully, loose stitches can quickly lower the overall quality and finish of your amigurumi.
When knitting or crocheting everyday garments or scarves, loose and airy stitches are often encouraged to create a soft, supple drape. However, for amigurumi, loose stitches are your worst enemy. Because amigurumi pieces are stuffed with fiberfill to create 3D forms, a tight, dense fabric is absolutely essential.
In this guide, I will break down the specific reasons why amigurumi stitches turn out loose and share practical, hands-on techniques to keep your fabric firm, neat, and gap-free. If you have been struggling with loose stitches, read on to fine-tune your crocheting technique!
First, let’s look at the specific issues caused by loose stitches. Understanding these drawbacks will clearly show why maintaining tight tension is so vital.
The most noticeable drawback of loose stitches is that the white polyester fiberfill shows right through the holes in your fabric, or stray fibers begin poking out. This is especially obvious when using dark yarns like black, navy, or red, instantly giving the piece an unpolished look.
Over time, handling the amigurumi can pull more fiberfill out through the gaps, eventually causing the piece to deflate. To make a durable amigurumi that lasts for years, creating a dense fabric that keeps the stuffing securely inside is a must.
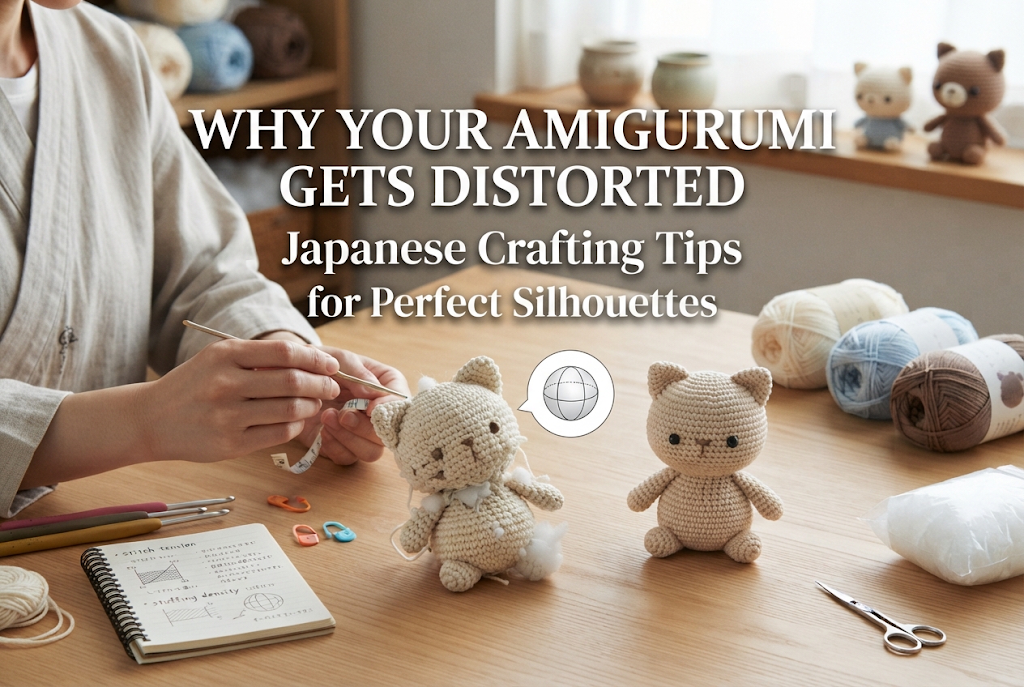
Loose stitches significantly reduce the structural strength of your crocheted fabric. When you try to shape your piece by packing it with stuffing, the fabric stretches unevenly under the internal pressure. A round head might turn oblong, or a body might bulge awkwardly in unwanted spots.
To achieve clean, dimensional spheres and stay true to your pattern's intended proportions, you need a firm, uniform fabric that can comfortably withstand the pushing force of the stuffing.
Amigurumi pieces are assembled by sewing on ears, limbs, muzzles, and safety eyes or noses. If the base fabric is loose, pulling yarn through with a tapestry needle can stretch the stitches into large holes, leaving the attached parts wobbly and unstable.
To secure every feature firmly in its intended position, a tightly crocheted base is an absolute prerequisite.
There are very clear reasons why stitches turn out loose. Even when you think you are doing everything right, you might be unintentionally making tiny movements that cause looseness. Here are the six primary culprits.
This is the most common mistake. Yarn labels always display a recommended hook size (such as 3.0 mm – 3.5 mm). However, that recommendation is intended for standard flat projects like scarves, dishcloths, or blankets where a soft, flexible drape is desired.
If you use the hook size recommended on the yarn band for amigurumi, the stitches will naturally be quite large, leading to visible gaps.
When working single crochet stitches, the motion of drawing up the loop from the previous round matters immensely. If you pull your hook upward and stretch the loop out too high, the height and width of that individual stitch will expand beyond what is needed, leaving a gap underneath.
The larger the loop on your hook, the looser the resulting single crochet stitch will be. Lifting the yarn loop too far up is a direct mechanical cause of uneven, loose stitches.
In crochet, the tension created by the yarn draped over the index finger of your non-dominant hand (usually the left hand) governs how tight each stitch sits. If the yarn feeds through your fingers with no resistance, there won't be enough tension when you yarn over and pull through.
Beginners often focus entirely on the hand holding the hook, letting the yarn slide freely and uncontrollably through the other hand. Without firm control from your yarn-holding hand, you cannot pull stitches consistently taut.
Shaping amigurumi requires decreases (single crochet two together, or sc2tog). Structurally, standard decreases are notorious for stretching and creating gaps. Because you draw up loops from two separate stitches before completing them together, extra slack accumulates in that spot.
Using a traditional sc2tog often leaves noticeable eyelets or holes along your decrease lines, exposing the stuffing underneath.
Even if your stitches are neat while working, stuffing can ruin your fabric if done incorrectly. In an effort to make an amigurumi very firm, forcefully jamming in more fiberfill than the crocheted piece can handle will stretch the stitches open from the inside.
Once crocheted stitches are overstretched, they do not bounce back easily. Exceeding the natural elasticity of your fabric will ultimately result in looseness and unsightly holes.
When joining parts—like sewing a head onto a body or attaching limbs—tugging the yarn tail with too much brute force can stretch the surrounding stitches into prominent holes.
Similarly, catching only a single strand of yarn with your tapestry needle instead of anchoring into the full stitch places all the pulling tension onto one fragile loop, causing it to stretch out.
Now that we know the causes, let’s explore practical solutions to keep your amigurumi stitches tight, clean, and seamless.
The golden rule of amigurumi is to use a crochet hook that is 1 to 2 sizes smaller than the size listed on the yarn label. This is the simplest and most foolproof way to guarantee tight stitches.
For example, if your yarn band suggests a 3.0 mm to 3.5 mm hook (Japanese size 5/0–6/0), switch down to a 2.5 mm or 2.2 mm hook (Japanese size 4/0 or 3/0). Intentionally working with a smaller hook forces the stitches to close up into a dense, solid fabric.
Pay close attention to how high you lift your hook after inserting it into a stitch and grabbing the yarn. Instead of pulling the loop upward away from the work, keep the hook close to the fabric, pulling just enough yarn so the loop sits snug around the shaft of the hook.
Stitch sizes are determined by the diameter of the hook's shaft, not the narrow neck. By keeping your loop flush against the shaft without pulling extra yarn, your stitches will stay as compact as possible.
Re-evaluate how you hold the working yarn in your non-dominant hand so that consistent resistance is maintained. Rather than simply draping the yarn over your index finger, try threading it under your pinky, wrapping it around the pinky once, and then bringing it across your palm and over your index finger.
By lightly closing your pinky finger, you create an effective "brake." As you crochet, yarn will only feed out when actively pulled, maintaining steady tension and producing evenly tightened stitches across every round.
Standard decreases leave gaps, so switch to the "Invisible Decrease" (often called inv-dec). This method has become an international standard among amigurumi makers because it completely eliminates the telltale holes and distortions of standard decreases.
By inserting your hook through only the front loops of the two stitches to be decreased, the reduction stays flush on the surface of the fabric and looks virtually identical to a regular single crochet stitch, preventing gaps entirely.
When stuffing your amigurumi, avoid shoving in large clumps of fiberfill all at once. Instead, pull small tufts of stuffing apart and insert them gradually using tweezers, a stuffing stick, or craft forceps.
Distribute the stuffing outward in all directions from the center rather than applying pressure directly against a single spot on the fabric. Gently massaging the exterior of the piece with your hands as you fill helps the stuffing settle evenly, achieving firmness without overstretching the stitches.
Here are a few personal tricks and adjustments that I rely on in my own amigurumi work to handle looseness and prevent stuffing from showing!
If I am crocheting and realize, "Wait, the last few rounds look loose and wavy," I do not hesitate to frog (unravel) back to that spot. It is virtually impossible to fix loose stitches after the fact by simply pulling on the yarn.
Trying to power through without frogging will only lead to disappointment once you stuff the piece and watch that section buckle or distort. Unraveling isn't a failure—it’s an investment in the quality of your finished craft! Frog back, drop down one hook size, and re-stitch that section with confidence.
When working with dark yarns like black, deep navy, or rich red, tiny flecks of white polyfill can sometimes peek through no matter how tightly you crochet. In these cases, I employ two handy tricks: matching the stuffing color or using an inner liner.
First, look for black polyester fiberfill at your local craft store when using dark yarn. If a tiny gap ever appears, the dark stuffing blends in seamlessly and remains invisible.
Second, you can insert a thin, color-matched liner—such as a piece of sheer nylon stocking, tulle, or even a small disposable tea filter bag—inside your amigurumi piece before adding the stuffing. Stuff the filling inside the liner rather than directly against the crochet work. Because the loose fibers never touch the yarn directly, you get 100% protection against stray fluff escaping through the stitches!
You might be pulling the working yarn with excessive physical force. The secret to tight, dense amigurumi stitches is using a smaller crochet hook, not yanking on the yarn with all your muscle. Straining too hard hurts your hands and wrists and makes it impossible to insert your hook. Keep your hands relaxed, let the smaller hook size do the work of creating compact stitches, and aim for a natural, comfortable tension.
Yes, significantly! 100% acrylic and wool yarns have natural fuzz and friction, which helps stitches cling to each other and fill in small gaps. On the other hand, smooth cotton yarns, linen, and straight polyester yarns have very little elasticity and a slick surface, making them prone to slipping and showing loose gaps. When making amigurumi with cotton yarn, paying close attention to your hook size and maintaining steady hand tension is especially crucial.
We’ve covered the key reasons why amigurumi stitches become loose and the practical adjustments you can make to fix them.
The main causes of loose fabric boil down to choosing a hook that is too large, lifting your loops too high, inconsistent tension, and overstretching during decreases or stuffing. By addressing each of these factors—choosing a smaller hook and mastering clean hook movement—anyone can produce dense, flawless amigurumi fabric.
A firmly crocheted amigurumi holds its shape beautifully when stuffed, feels sturdy in your hands, and carries a wonderfully polished look. Try applying these techniques to your next project, and enjoy watching your cute amigurumi creations come out looking crisp and professional from every angle!
If you found this guide helpful, sharing it with your fellow crochet friends on social media means the world to me!
Until next time, happy crafting! This was Yassy from Crafters!

For example, if you are looking for articles about mizuhiki, try searching for "mizuhiki"; if you are interested in tools, try keywords like "nippers" or "pliers."
