Why Your Amigurumi Stitches Are Loose: Causes and How to Keep Your Fabric Tight and Neat
yassy
Crafters!

Hello everyone! This is Yassy from Crafters! (・∀・)
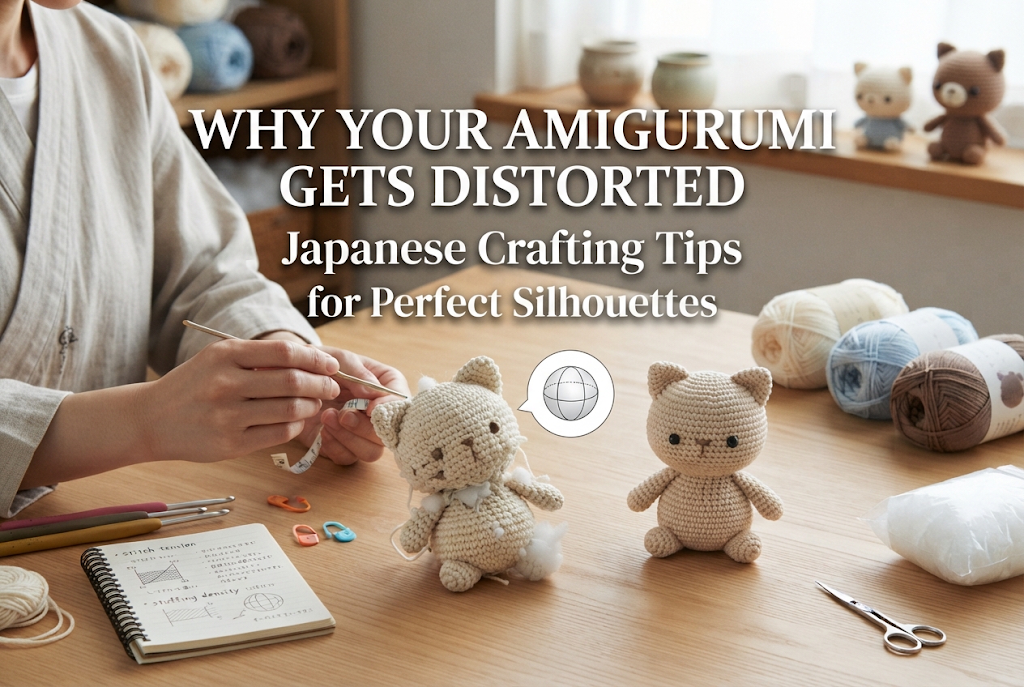
Have you ever encountered this frustrating experience when crocheting adorable Japanese amigurumi with your hook: "I'm following the pattern exactly, but why is my shape warping?" "Why did my round sphere turn into an oval or a polygon?" or "When I sewn the limbs on, the whole plushie tilted to one side!"
Because you put so much love into every stitch, you naturally want your finished piece to look as neat and perfectly proportioned as the sample picture. But don't worry—there are clear, logical reasons why amigurumi loses its shape. It isn't just one single problem; distortion can stem from your crocheting habits, uneven tension, how you stuff polyfill, or how you assemble the pieces.
In this guide, I will uncover the root causes of distorted amigurumi shapes and share practical solutions and expert tips to help you create clean, crisp silhouettes. Once you understand these underlying causes and how to fix them, anyone can make beautifully shaped, firm amigurumi!
When your amigurumi looks unnaturally warped or asymmetrical, the first step is identifying where things went off track. In most cases, tiny misalignments during the crafting process accumulate and end up having a huge impact on the final form. Let's look at five common causes.
The single most common reason for distortion is changing your tension while crocheting. In crochet, stitch size varies depending on how tight you pull the yarn and the size of the loop left on your hook.
If you lose focus halfway through or pause your work and pick it back up days later, your tension often shifts unconsciously. If you crochet tightly in the first half and loosely in the second, the gauge of your fabric changes between the top and bottom of the piece, causing it to warp.
When shaping spheres or 3D parts, patterns specify where to increase (working two stitches into one) and decrease (combining two stitches into one). Standard patterns often arrange increases in a uniform, predictable grid for mathematical simplicity.
However, if you place increases or decreases in the exact same spot round after round, those areas will bulge outward or form distinct corners. If your round sphere turns into a blocky polygon, concentrated increase/decrease lines are the culprit.
When crocheting single crochet in continuous spirals, the stitches do not stack vertically; instead, they naturally lean slightly toward the right (for right-handed crocheters). In Japanese craft terminology, this phenomenon is known as shakou (stitch slanting).
While slanting is a natural structural feature of spiral crochet, strong habits regarding hook angle or yarn pulling can accentuate this lean. As a result, the front of a pattern or piece can twist, giving the entire plushie a skewed appearance.
Even if your crochet fabric is flawless, improper stuffing during assembly can easily ruin your shape.
Pushing large clumps of polyfill into a piece at once or stuffing heavily toward one side creates uneven pressure. Furthermore, using too little stuffing leaves the amigurumi prone to collapsing under its own weight or warping under attached limbs.
Even if the head, body, arms, legs, and ears are all individual masterpieces of crochet, distortion frequently occurs during final assembly.
If a limb is attached just one stitch off from the center grid, the plushie will look noticeably asymmetrical from the front. Additionally, pulling your seaming yarn too tightly compresses the base fabric, causing unsightly indentations that destroy the overall silhouette.
To avoid a skewed shape, you need to pay attention right from the stitching stage. Here are concrete practices to maintain precise, beautiful stitches.
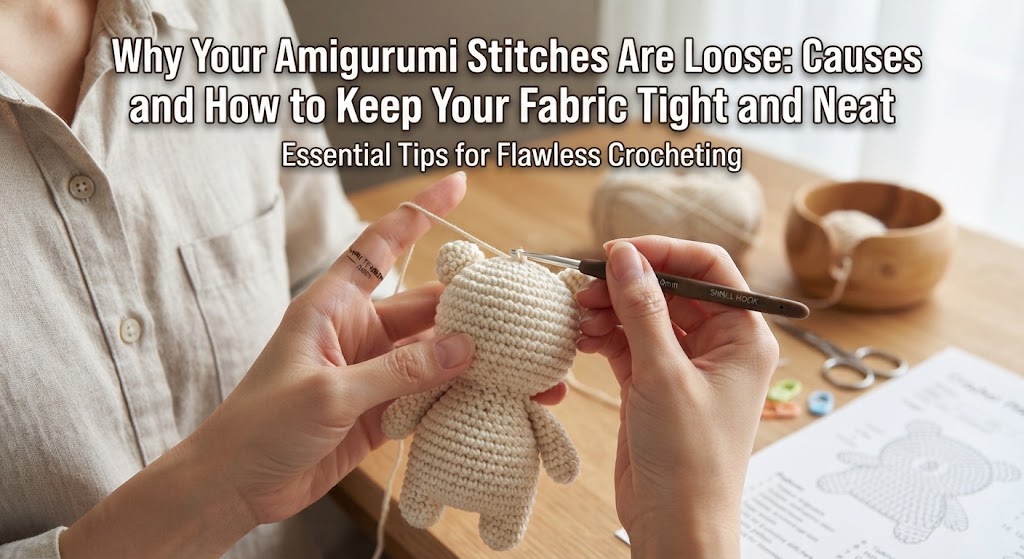
To maintain uniform tension, focus on how yarn feeds through your non-dominant hand. Keeping the tension on the yarn wrapped over your index finger consistent is vital.
When pulling up a loop with your hook, make sure to lift each loop to the full height of the hook's shaft. If you need to take a break, try to stop at the end of a round. When resuming, stitch the first few stitches carefully to recall your previous tension gauge.
To create a smooth, perfect sphere, try using "staggered increases" by shifting your increase points on alternate rounds.
For example, on an even-numbered increase round (such as "[6 sc, 1 inc] x 6"), split the first single crochet count in half by starting with 3 sc, then do 1 inc, and proceed with "[6 sc, 1 inc]" for the rest of the round. Shifting the placement prevents increases from stacking into sharp corners.
Standard single crochet (V-stitch) involves wrapping yarn over the hook. In contrast, yarn-under single crochet—often called the Cross Single Crochet or X-stitch—involves catching the yarn from underneath.
Adopting the X-stitch creates clean, dense stitches shaped like an "X." This technique thickens the fabric, fills gaps, and dramatically minimizes the natural spiral slant (shakou). If you want to eliminate distortion, switching to the X-stitch is highly recommended.
In Japanese amigurumi making, the golden rule is to use a crochet hook 1 to 2 sizes smaller than what is recommended for the yarn weight.
Using a hook matched to standard garment gauge results in loose stitches that stretch open when stuffed. Crocheting tightly with a smaller hook yields a rigid fabric capable of holding polyfill securely without deforming.
Stuffing is the magical phase where your amigurumi comes to life, but it is also your chance to correct structural flaws. Proper stuffing technique can easily mask minor tension irregularities.
Never shove large, dense clumps of polyfill directly from the bag into your piece. Big chunks create uneven internal pressure, making the outer surface lumpy and distorted.
Always pull the stuffing apart into small, bite-sized, fluffy tufts using your fingers. Insert them gradually from the center outward, distributing equal pressure against the fabric walls.
For narrow areas like fingertips, toes, or animal snouts, use craft tweezers or stuffed toy stuffing tools.
If stuffing fails to reach the ends of narrow limbs, those areas remain deflated, causing wrinkles and warping. Guiding small bits of fiberfill into every corner is the secret to crisp 3D parts.
A common beginner mistake is under-stuffing. When fiberfill is sparse, the structure collapses under the tension of the seaming thread, distorting the face or body.
Stuff the piece until it feels quite firm when squeezed. Firm stuffing maintains consistent outward pressure, keeping the surface stitches taut and smooth.
Once all parts are crocheted and stuffed, you enter the assembly phase. Careless sewing can undo all your hard work! Follow these steps to assemble your plushie accurately.
Never hold parts together by hand while sewing; this is a recipe for misalignment. Always secure parts firmly with glass-head pins before stitching.
Use at least four pins around the perimeter of each attachment zone. Once pinned, inspect the amigurumi from three angles:
Checking from multiple viewpoints while rotating the piece is the only foolproof way to spot misalignments before sewing.
When joining parts, alternate needle passes between one stitch on the body and one stitch on the attached piece.
Skipping stitches or inserting the needle diagonally causes puckering. Work along a clean line of stitches on the body to form a neat, seamless join.
Pulling your seaming thread too hard creates deep indentations, while leaving it loose leaves limbs floppy and unstable.
Tighten the thread just enough so the piece sits flush against the body without squishing the crochet fabric. Check the shape after every few stitches to catch any puckering early.
Here is my personal crafting routine that I use whenever I make amigurumi to ensure perfect shapes every time!
First, after completing each round, I gently massage and shape the piece with my fingertips. While holding a piece, our hands naturally squeeze and distort it. Gently massaging it back into a true sphere after each round helps the stitches settle into place remarkably well.
Second, during assembly, I rely heavily on my smartphone camera!
Human eyes can easily miss subtle asymmetries when staring closely at an object. When I pin limbs in place, I hold up my phone camera and view the plushie on the screen. Looking through a digital lens offers instant objectivity—you'll immediately notice if a right ear is sitting half a stitch too far back.
Finally, when placing eyes and noses, I use a camera app with a grid overlay or place a small ruler against the face to measure down to the millimeter. Facial symmetry defines the entire personality of an amigurumi, so I take extra time to get it right!
We've explored the main causes of distorted amigurumi shapes—uneven tension, stacked increases, stitch slanting, improper stuffing, and misaligned sewing—along with easy fixes for each.
It might sound like a lot at first, but taking each step thoughtfully will guarantee beautiful, symmetrical results. As you practice, you'll become more aware of your personal crochet habits and master tension naturally. Try these Japanese crafting tips on your next project to create the adorable, perfectly shaped amigurumi of your dreams!
If you found this guide helpful, please share it with your fellow crafters on social media or messaging apps! It really keeps me motivated!
Until next time, happy crafting! This was Yassy from Crafters!



For example, if you are looking for articles about mizuhiki, try searching for "mizuhiki"; if you are interested in tools, try keywords like "nippers" or "pliers."
