The Ultimate Beginner’s Guide to Japanese Amigurumi: How to Start, Choose Kits, and Avoid Mistakes
yassy
Crafters!

Hello, everyone! This is Yassy from Crafters! (・∀・)
Have you ever flipped through a cute amigurumi book at a bookstore or spotted adorable crocheted animals on social media and thought, "I want to make one myself!"? With just a hook and a ball of yarn, amigurumi—the Japanese art of crocheting small, stuffed yarn creatures—allows you to bring round, three-dimensional mascots to life right in your hands. It is easily one of the most popular genres in the craft world.
However, many excited beginners who buy all their supplies quickly hit a wall: "What should I make first?" or "Is it okay if I jump right into making a teddy bear with arms and legs?" Choosing the wrong project at the start often leads to confusion with crochet charts or crooked parts when sewing everything together, causing many people to give up before finishing.
In this article, I will explain how to choose your very first amigurumi project so you can avoid frustration, enjoy the process, and experience that satisfying feeling of accomplishment! Let's build your skills step by step while enjoying the joy of crocheting.
Before picking a project just because it looks cute, there are three golden rules every beginner must keep in mind. If you pick a complex pattern too early, you will face all the common beginner obstacles at once. Here are the criteria to help you avoid failure:
The step that beginner amigurumi crafters struggle with the most is joining or sewing the parts together ("toji/hagi" in Japanese craft terms). While crocheting itself might go smoothly, attaching a head to a body or sewing ears and limbs symmetrically requires much more balance and skill than you might expect.
A standard crocheted animal with arms and legs usually requires sewing 8 to 10 separate parts together: a head, body, two ears, two arms, two legs, and a tail. If your needle shifts by even a single row, the face can look crooked or the limbs misaligned, ruining the neatness of your stitches.
Therefore, your memorable first project should follow a strict rule: pick something that requires only 1 single part, or at most a main body with 1 tiny stem or accent piece attached.
Amigurumi patterns generally start with a "magic ring" (輪の作り目, wa no tsukurime), followed by regular single crochet increases each round, a few rounds without changes, and then regular decreases before pulling the opening shut.
However, complex shapes like pointed animal snouts, narrowed ankles, or posed bodies require irregular increases and decreases. As a beginner, it is very easy to lose track of where you are in the pattern, leading to mismatched stitch counts.
By picking motifs close to a clean sphere or a simple cone that only use regular increase and decrease rules, you can naturally understand the fundamental structure of amigurumi patterns.
The most important factor in improving at any craft is the positive experience of finishing a project from start to finish. Large plushie-sized projects take many rounds, which can lead to fatigue, abandoned work, or inconsistent stitch tension as your hands tire.
On the flip side, tiny miniatures that sit on a fingertip are not recommended either. The stitches are too small to see clearly, placing a lot of strain on hands that aren't used to holding a crochet hook yet.
A target size of about 5 to 7 cm (2 to 2.8 inches) in diameter that fits comfortably in your palm is ideal. Pick a small piece you can complete in 2 to 3 hours while keeping your focus strong.
Here are 5 carefully selected motifs that meet all the conditions above and pack in all the basic crochet fundamentals. Here is why each one is recommended:
You might think, "A ball? But I want to make cute animals!" However, experienced amigurumi artists always recommend starting with a simple round ball. That is because a basic sphere contains all the core techniques used in amigurumi:
If you can crochet a neat ball, it is no exaggeration to say you have mastered 80% of amigurumi basics! You can make it in a solid color, switch colors halfway for a two-tone look, or add two plastic safety eyes and embroider a mouth with yarn to instantly transform it into a cute little monster or mascot.
If you want to create an unmistakable object right away, fruit motifs like strawberries or apples are fantastic. For a strawberry, the main body is crocheted almost like a ball, but with a gentler increase rate toward the tip to give it a slight point. Once the body is done, you simply crochet a small, flat green leaf piece (the calyx) and sew it onto the top.
Embroidering small yellow or white seeds onto red or pink yarn makes it look instantly recognizable and adorable. The sewing required is minimal, and the result is extremely satisfying.
A mushroom consists of two parts: the cap and the stem. This makes it the perfect subject for practicing the basics of joining parts together.
The cap is worked as a hemisphere, while the stem is a simple cylinder. Unlike animal arms and legs, you only need to sew the stem directly to the center of the underside of the cap, so you don't have to stress about making things left-right symmetrical. If you flatten the base of the stem slightly and stuff it firmly, it can stand up on your desk as a cute little decor piece. Adding French knots or small felt circles to the cap gives it a charming Scandinavian style.
If you really want your first project to be an animal, I highly recommend a round bird or chick. The wonderful thing about this design is that the head and body are combined into a single sphere or egg shape. This completely eliminates the tricky step of sewing a head onto a body!
By crocheting an egg shape in yellow yarn, attaching safety eyes, and embroidering a small orange beak, you get a cute chick that anyone can recognize. You can also sew tiny flat wing pieces to the sides. Even if the wings are slightly uneven, it just adds to the charm, making it a very low-risk motif for beginners.
One of the biggest hurdles for amigurumi beginners is placing two eyes symmetrically. Position them just a few millimeters off, and the expression can end up looking completely different from what you intended.
That is why one-eyed monsters or sea creatures like octopuses and jellyfish are great choices. For a jellyfish, you simply crochet a hemispherical cap and attach wavy tentacles made from chain stitches or single crochets underneath. There are no strict rules on how long or how many tentacles you need, allowing you to relax and enjoy the creative process.
Once you choose a motif, selecting the right tools and materials is crucial. More than half of beginner frustrations come not from skill level, but from choosing the wrong yarn!
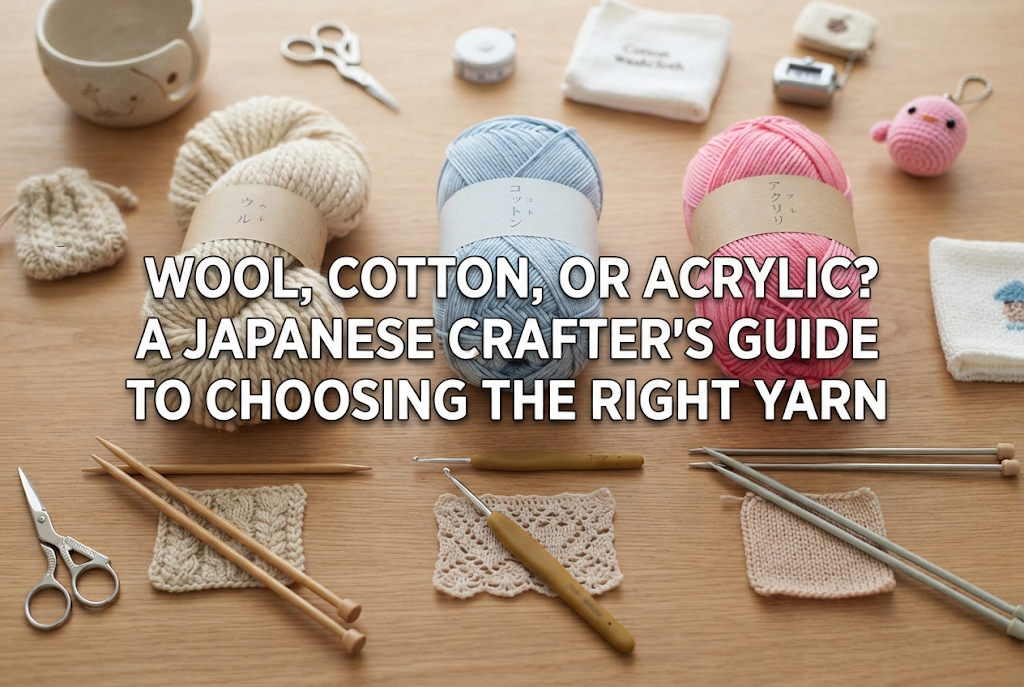
Yarn comes in various weights, from lace to super bulky, but beginners should stick to Medium/Worsted weight yarn (recommended for Japanese crochet hook sizes 5/0 to 6/0, approx. 3.0 mm to 3.5 mm).
Thin yarns (like fingering or lace weight) make stitches hard to see, leaving you unsure of where to insert your hook. On the other hand, super bulky yarns create stiff fabric that requires extra hand strength, tiring out your wrists quickly. A medium-weight yarn clearly shows stitch definition and is the easiest to manage.
Fluffy mohair, textured loop yarns, or plush chenille yarns look lovely, but please avoid them for your first project. The fur or texture hides the stitches completely, making it impossible to see where your hook goes or if you drop a stitch. Furthermore, if you need to unravel your work to fix a mistake, fuzzy fibers tangle easily.
Beginners should opt for smooth acrylic yarn or a cotton-acrylic blend with a tight twist. Stitches will stand out clearly, and you can easily unravel and rework your stitches if you make a mistake.
Yarn color is another common trap. Dark colors like black, navy, or dark brown create shadows that hide the V-shaped tops of stitches, making it hard to count your rows.
Pure white yarn can also be surprisingly tricky because bright light reflects off it, washing out stitch contrast. The best choices for your first ball of yarn are bright pastel shades like light yellow, mint green, salmon pink, or soft beige.
Here are three simple tips that will dramatically improve the finish of your work:
Amigurumi is crocheted in continuous spirals rather than flat back-and-forth rows. Because of this, beginners almost always lose track of where a round starts. Once you complete the very first stitch of a round, clip a plastic stitch marker into the top of that stitch. This ensures that when you work your way back around, you know exactly where the round ends.
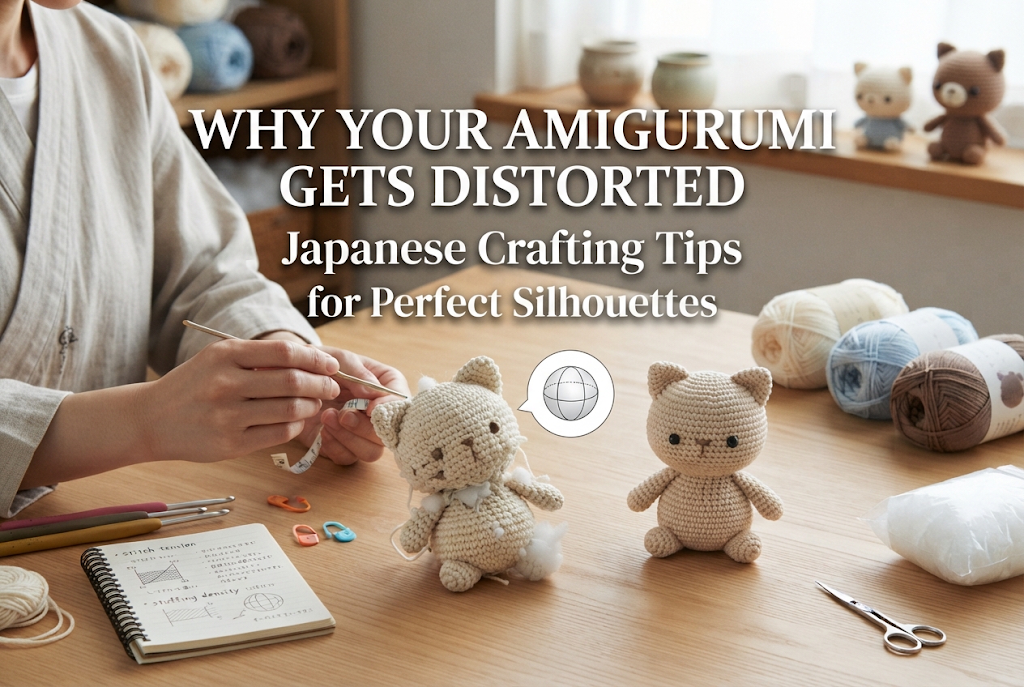
Before closing the opening, you need to insert polyester fiberfill, but beginners often don't use enough. If your piece lacks stuffing, it will dent easily when touched and lose its shape over time. Tear small bits of fiberfill with your fingers and push them in using tweezers or the end of your crochet hook, expanding the fabric gently from the inside. Aim for a firmness similar to a tennis ball to maintain a beautiful form.
Eyes determine the expression of your amigurumi. Once safety eyes are secured or glued in place, moving them is nearly impossible. Before fixing them permanently, use sewing pins as temporary markers for the eyes and view your piece from the front, sides, and top. Shifting an eye up or down by a single row, or adjusting the space between them, changes the face dramatically. Find the sweetest spot before applying craft glue to secure them.
Here are two issues I frequently see beginners encounter, along with my advice on how to solve them:
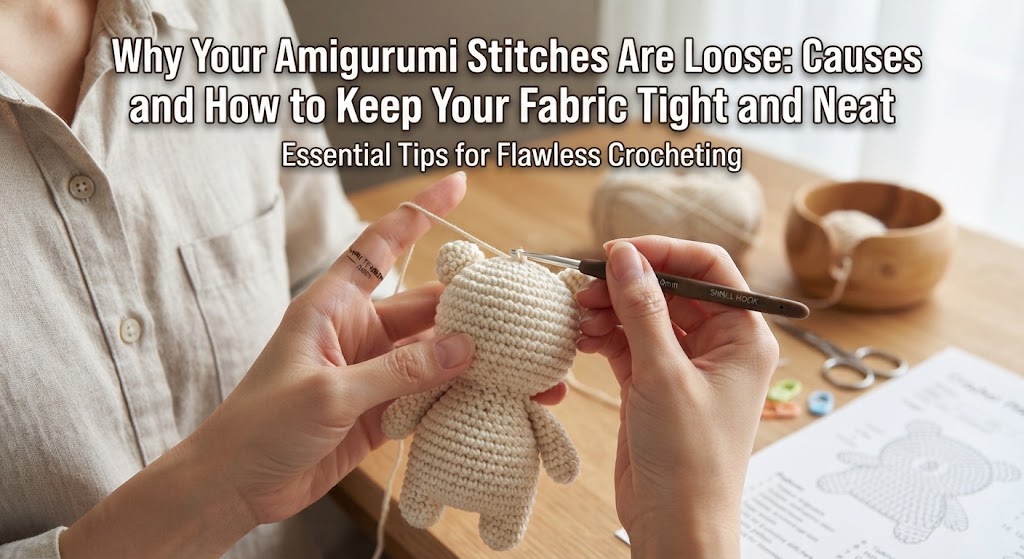
A very common question I get is: "I'm following the pattern, but my work is curling inside out and I'm looking at the inside of the cup!" This is the #1 issue beginners face!
As you crochet outward from a magic ring, the piece naturally curls into a cup shape. Many beginners unconsciously keep crocheting while looking at the inside of the cup (the wrong side of the fabric). The yarn tail from your starting magic ring should be inside the piece (the wrong side). The neat V-shaped stitches should face outward toward you (the right side). After crocheting 3 or 4 rounds, pop the cup inside out so the neat outer surface faces outward.
Another common concern is crocheting too tightly, making it hard to insert the hook. This happens when you pull the yarn too hard out of fear that fiberfill will leak out. Try sliding your loops up onto the thicker barrel of the crochet hook rather than keeping them tight on the narrow neck. This keeps your stitch sizes consistent and easy to work with!
Once you successfully finish your first simple project, your skills will have leveled up significantly! Here is a recommended progression path toward making full animal amigurumi:
Adding just one new element (joining parts, increasing part counts, or changing colors) with each new project is the fastest way to build your confidence and skill without getting overwhelmed.
To recap, the best way to start your amigurumi journey is to pick projects that require very few parts, have simple shapes, and can be completed quickly. Simple round balls or tiny fruits may look basic, but they are wonderful practice pieces packed with all the fundamental techniques of amigurumi.
You don't need to aim for perfection right away. Even if your stitches are a bit uneven, a handmade piece that you worked on stitch by stitch and brought to life with stuffing will be a special treasure.
Grab a ball of your favorite bright yarn and give a cute, simple project a try!
If you enjoyed this article, please share it with your crafting friends on social media! See you in the next article! This was Yassy from Crafters!



For example, if you are looking for articles about mizuhiki, try searching for "mizuhiki"; if you are interested in tools, try keywords like "nippers" or "pliers."
