Jesmonite AC100 vs. AC730: A Japanese Craft Writer’s Guide to Textures, Uses, and Techniques
yassy
Crafters!

Hello everyone, it's Yassy from Crafters! (・∀・)
Jesmonite is an immensely popular water-based resin in the handmade community. Known for its smooth, ceramic-like texture and user-friendly nature, it is one of my personal favorites for crafting interior decor and handmade accessories.
However, beginners who start working with Jesmonite almost always run into one major wall: the relationship between curing time and temperature.
"I mixed it using the exact same ratio as yesterday, but today it hardened so fast I couldn't pour it into the mold!""When I removed it from the mold, the inside was still damp and it broke apart!"
The root cause of all these failures is temperature. Jesmonite is extremely sensitive to thermal conditions. A shift of just a few degrees in room temperature or raw material temperature can drastically alter your pot life (the workable time before it sets) and the time required for demolding.
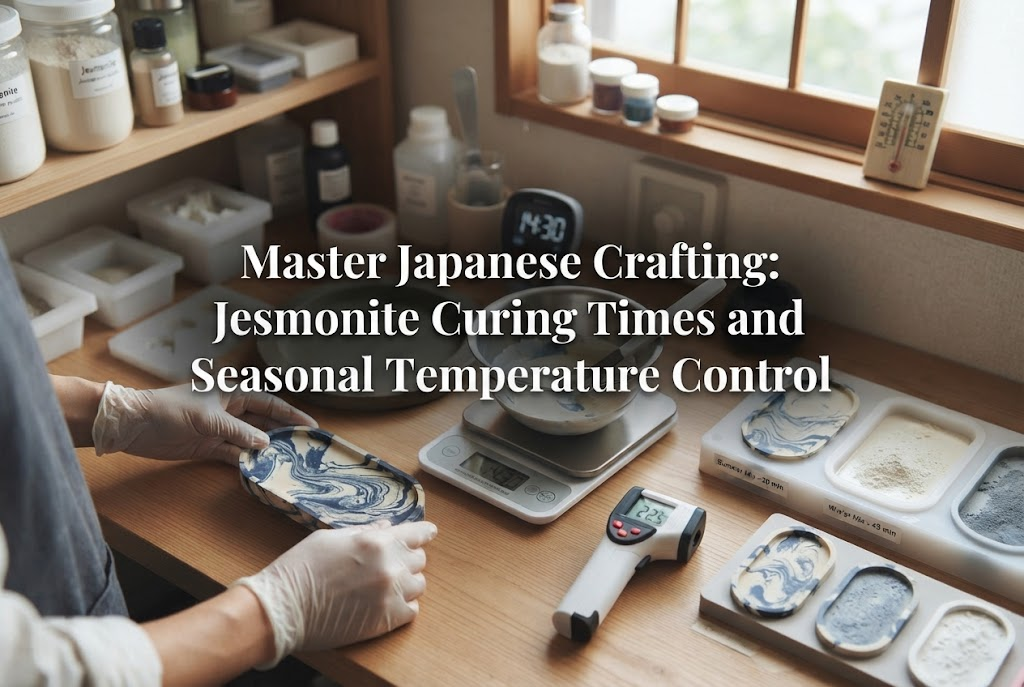
In this article, we will take a deep dive into how temperature affects Jesmonite's curing process. From seasonal speed variations to absolute rules for temperature control and pro tips on using retarders, everything you need to know is covered here.
Once you understand how temperature works with this material, you can completely eliminate crafting failures. Let's get started!
Jesmonite is a water-based composite material made by mixing a liquid component ("Liquid") and a mineral base powder ("Base") at a specific ratio. The curing process is not simply a matter of drying out. For example, in Jesmonite AC100, curing occurs through a chemical reaction called a "hydration reaction," where the gypsum component in the base powder reacts with the water content.
Because it is a chemical reaction, the reaction speed is directly governed by temperature.
When the temperature is high, molecular activity increases and the reaction accelerates. Conversely, when the temperature drops, the reaction rate slows down, extending the curing time.
Understanding this basic mechanism is your very first step toward mastering Jesmonite.
The moment you stir Jesmonite Liquid and Base together, the hydration reaction begins inside the mixture.
As the reaction progresses, it generates heat—a phenomenon known as an exothermic reaction.
The process from mixing to full hardening can be divided into four main physical stages:
The key takeaway here is simple: When your working environment or materials are warm, the curing process accelerates, shortening your available working time. Conversely, cold environments slow down the reaction, giving you a longer working window but delaying demolding.
Different Jesmonite formulations exhibit different curing characteristics. Taking the widely used AC100 as an example, manufacturers provide baseline technical measurements measured at standard conditions (such as 18°C / 64°F).
Always cross-reference room conditions with official guidelines to judge the state of your mix accurately.
Japan's distinct four seasons have a dramatic impact on indoor workshop environments. Even inside the same workspace, summer and winter bring entirely different temperature profiles.
Let's look at how seasonal temperature shifts affect your crafting process.
During hot summer months, working in a room without air conditioning causes Jesmonite to cure at an accelerated pace, leaving you with very little working time.
Running out of time due to rapid curing is the most common summer mistake. Forcing thick material into a mold leads to voids, air pockets, and unmixed streaks.
Additionally, working near sunlit windows or using materials that have just arrived in the mail (and are hot from transport) will drastically reduce your pot life.
On the flip side, unheated winter workspaces slow the hydration reaction significantly.
While a longer pot life might sound like a benefit, a delayed curing process means demolding takes much longer than usual. Hazards in cold weather include:
Trying to peel a cold, uncured piece out of a mold prematurely can tear your silicone molds and ruin your hard work.
Ignoring temperature when working with Jesmonite is a direct path to project failure. Keep these four common issues in mind so you know how to avoid them:
Under warm conditions, Jesmonite transitions rapidly from a fluid state to a thick, doughy consistency. Pushing thickened paste into a mold prevents it from filling intricate details or sharp corners, leaving large hollow spots inside. Moreover, bubbles cannot rise to the surface of a viscous liquid, resulting in pinholes across your final piece.
In cold settings, relying solely on a timer rather than checking physical hardness often leads to premature demolding. Jesmonite gains its ultimate strength near the end of its cycle. In its intermediate state, it may look solid but remains brittle. Forcing it out of the mold at this stage causes tray rims to crumble, thin handles to snap, or flat surfaces to warp permanently.
Jesmonite's characteristic smooth finish occurs when the liquid acrylic resin and mineral powder bond uniformly during crystallization. In excessively cold conditions, this chemical reaction stalls. The balance between water evaporation and hydration breaks down, causing unreacted minerals to bloom on the surface. The result is a chalky, powdery surface that lacks structural strength and breaks easily if dropped.
Temperature-induced viscosity changes alter decorative techniques. When creating marble patterns, high temperatures cause the colors to set while swirling, turning crisp veins into muddy blends. Conversely, in freezing conditions, the liquid stays thin for too long, causing dense terrazzo color chips to sink to the bottom of the mold under gravity, leaving the back of your piece completely empty.
To produce consistent, high-quality handmade crafts year-round, master these temperature control habits used by professional crafters:
The temperature of your raw materials matters just as much as ambient air temperature. If your liquid bottle and base powder are stored in an unheated storage room during winter, their temperature may drop below 10°C (50°F). Even if you heat your craft room to 20°C (68°F), mixing cold ingredients will chill the mixture and delay curing.
Material Management Rule:• Store Jesmonite Liquid and Base in a climate-controlled area out of direct sunlight.• Bring your materials into your heated or air-conditioned workspace at least 2 hours before starting work to let them acclimatize to room temperature.
Aim to maintain your workspace at standard room temperature (around 18°C–20°C / 64°F–68°F).
If high heat persists or you are casting large projects requiring longer working times, cool your liquid component beforehand:
When crafting in cold climates where room temperatures take time to rise:
Alongside temperature management, another essential tool for Jesmonite crafters is Jesmonite Retarder. This specialized additive slows down the chemical hydration rate intentionally.
It is invaluable for summer pours, complex marbling techniques, or large-scale casts.
Retarder is potent—adding just a few drops makes a noticeable difference. Precision is key:
Example Calculation: If your recipe uses 100g Liquid and 250g Base (1:2.5 ratio), a 0.2% retarder dosage requires 0.2g of Retarder.
Correct Mixing Sequence:1. Weigh the Liquid into your mixing cup.2. Add the measured Retarder directly to the Liquid using a precision scale or dropper.3. Stir the Liquid and Retarder together thoroughly until completely blended.4. Add the Base powder and proceed with standard mixing.
Never add retarder after mixing the powder into the liquid. Doing so leads to uneven distribution and localized cure failures.
When working at ambient temperatures around 28°C (82°F) in summer:
This sequence prolongs your pot life, giving you ample time for degassing and filling intricate mold cavities. Keep in mind that exceeding recommended retarder limits (e.g., over 2%) may prevent the material from ever hardening completely.
Relying solely on a timer can lead to broken pieces. Use physical cues to determine when a piece is truly ready to demold.
The most reliable indicator of Jesmonite's curing progress is temperature change.
During peak reaction, Jesmonite heats up noticeably. While warm, the chemical bonds are actively forming, making the internal structure delicate.
Green Light Signals for Demolding:1. The mold warms up noticeably during peak reaction.2. The temperature gradually drops until the mold feels cool (equal to room temperature).3. Tapping the exposed back or edge of the cast with your fingernail produces a firm, solid sound.
When the piece has completely cooled to room temperature, it is ready to be demolded safely. If 60 minutes have passed but the piece still feels warm, wait another 10 to 20 minutes before demolding.
A. Absolutely not. Applying direct hot air evaporates surface moisture rapidly, causing surface cracks and warping. The surface hardens prematurely while the core remains unreacted. To speed up curing, warm the entire room or heat the mold evenly from below using a heat mat.
A. No, it is not ruined. Upon demolding, Jesmonite retains residual moisture and sits at roughly 60% to 70% of its ultimate strength. Place your demolded piece in a well-ventilated area for 24 to 48 hours to allow complete moisture evaporation. Avoid heavy pressure or sanding during this drying period.
Let's review the key rules for mastering Jesmonite curing times and temperature control:
When you take control of temperature, Jesmonite becomes one of the most versatile and rewarding materials in craft making.
If you found this guide helpful, feel free to share it with your fellow crafters! See you in the next article. Happy crafting from Yassy!



For example, if you are looking for articles about mizuhiki, try searching for "mizuhiki"; if you are interested in tools, try keywords like "nippers" or "pliers."
