Complete Guide to Japanese Leathercraft Edge Finishing: Essential Steps and Rules for a Mirror-Like Shine
yassy
Crafters!

Hello, this is Yassy from Crafters! (・∀・)
When making bead jewelry, how do you usually choose your beads? Many crafters get captivated by the cute colors, unique shapes, or eye-catching materials and buy them right away.
However, once you sit down to craft, have you ever run into frustrating issues like "my wire won't go through the bead" or "the beads wobble and won't align neatly"? The root cause of all these troubles lies in the bead's hole size (hole diameter).
Bead hole size is a critical factor that determines not only how easy a project is to assemble, but also the overall beauty and durability of your finished piece. Once you understand the differences in hole sizes and select the correct stringing materials, the stress of bead crafting completely vanishes!
In this guide, as a bead lover who enjoys making, admiring, and buying beads, I will thoroughly explain how bead hole sizes affect usability, along with the golden rules for choosing failure-proof stringing materials!
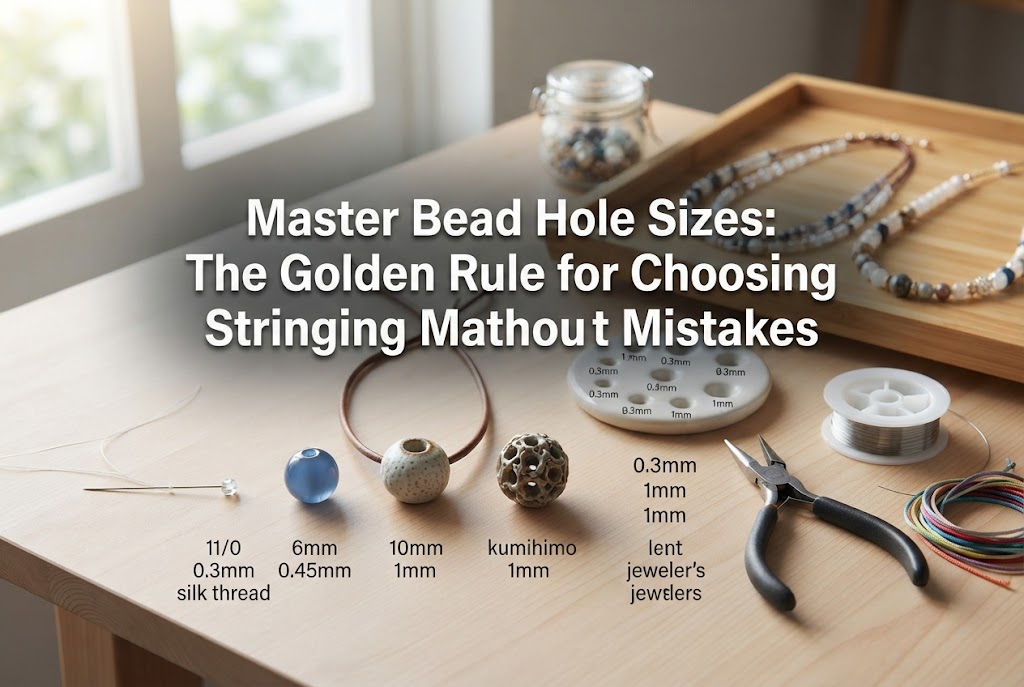
Bead hole size refers to the diameter of the hole running through the center of a bead. It is usually measured in millimeters (mm), and even a tiny difference of 0.1mm can dramatically change your work efficiency and final finish.
First, let's look at why paying attention to hole size is so important.
Even if you love a bead's design, you cannot turn it into jewelry if your thread or wire cannot pass through it. Natural gemstones and glass beads, in particular, can have completely different hole sizes even if their outer diameters are identical.
Checking the hole size in advance prevents the sad scenario of wasting purchased materials. You can completely avoid the frustration of getting stuck mid-project!
If you use thread or pins that are too thin for the hole diameter, the beads will float around inside, making their positioning unstable. When turned into a bracelet or necklace, beads that tilt unnaturally are usually caused by extra space between the hole and the core material.
By choosing a stringing material that fits the hole diameter perfectly, your beads will line up straight and neat, giving your work a polished, professional look.
To enjoy wearing your handmade jewelry for a long time, the thickness of the core material is vital. If you use ultra-thin monofilament or wire on large beads or heavy gemstones, the material won't withstand the weight and friction, leading to breakage.
The golden rule for creating sturdy, long-lasting jewelry is to use the thickest, strongest stringing material that the bead hole size allows.
Bead hole sizes can generally be categorized into three main groups: Small Holes, Standard Holes, and Large Holes. Let's compare their features and ideal uses in detail.
Small holes are commonly found in tiny gemstone beads, micro seed beads, and small freshwater pearls.
Usability Features:While they allow you to create delicate, dainty designs, they are the most challenging to handle for beginners. Available stringing materials are strictly limited, making prior preparation essential.
Pros:
Watch Out For:Standard headpins or eyepins (0.6mm–0.7mm thick) generally will not fit. Forcing them through can crack the bead or bend the pin.
Compatible Materials:
Standard holes are the most common size, used in Czech glass beads, round 11/0 and 8/0 seed beads, as well as general acrylic and glass beads.
Usability Features:Because this is the most widely distributed size for handmade craft components, you will never have trouble finding matching findings or tools. It is the best starting size for beginners.
Pros:
Watch Out For:Even with standard holes, caution is needed when doing cross-weaving (passing line through the same hole twice or more). For instance, passing two strands of No. 2 nylon monofilament (approx. 0.23mm) through a 0.8mm hole might cause knots to get stuck.
Compatible Materials:
Large holes are frequently seen in cotton pearls, wood beads, rondelles, gemstone beads designed for stretch bracelets, and large metal spacers.
Usability Features:Thick cords or elastic cords pass through easily without needing a needle, allowing for quick assembly. Great for kids' crafts and men's jewelry as well.
Pros:
Watch Out For:If you use thin headpins, the pin head (flat or ball end) can slide right through the bead hole. Thin thread will also cause the bead to wobble excessively.
Compatible Materials:
Once you understand bead hole sizes, the next step is choosing the right stringing materials. Here is a breakdown of the perfect combinations based on material thickness and hole diameter.
When working with pins, the balance between wire gauge and hole size directly affects quality.
If the bead hole is too large compared to the pin diameter, place a small seed bead or a bead cap between the bead and the pin head. This trick prevents the pin from pulling through 100% of the time!
Choose core thickness depending on the jewelry's structural design:
Using thin monofilament on heavy beads can cause knots to slip or motifs to lose their shape. A professional rule of thumb is to select the thickest line that can still comfortably pass through the hole.
For gemstone stretch bracelets, your choice of cord dictates durability.
Because Operon cord consists of bundled fibers, you can adjust it to 2-ply or 4-ply based on hole diameter. When making gemstone bracelets, choosing beads with 0.8mm+ holes and threading 4-ply Operon cord provides the highest resistance against snapping.
Here are three common hole size problems beginners face, along with reliable solutions.
It's frustrating when a bead listed with a 0.8mm hole blocks a 0.6mm pin midway.
Cause: Internal burrs (debris), coating paint, or glass residue left over from manufacturing. This is especially common in hand-drilled gemstones or coated beads.Solution: Do not force the pin, as it will bend or crack the bead. Instead, use a bead reamer (a miniature diamond-coated file). Insert the tip into the hole, wet it with water, and gently twist it a few times to smooth out internal burrs.
You slide a bead onto a headpin, and it immediately falls off the end.
Cause: The pin head (flat or ball top) is smaller than the bead's hole diameter.Solution: Place a tiny seed bead (such as a 15/0 or 11/0 seed bead) onto the pin before the main bead. It acts as a spacer and blends naturally into the design. Adding a decorative bead cap is another elegant fix.
You try to hide line knots or crimp beads inside a bead hole, but they refuse to enter or keep popping out.
Cause: The bead hole is either too small to fit the knot, or too large, allowing the knot to pull right through.Solution: Intentionally place a bead with a larger hole (1.2mm+) specifically at the spot where you plan to hide the knot. Alternatively, use specialized findings like calottes (fold-over crimp covers) or crimp covers to neatly enclose the knot from the outside.
As someone who handles all kinds of beads daily, here are my personal practical techniques for mastering bead hole sizes during crafting and supply shopping!
When shopping in store or online, I always review outer bead size and hole size together.
For example, a 4mm gemstone bead with a 0.5mm hole requires totally different pins and wires than a 4mm glass bead with a 0.8mm hole. Visualizing "I will pair this bead with 0.5mm wire" before purchasing prevents buying unusable supplies.
When enlarging holes in gemstones or glass beads, forceful electric filing can shatter the bead.
I prefer using a manual diamond-coated bead reamer. Dip the tip in water and rotate gently without applying heavy pressure. The water prevents friction heat and dust while creating a smooth hole interior.
When mixing 0.6mm hole gemstones with 1.2mm hole wood beads in one piece, choose a core material (wire or thread) sized for the smaller hole (0.6mm). Then, stabilize the looser wood beads by inserting small seed beads inside or using a tiny drop of jewelry glue.
Q: My gemstone bead holes are too small for headpins. Do I have to file them?A: Not necessarily! Hard gemstones can be tough to ream manually. Instead of pins, try wire-wrapping them using ultra-fine wire (0.3mm–0.4mm Artistic Wire). It creates a beautiful, secure finish without risking bead breakage.
Q: What are the typical hole sizes for Japanese seed beads?A: Standard Japanese seed beads roughly follow these specs:
If you plan to weave thread through beads multiple times, choose seed beads specifically designed for bead stitching (like Miyuki Delicas or specialized round seed beads) to prevent needles from getting stuck.
Q: What should I do if imported or vintage beads don't list hole sizes?A: Unlisted hole sizes are common with vintage or imported components. Assume standard 0.6mm pins might not fit, and keep extra-fine 0.4mm–0.5mm pins and wire on hand as a reliable backup.
Bead hole size might seem like a small detail at first, but mastering the relationship between hole diameter and stringing materials is the fastest shortcut to zero failures and professional-quality jewelry!
To summarize:
Understanding hole sizes makes bead shopping and crafting so much more enjoyable. Free yourself from blocked wires and shaky beads, and bring your ideal jewelry designs to life!
If you found this guide helpful, please share it on social media or with your fellow craft friends! See you in the next article—this was Yassy from Crafters!


For example, if you are looking for articles about mizuhiki, try searching for "mizuhiki"; if you are interested in tools, try keywords like "nippers" or "pliers."
