Japanese Mold Crafting: Jesmonite vs. Resin Complete Comparison & Selection Guide
yassy
Crafters!

Hello, I'm Yassy from Crafters! (・∀・)
I love creating all kinds of handmade crafts, admiring delicate artwork made by crafters at exhibitions, and shopping for lovely handmade accessories online. Among all the needlework techniques out there, I am especially captivated by the dainty and intricate beauty of tatting lace.
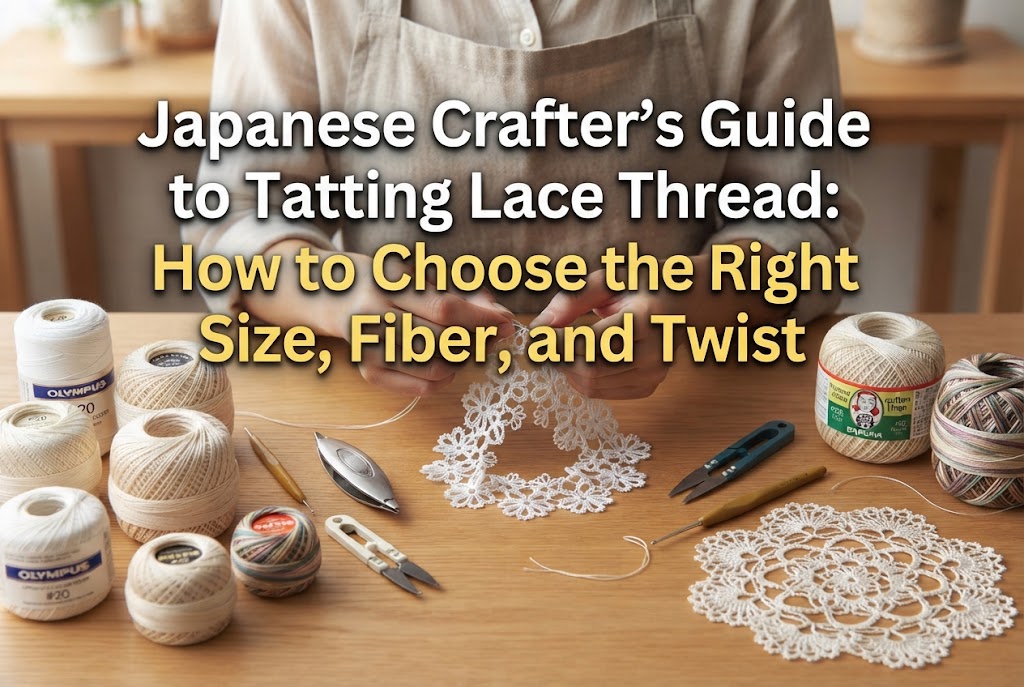
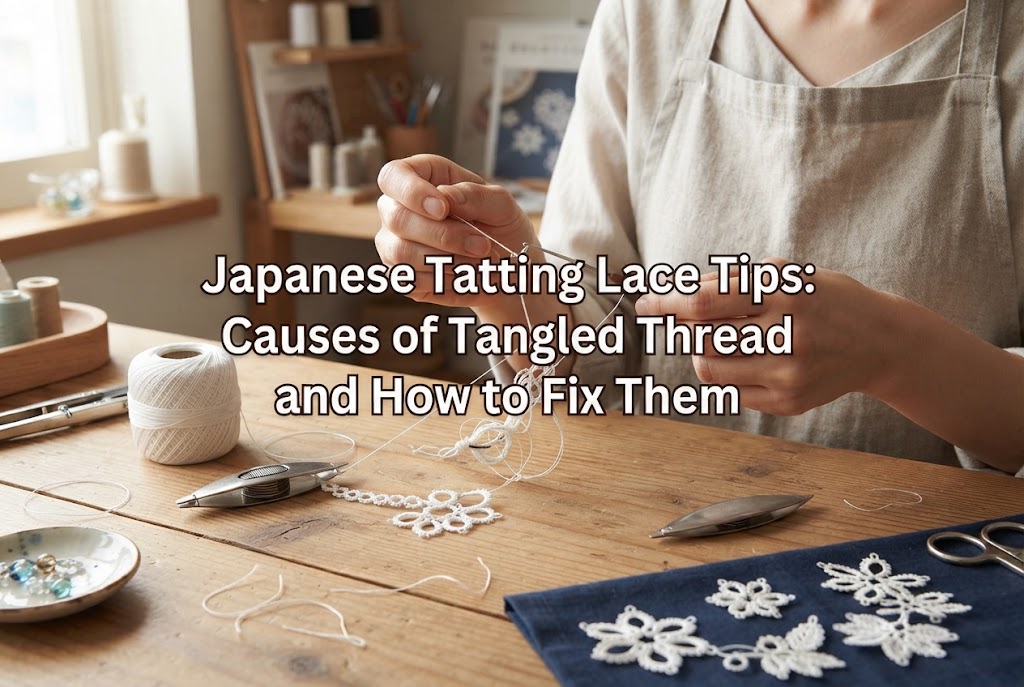
Tatting lace is a traditional craft where you tie knots using a small, boat-shaped tool called a shuttle to construct fine, lacelike motifs. In tatting, choosing the right thread is the single most important decision you will make—it directly affects the beauty of your finished piece as well as how smoothly and comfortably you can knot.
Have you ever caught yourself asking, "Can I just use the leftover crochet thread I have lying around?" or "I bought a pretty color, but why won't my knots slide properly?"
Tatting lace relies on a unique technique where the thread must slide smoothly through its own double stitches (nodes) to form rings and chains. Because of this, tatting requires thread characteristics that are entirely different from standard knitting or crochet yarn. Using the wrong thread can prevent your knots from closing tightly or cause the fibers to fray and snap mid-project, leading to immense frustration.
As someone who loves tatting, inspecting tatting work, and buying lace pieces, I will thoroughly guide you through thread types and how to pick the ideal thread without making common mistakes. Armed with the right knowledge, you can enjoy a comfortable and delightful tatting journey!
Unlike knitting or crocheting with hooks or needles, tatting is a technique built on tying knots. The thread wrapped around your shuttle serves as the core thread, while the working loop on your hand forms knots around it. These knots slide along the core thread to form tiny rings and decorative picots.
Due to this unique structure, tatting thread experiences constant friction and tension. If you use an unsuitable thread, your work can grind to a halt, making it nearly impossible to finish your project.
Let's take a closer look at why thread choice is so crucial and explore the common traps beginners often fall into.
The basic stitches in tatting—the first half stitch and second half stitch—combine to form a full double stitch, often called a node. For a ring to close properly into a tight, crisp circle, the core thread needs to glide effortlessly through these nodes.
If you use a thread with an uneven surface or heavy fuzz, the core thread will catch and get stuck halfway through pulled rings. Forcing it closed with extra strength often snaps the thread, ruining all your hard work up to that point.
Choosing a thread with excellent slickness and adequate tensile strength is an absolute prerequisite for creating beautiful, firmly pulled tatting rings.
The most frequent mistake beginners make is picking up soft crochet lace thread from a general craft shop or budget store simply because it says "lace thread" on the label.
Crochet thread is often spun with a loose twist to give it a soft, fluffy texture suitable for hooks. When you try to tat with loosely twisted thread, passing the shuttle through knots repeatedly unthreads the plies, causing the fiber to shred and fray into a fuzzy mess.
Another common mistake is jumping straight into extremely fine threads. Even though delicate lace is charming, using ultra-fine thread as a beginner makes it difficult to see the knot structure, leading to dropped stitches and impossible unpicking when errors occur.
Selecting thread without understanding these characteristics can lead to frustration before you even get the hang of the craft. First, ensure you know the exact criteria for proper tatting thread.
When searching online or visiting craft shops, you'll encounter threads in various materials. Simply put, the fiber type drastically changes both ease of use and the final texture of your motif.
Here are the representative thread materials and their characteristics so you can match them to your skill level and desired project.
My highest recommendation goes to thread explicitly labeled as "Tatting Thread" (or high-twist lace thread).
Dedicated tatting threads are spun with a very tight, firm twist (often called strong-twist or high-twist thread). Because the plies are bound tightly, repeated sliding and knotting won't cause them to split or fluff up.
Furthermore, the smooth surface glides effortlessly, requiring minimal hand force to close rings tightly. Beginners who start with dedicated tatting thread will enjoy a surprisingly smooth, stress-free crafting experience.
Standard 100% cotton lace thread intended for crochet can also be used for tatting lace, provided you choose carefully. Its wide color palette, gentle gradients, and easy availability make it attractive.
However, not all crochet threads work well. You must select a cotton thread that feels crisp, has a nice sheen, and features a firm, tight twist.
Avoid cotton threads that feel soft to the touch or look fuzzy. If you decide to use cotton thread, choose high-grade options—such as Egyptian cotton—that offer superior sheen and high tensile strength.
Beyond cotton, tatting threads come in silk, polyester, and metallic finishes. Understanding each material will expand your creative range once you gain experience.
When starting out, skip these specialty fibers and practice with manageable cotton threads or dedicated tatting thread for guaranteed success.
When shopping for lace thread, you will always see numbers like "Size 20," "Size 40," or "Size 80." In lace making, these numbers indicate the thread size or weight (often called thread gauge or count).
Without a proper grasp of how thread numbering works, it becomes difficult to achieve your intended motif size.
While knitting yarns use terms like "bulky" or "fine," lace threads use a numerical numbering system. There is one golden rule you must remember: the larger the number, the finer the thread.
Here is a quick overview of thread sizes and their typical uses:
A frequent beginner mistake is assuming a higher size number means a thicker thread. Always remember: a higher number means a finer, more challenging thread!
The choice of thread size dramatically alters the dimensions and impression of your finished piece. Even when using the exact same pattern, switching thread sizes can change the final size of a motif by more than double!
Size 20 Thread: Yields larger motifs with a bold presence. It is ideal for coasters, bag charms, or for beginners learning how tatting nodes flip and form.
Size 40 Thread: Offers the ideal balance between delicate detail and ease of handling. If you want to make wearable jewelry like earrings or necklaces, Size 40 is your best companion.
Size 60 to 80+ Threads: Creates stunningly fine pieces reminiscent of authentic antique lace. However, viewing the stitches requires good lighting and strong focus, demanding advanced technique and patience.
If you are picking up tatting lace for the first time, the absolute right choice is Size 20 thread.
With Size 20 thread, you can visually verify whether your knot has properly formed the first half stitch or second half stitch. In tatting, mastering the essential sensation of "flipping the stitch" (transferring the core thread back and forth) requires clear visibility of your knots, which Size 20 provides.
Once you can form neat rings and chains consistently with Size 20, step up to the finer Size 40 thread. Following this progression is the best way to prevent frustration!
Beyond material and thickness, factors like twist direction and surface processing directly affect how easily thread glides and how refined your final piece looks.
Thread is created by spinning individual fibers together into plies. Depending on which way the fibers are twisted, threads are categorized as S-twist (left-hand twist) or Z-twist (right-hand twist).
Many standard knitting yarns are made with an S-twist. However, as you perform the hand movements required to tie tatting nodes, S-twist threads tend to gradually untwist and separate over time.
Dedicated tatting threads are specifically twisted to withstand the continuous knotting motions without coming undone. When choosing thread in person, try lightly twisting a length between your fingers to make sure the plies stay firm and tight.
On high-quality cotton lace thread labels, you'll often see terms like "Mercerized" or "Silket processing." This refers to a treatment process where stray micro-fibers on the cotton surface are treated or singed off, bestowing a silky luster and smooth feel.
Mercerized thread offers remarkable advantages for tatters:
Unprocessed, inexpensive cotton thread can feel dry or scratchy, creating heavy friction when pulling rings shut. If you want high-quality results, always choose mercerized thread.
When browsing craft supply sections, colorful variegated (gradient) threads catch your eye with their playful transitions. However, there are smart color guidelines every beginner should know.
I strongly advise beginners to start with a solid light color, such as white, ecru (natural), or soft pastels without patterns or color shifts.
Dark colors like black or navy absorb light, making it difficult to inspect knot alignment. Variegated threads, on the other hand, can distract your eyes, making it tricky to see whether your double stitches are even and neat.
With a bright solid thread, any uneven tension or missed stitch is immediately visible. It lets you correct your habits early on and build a solid foundation of even, tidy stitches.
Once you have mastered the fundamental stitches, by all means, explore variegated threads! They create enchanting, vibrant motifs that look completely different from single-color designs.
The key to choosing variegated thread for tatting is paying attention to the color pitch (the distance over which the color changes).
Tatting lace uses relatively short lengths of thread per individual motif component compared to crochet. If you choose a thread with a long color pitch, a small ring might end up entirely in a single color, losing the benefit of the gradient.
For small tatting motifs, choose a short-pitch variegated thread where colors change every few centimeters. This ensures beautiful, shifting hues even within delicate, small rings!
To help you shop with confidence, here is a simple step-by-step recommendation list I give to friends who ask me how to start tatting lace without making mistakes.
A single ball matching these criteria gives you everything you need for a comfortable practice session!
Budget threads from 100-yen shops or dollar stores can work for very rough practice, but they often suffer from uneven thickness or loose twists that catch easily. For your first ball, invest in a quality thread from a dedicated craft shop or reliable seller—you'll be amazed by how much easier it is to knot.
When buying thread at a physical craft shop, take advantage of the opportunity to check the thread's sheen and firmness up close. Don't hesitate to ask store staff for help selecting tightly twisted thread suitable for tatting.
When shopping online through craft supplies stores or platforms like minne, Creema, Amazon, or Etsy, read review comments carefully. Look for reviews from fellow crafters mentioning phrases like "smooth to pull through" or "great for tatting lace."
Here are common thread troubles you might face as you begin tatting, along with simple solutions:
This is usually caused by two factors: thread with a loose twist, or excessive friction caused by sweaty hands or pulling back and forth too many times.
Solution: Switch to a tighter, high-twist dedicated tatting thread. Avoid pulling out excessively long lengths of thread from your shuttle at once; feed short sections out regularly to keep the working thread fresh. If hand sweat is an issue, wash your hands frequently or dust them lightly with baby powder to reduce friction.
This is the most common point of frustration in tatting. Technically, it happens when the double stitch hasn't flipped correctly onto the core thread, causing the knot to bind onto the core rather than slide along it.
However, if your technical execution is correct and the ring still sticks, friction on the thread surface is 100% to blame.
Solution: If you are using unmercerized cotton or a very thick/rough thread, switch immediately to a smooth, mercerized lace thread. Changing your thread will make rings slide shut smoothly as if by magic!
In tatting lace, choosing thread is not merely about picking a color. It dictates the beauty of your finished motif and determines whether your craft time is relaxing or frustrating.
Here is a quick summary of key points to remember:
Equipped with the right thread, your shuttle will move with newfound lightness, letting you produce dainty, captivating motifs with ease!
I personally love simply gazing at beautiful spools of shiny lace thread, and nothing compares to the joy when those threads turn into lovely handmade accessories. I hope you find the perfect thread and immerse yourself in the elegant world of tatting lace!
If you enjoyed this guide, please share it with your craft-loving friends or on social media. I'd be so grateful for your support!
Until next time, happy crafting! This was Yassy from Crafters! (・∀・)

For example, if you are looking for articles about mizuhiki, try searching for "mizuhiki"; if you are interested in tools, try keywords like "nippers" or "pliers."
