Japanese Urushi Lacquer for Kintsugi: Types, Curing Mechanism, and Rash Safety Guide
yassy
Crafters!

Hello everyone, it's Yassy from Crafters! (・∀・)
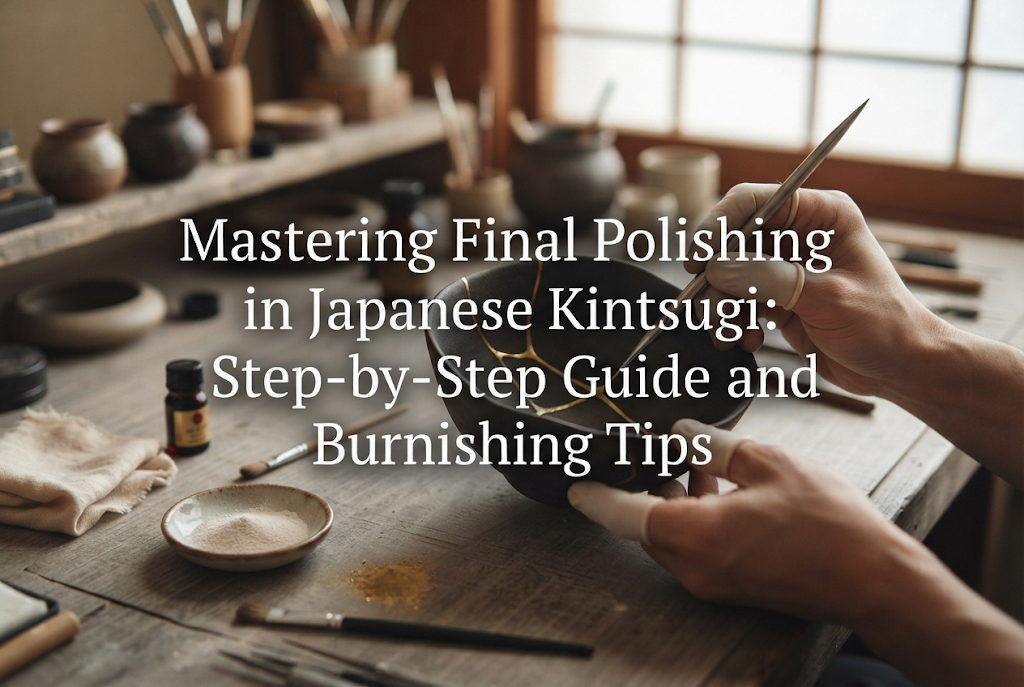
Kintsugi is the traditional Japanese art of restoring broken pottery using natural lacquer and precious metal powders. After going through the meticulous steps of gluing, putty filling, and applying gold or silver powder (Makie), you finally arrive at the ultimate stage: the final polishing.
Right after sprinkling gold or silver powder, the surface often looks dull or feels rough to the touch. By gently and meticulously polishing it, you unleash the brilliant metallic luster hidden beneath, giving your restored piece an exquisite, high-end appearance.
However, beginners often ask me questions like: "How far should I polish?" or "I pressed too hard and rubbed off my gold repair!" Polishing is one of the most delicate and touch-sensitive steps in the entire Kintsugi process.
In this guide, I will walk you through everything you need to know—from essential tools and step-by-step procedures to professional tips for achieving a radiant shine without mistakes. Let's make your precious ceramics sparkle!
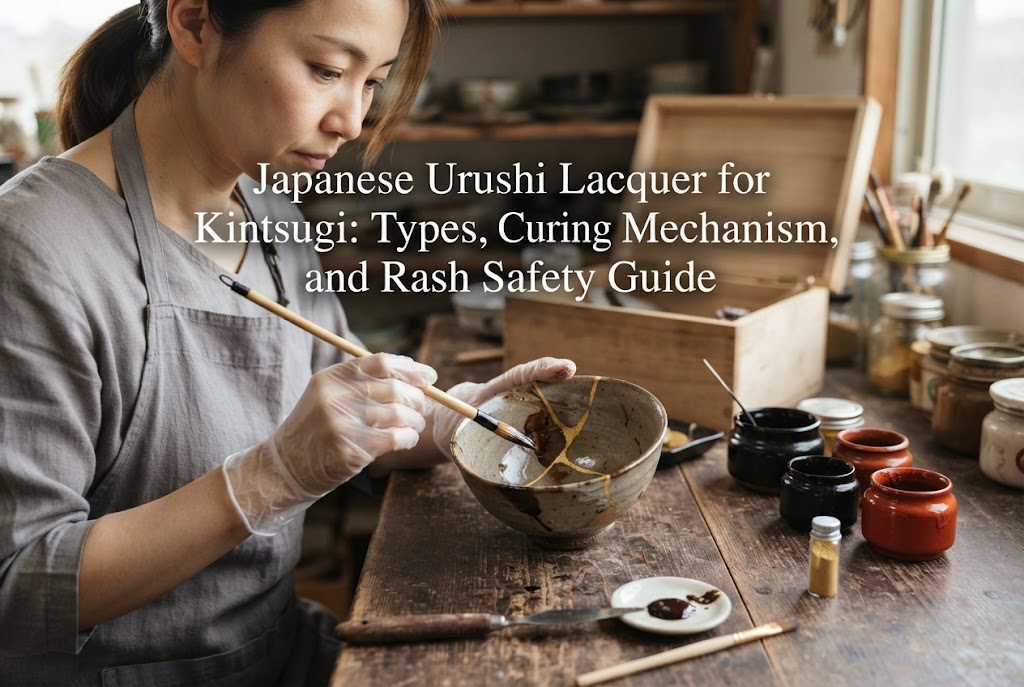
When gold powder is sprinkled onto lacquer during Kintsugi, it does not show its natural metallic brilliance right away. This is because a thin film of urushi (Japanese lacquer) coats the gold particles, and uneven surface textures scatter the light.
Final polishing serves three vital purposes:
Only through proper burnishing and polishing will that characteristic elegant, silky gold line of traditional Kintsugi emerge. Taking your time with this final stage dramatically enhances the quality of your finished work.
The tools required for final polishing vary slightly depending on whether you practice traditional Hon-Kintsugi (using natural urushi lacquer) or simplified modern Kintsugi (using synthetic resins or alternative lacquers). Here are the primary tools and their functions:
An indispensable tool in traditional urushi Kintsugi is the "Tai no Ha"—a genuine sea bream tooth mounted on a wooden handle. Rubbing it against the surface under slight pressure compacts the gold powder and creates an intense metallic sheen. If a sea bream tooth burnisher is difficult to find, a natural agate stone burnisher serves as an excellent alternative.
Used for the initial smoothing phase before polishing. In traditional practice, soft Suruga charcoal (Suruga-sumi) is ideal because it levels the gold layer without scratching the surrounding ceramic glaze. For simplified Kintsugi or fine adjustments, ultra-fine waterproof sandpaper or sanding sponges (2000 to 3000 grit) are used.
Used to gently abrade the surface and produce a smooth gloss. Traditional crafts utilize "Tsunoko" (powdered calcined deer antler) or "Tonoko" (fine clay powder) kneaded with rapeseed oil or olive oil. For modern craft kits, liquid metal compounds or plastic polishes can be substituted.
Used to rub the polishing paste over the repair line. Prepare a piece of soft, finely woven silk cloth or a microfiber cloth (such as a lens cleaning cloth). Avoid stiff cotton or rough towels, as coarse fibers will leave microscopic scratches on the gold surface.
The single most common mistake in final polishing is starting before the lacquer or adhesive is fully cured. Even if you are excited to see the final result, you must give the piece adequate time to dry.
For traditional natural urushi, wait at least 7 days, and ideally 10 to 14 days, after sprinkling metal powder. Allow it to cure inside an "Urushi-furo" (a humid storage box used to cure lacquer).
Before touching any tools to the surface, press it gently with the pad of your finger. Ensure there is zero stickiness and that it feels rock-hard. Polishing under-cured lacquer will cause the gold powder and lacquer layer to slide right off.
Here is the full step-by-step polishing guide for traditional Kintsugi made with natural urushi and Marufun (round gold powder) or Hiragokufun (flat gold powder).
First, level out tiny surface irregularities and remove the microscopic layer of cured urushi covering the gold particles.
Prepare soft Suruga charcoal soaked in water, or 2500+ grit waterproof sandpaper. Apply a tiny bit of water and glide the tool along the gold line with extremely light pressure. Do not push down hard; rely solely on the gentle weight of your finger. As soon as the water turns slightly cloudy or dark, wipe it away with a damp cloth. Stop immediately once you no longer feel surface bumps. Over-sanding will scratch down to the base lacquer or pottery surface.
Once wet sanding is complete, wipe away all moisture and thoroughly dry the piece using cool air from a hairdryer.
Next, place the flat edge of the Tai no Ha (or agate burnisher) against the gold line and rub gently back and forth with light downward pressure. This burnishing compacts the gold particles and hardens the surface layer. You will instantly see a bright metallic sheen appear where the burnisher passes. Work evenly across the entire repair line from various angles.
After burnishing, move on to oil polishing to maximize the gloss. Place a tiny pinch of Tsunoko powder (or Tonoko) on a small dish, add one drop of rapeseed oil or olive oil, and mix with your fingertip into a firm paste. Keep the consistency relatively thick, similar to the softness of an earlobe, as excess oil reduces polishing efficiency.
Dab a small amount of paste onto your finger or silk cloth and polish the gold line in small circular motions. Polish patiently without rushing. You will feel the friction decrease as the surface turns smooth and slippery.
After oil polishing, clean off any oil remaining on the surface. Sprinkle a small amount of dry Tsunoko powder directly onto the gold line and gently wipe it away using a clean silk cloth. The dry powder absorbs residual oil and eliminates stickiness. Finally, wipe the entire vessel gently with a cotton swab or microfiber cloth lightly dampened with rubbing alcohol (anhydrous ethanol) to reveal your dazzling Kintsugi piece!
If you are working with modern Kintsugi using epoxy putty, resin adhesive, or synthetic lacquer ("Shin-Urushi"), your approach will differ from traditional methods. Synthetic paints and brass powders can strip off easily if rubbed with hard charcoal.
Follow these steps for modern Kintsugi:
In simplified Kintsugi, fine liquid compounds work best. Stop as soon as an attractive sheen develops to avoid wearing away the thin layer of metallic paint.
Eager to create a shine, beginners often scrub hard, inadvertently wearing through the gold powder layer and exposing the urushi or clay underneath.
Solution: Use pressure as gentle as caressing a baby's cheek. Let the tool or cloth do the work. If you do accidentally rub down to the base material, reapply a thin coat of raw urushi, sprinkle gold powder again, allow it to dry fully, and retry carefully.
Sometimes, no matter how much you rub, the gold repair line remains matte and yellow. This usually happens if you used an ultra-fine gold powder (like Keshifun) that isn't meant for polishing, or if oil residue is left behind.
Solution: Ultra-fine gold powder called Keshifun creates its own natural luster upon application; rubbing it with charcoal or a burnisher will simply strip it off! Polishing is designed for coarser powders like Marufun or Hiragokufun. Double-check your materials. If you did use Marufun and it remains dull, residual oil is likely masking the shine—wipe it thoroughly with rubbing alcohol.
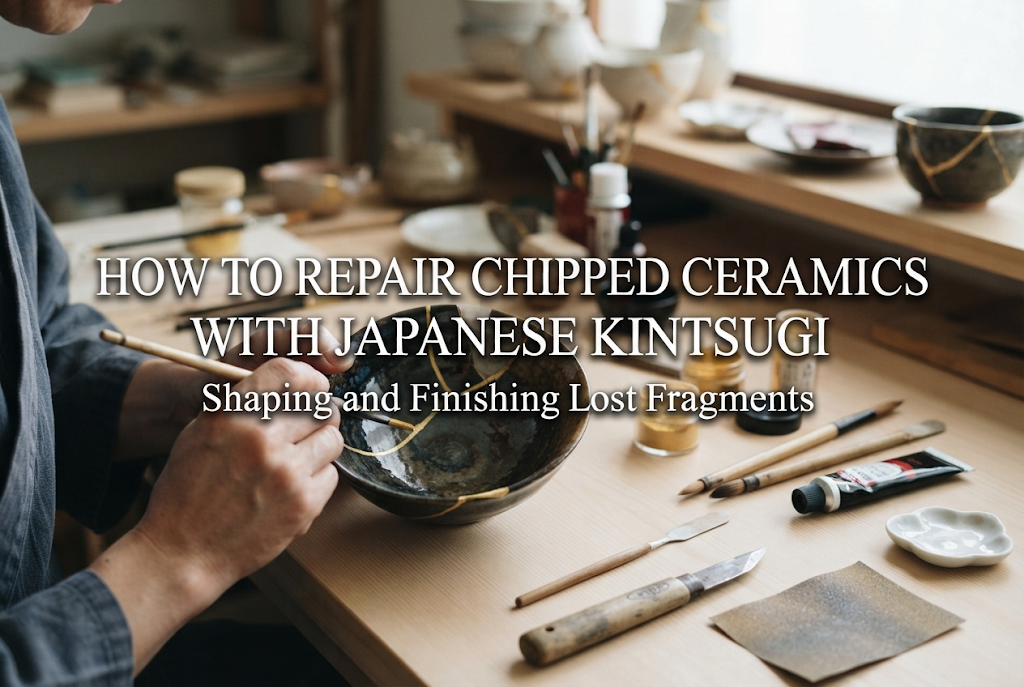
Accidentally sanding or polishing the ceramic body around the repair line can cause the glaze to lose its original finish and look cloudy.
Solution: Always apply masking tape along both sides of the Kintsugi line before sanding or polishing. Protective masking is especially important for matte glazes or delicate glass items.
Here are two simple techniques I personally practice during Kintsugi work to achieve a higher-quality result!
First, I always work with a magnifying glass (loupe) and a strong task light. Seeing whether the gold powder is perfectly level or spotting microscopic unpolished patches is nearly impossible with the naked eye.
Angling light across the repair line reveals areas that need extra attention or spots that are close to over-sanding. Watching closely through magnification allows millimeter-by-millimeter precision that bridges the gap between amateur and professional results.
Second, my favorite oil for mixing polishing paste is a tiny drop of high-quality olive oil. It has a lighter aroma than traditional rapeseed oil and a smooth texture that makes it easy to feel subtle changes under my fingertips while polishing.
To ensure your polished Kintsugi piece lasts for years to come, keep these care guidelines in mind:
With gentle care, natural urushi and gold acquire a rich, warm character that deepens beautifully over time. Enjoy incorporating Kintsugi art into your daily life!
Final polishing in Kintsugi is the most rewarding moment of the craft, bringing all your previous careful steps to life.
While you might worry about over-sanding at first, taking a deep breath, focusing on light pressure, and working slowly is the key to success.
The feeling when a dull gold line suddenly flashes brilliant light under your touch is truly magical. I hope you will use these tools, procedures, and tips to give your beloved ceramics their ultimate shine!
If you found this guide helpful, please share it with your craft friends on social media!
Until next time, this was Yassy from Crafters! Happy crafting!





For example, if you are looking for articles about mizuhiki, try searching for "mizuhiki"; if you are interested in tools, try keywords like "nippers" or "pliers."
