Wooden Mallet, Rubber Mallet, or Metal Hammer? How to Choose the Right Striking Tools for Japanese Crafts and DIY
yassy
Crafters!
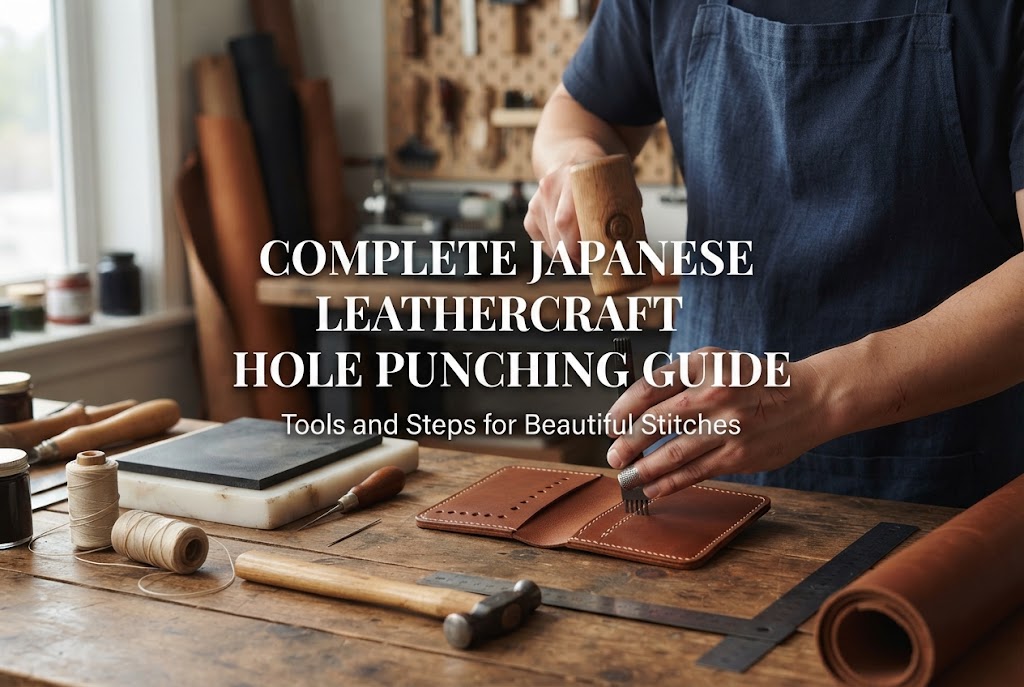

Hello! Yassy from Crafters here! (・∀・)
When you start leathercrafting, one of the biggest initial hurdles you encounter is punching holes. Unlike fabric, leather is dense, so a sewing needle cannot simply push through it. You must punch holes beforehand using specialized tools before stitching pieces together. This hole-punching step is the single most critical factor determining your project's appearance and durability.
When I was a beginner, I made plenty of mistakes—punched holes went crooked, stitches ended up uneven, and hole sizes for hardware were completely off! However, once you master choosing the right tools and following proper techniques, anyone can punch clean, beautiful holes in leather.
In this guide, I will explain the entire process and essential tips for punching holes in Japanese leathercraft, covering everything from stitching holes to hardware installation. I'll also share clever ideas for working in quiet environments where hammering noise is a concern, so be sure to read through to the end!
In leathercraft, punching holes serves two primary purposes: threading hand-stitching thread and installing metal hardware such as rivets, snaps, and grommets. It is vital to use the appropriate specialized tool for each purpose.
In fabric sewing, a needle moves aside thread fibers as it goes through. But if you try to force a needle through dense leather without prep holes, you will bend or break your needle and distort the leather. That is why you must cleanly punch holes in advance using striking tools and a mallet.
The precision of your punched holes directly affects the beauty of your stitching. During the hole-punching process for hand-sewing (known in Japan as meuchi work), if your punching angle, spacing, or vertical alignment wavers, your stitches may look fine on the front, but the back seam will end up crooked and uneven. Mastering basic hole-punching techniques is indispensable for creating neat, professional leathercraft projects.
There are various hole-punching tools used in leatherworking. Selecting the right tool depends on the style of the piece and the hardware involved. Here are the representative tools you should know.
The most frequently used tools for hand-stitching leather are bladed instruments called meuchi (pricking irons or stitching chisels). They feature multiple prongs aligned at the tip, which are struck with a mallet to pierce the leather.
If you are trying hand-stitching for the first time, start with the classic Hishimouchi (diamond chisel). A prong spacing (pitch) of 3mm to 4mm is versatile and easy to handle, working well for everything from small goods to bags.
When installing rivets, spring snaps, press studs, eyelets, or punching belt holes, you use circular hollow punches called Maru Punch or Hatome-nuki in Japan.
These cylindrical punches slice out a clean circular piece of leather when struck from above. Japanese sizes are often designated by Japanese gauge numbers (gou), which correspond to millimeter dimensions. For example, installing small rivets typically uses a No. 6 punch (1.8mm), while small spring snaps use No. 8 (2.4mm) or No. 10 (3.0mm) punches.
If you work in an apartment building or craft late at night where hammering noise is a problem, silent punching tools are a lifesaver.
A Screw Punch uses an internal spiral mechanism that rotates the blade when pressed down with body weight, silently cutting clean round holes. Additionally, using a small Hand Press Machine equipped with diamond chisels allows you to complete stitching hole punching with a simple lever push, generating zero hammer noise.
Here is a detailed, precise method for punching stitching holes using Japanese diamond chisels to elevate your hand-sewing quality.
Draw a guideline on the leather at a consistent distance from the edge. Perform this step carefully; if this line wobbles, your entire seam will end up crooked.
Use a adjustable screw divider (Neji-shiki Divider) or a stitching groover. Set the width to roughly 3mm to 4mm from the leather edge and lightly score the surface. Apply uniform pressure so you do not cut too deeply or damage the leather grain.
Always place a Japanese leathercraft rubber board (Gomu-ita) or a high-density synthetic board (Vini-ply) underneath your leather during punching. These backing boards protect your workbench and prevent the fine blades of your chisels from chipping upon piercing through.
Do not strike chisels directly on a standard self-healing cutting mat. A regular mat will shed particles and break fine chisel tips. Always use a dedicated high-density rubber punching board.
Align the tips of the diamond chisel along your guideline. Ensure the chisel is held at a strict 90-degree angle (perfectly perpendicular) to the leather surface, preventing it from leaning forward, backward, or sideways.
Even a slight tilt will cause the holes to drift on the back side, resulting in uneven stitching underneath even if the front line looks straight. Check your vertical alignment from both the front and side views.
Aim for the center of the chisel handle and swing a wooden mallet, rubber mallet, or nylon hammer straight down. Instead of tapping repeatedly with light strikes, hit the tool squarely 1 to 2 times with firm, decisive blows (ton-ton).
Drive the chisel just far enough for the blade tips to emerge slightly on the back side of the leather. Piercing too deeply makes the holes unnecessarily wide, leaving unsightly gaps around the thread after stitching.
When punching along long seam lines, use multi-prong chisels (such as 4-prong or 6-prong tools). When repositioning the chisel for the next set of holes, place the first prong at the end into the last hole you just punched (overlapping).
This overlap maintains consistent prong spacing (pitch) and ensures a perfectly straight, continuous line of stitching holes.
Installing rivets and snaps cleanly requires a few basic techniques to avoid frayed hole edges.
Measure the stem diameter of your hardware using calipers or a ruler. Choose a round punch of the exact same size or just slightly larger.
If the hole is too small, pushing the hardware post through will wrinkle the leather. If the hole is too large, the hardware may shift or pull free over time. Always verify compatibility before punching.
When punching round holes with a hollow punch, placing a thick piece of scrap leather beneath your work piece dramatically improves the cut quality.
Instead of placing the leather directly on the rubber board, adding a layer of firm scrap leather allows the sharp circular blade to bite through fully. This cuts cleanly through the fibers on the back side without tearing.
Here are common issues beginners face when punching holes in leathercraft, along with practical solutions. I've encountered all of these myself during my early crafting days!
Cause: The chisel tilted forward or backward while being struck. This issue is especially noticeable when punching through two glued layers of thick leather.
Solution: Rest the pinky finger of the hand holding the chisel firmly against the rubber board, using it like a stabilizing pillar. Adjust your posture so you look down squarely from above, checking your angle from all directions before striking.
For very thick leather, you can mark puncture locations lightly on both sides first, or prick light guide marks on the front and finish piercing from the back using a diamond awl (Hishi-giri).
Cause: Driving the chisel too deep into the leather or using a chisel with a rough, unpolished metal surface.
Solution: Stop striking as soon as the tapered tip of the blade barely pokes out on the reverse side. Sinking it deeper only widens the hole unnecessarily without benefit.
To remove a stuck chisel, press the leather down firmly with your free hand and pull the chisel straight up without rocking it side to side. Wiggling the tool horizontally deforms the hole shape and ruins your stitch line. Applying a tiny bit of natural beeswax (or candle wax) to the chisel tips dramatically improves slickness and makes removal effortless.
Cause: Trying to round a curved edge (R-shape) using multi-prong chisels designed for straight lines (4-prong or 6-prong) causes uneven pitch distortion between inner and outer lines.
Solution: Reduce the number of prongs based on the tightness of the curve. For gentle curves, use a 2-prong chisel. For sharp corners or coin purse edges, use a 1-prong or 2-prong chisel exclusively, rotating the angle step-by-step for each individual hole.
One of the biggest concerns in leatherworking is the sharp impact sound and vibration caused by hammering. If you live in an apartment or close quarters, neighbor consideration is essential. Here are soundproofing and vibration-dampening methods I personally use!
Instead of setting your rubber board directly on a table, place a 2cm to 3cm thick marble or granite slab underneath, then layer the rubber board on top.
Adding significant mass to your base prevents hammer impact energy from transferring into the table. This drastically muffles deep vibrations and echoing dull thuds.
Underneath the marble slab, place anti-vibration rubber pads or thick felt pieces (easily found at home centers or craft stores).
Building a three-layer structure—Anti-vibration Mat + Marble Slab + Rubber Board—almost completely blocks uncomfortable low-frequency vibrations from traveling through floors or walls.
Swap out wooden mallets or metal hammers for a shockless dead-blow hammer filled with internal steel shot. The impact sound becomes softer, while the striking force transfers efficiently to pierce clean holes without bouncing.
Here is my personal tip to help you elevate your hole-punching precision right away!
I strongly recommend all beginners try polishing the tips of their chisels. Inexpensive chisels found in starter sets often have rough tool marks or tiny metal burrs remaining on the prongs.
Taking a moment to polish the prong tips using wet-or-dry sandpaper (1000 to 2000 grit) along with leather polishing compound makes a world of difference. The tool will pierce and release from leather smoothly like butter!
Taking care of your tools is the shortest path to making beautiful leather goods. Whenever penetration feels stiff, make a habit of applying beeswax or lightly dressing the blade edges.
We've covered everything about hole punching in Japanese leathercraft—from fundamental tool choices and step-by-step procedures to troubleshooting and noise reduction techniques.
At first, your holes might come out tilted or feel difficult to pull free, but by maintaining a proper vertical posture and building a solid work foundation, anyone can reliably punch neat, beautiful holes.
When your hole punching is sharp and accurate, subsequent hand-stitching becomes amazingly smooth, and the quality of your finished project skyrockets. Try incorporating these practical tips and soundproofing ideas to enjoy a comfortable, fun leathercrafting journey!
If you found this guide helpful, I would be thrilled if you shared it with your craft friends on social media or messaging apps!
Well then, see you in the next tutorial! This was Yassy from Crafters!






For example, if you are looking for articles about mizuhiki, try searching for "mizuhiki"; if you are interested in tools, try keywords like "nippers" or "pliers."
