Japanese Glass Art Upgrade Guide: 4 Essential Tools to Replace After Your Starter Kit
yassy
Crafters!

Hi everyone, it's Yassy from Crafters! (・∀・)
Adding color and painted designs to handmade crafts is easily one of the most rewarding parts of the entire creative process. Whether you are finishing clay miniatures, painting fabric accessories, coating woodwork, or tinting resin, there are countless moments where paint and color bring a project to life.
However, when you browse the paint and tool section of a craft store, the overwhelming variety of brushes and applicators can make it tough to decide what to buy. Choosing the wrong tool can lead to streaky finishes, ruined fine lines, and frustrating mistakes on pieces you worked hard to build.
To elevate the quality of your finished crafts, choosing the right tool tailored to the specific effect you want to achieve is absolutely essential. Once you understand what each tool is designed to do, handling paints and mediums becomes vastly easier, allowing you to execute your designs exactly as envisioned.
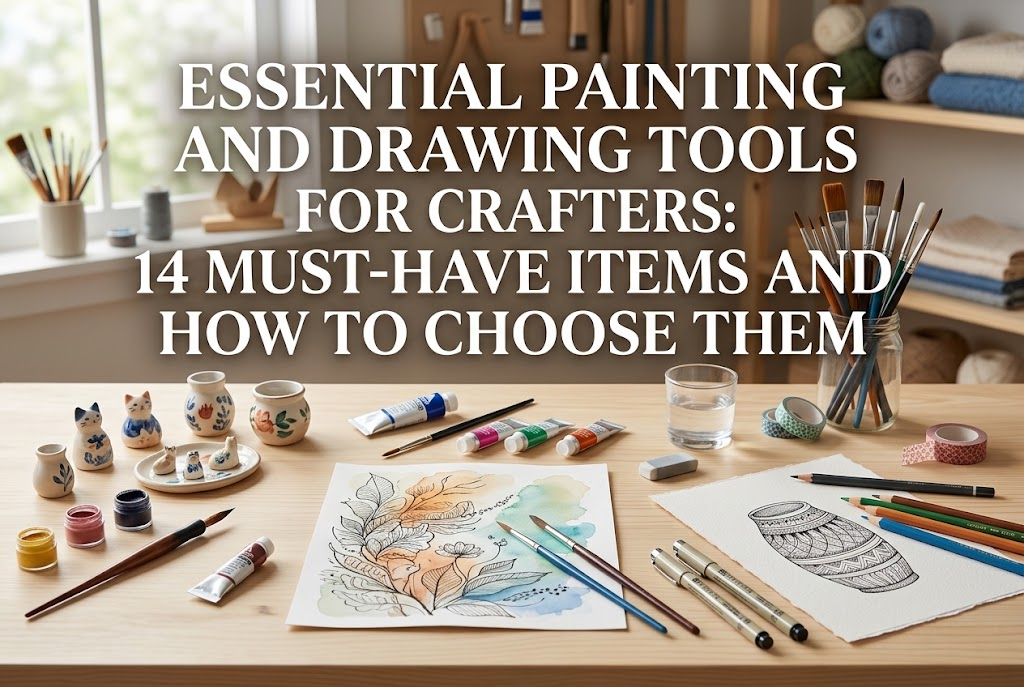
In this guide, I will introduce 14 essential painting and drawing tools frequently used in handmade crafting, explaining their ideal applications and how each one fits into your creative toolkit!
In the world of DIY and crafting, tools for applying paint and color generally fall into five main categories: traditional brushes for fine lines and detail work; wide brushes and rollers for broad coverage; sponges for soft textures; palettes for mixing; and transfer tools like stamps and stencils for quick, crisp patterns.
Every single tool has distinct strengths and weaknesses. Trying to cover a broad surface with a tiny brush guarantees an uneven, streaky finish, while painting crisp pinstripes with a chunky sponge is practically impossible.
The first step in choosing the right tool is assessing your immediate task: are you coating a wide surface, detailing fine lines, or transferring an existing design? Let's walk through the core 14 tools to see what each one does best.
Brushes are the fundamental backbone of painting and drawing. Depending on bristle length, thickness, and tip shape, their practical uses vary dramatically. Knowing how to switch between them is the quickest way to achieve a clean, professional finish.
Standard paintbrushes are the most widely used tools for applying watercolors, acrylics, and varnishes. The two primary types are round brushes, which taper to a soft point, and flat brushes, which feature a square, straight bristle edge.
Round brushes give you excellent control over line thickness, making them ideal for coloring illustrations and filling in design outlines. By varying your hand pressure, you can shift smoothly between thick and thin strokes with a single brush.
Flat brushes excel at laying down paint in an even width. They are the ideal choice when you need straight edges or want to coat moderately wide sections without visible brush strokes.
Fine-detail brushes have substantially thinner bristle bundles than standard round brushes. They shine when you need to color tiny motifs, write delicate lettering, or paint intricate linework.
Whether you are crafting miniature items, coloring shrink-plastic charms, or adding accent paint to jewelry components, a fine-detail brush is indispensable for painting parts as small as a fingertip.
Trying to force a standard brush into tiny crevices almost always causes paint to bleed or spill over, spoiling your hard work. When working small, always reach for a dedicated fine brush.
Originating in traditional Japanese painting (Nihonga), the menso brush (面相筆, menso fude) features exceptionally fine, sharply pointed bristles designed specifically for drawing ultra-thin lines. Historically, they were crafted to paint the delicate facial features—such as eyes and brows—in traditional portraits.
Today, they are essential tools for doll and figure face-up painting, drawing minute patterns inside resin pieces, and detailing clay miniatures.
Because the tip is so fine and flexible, the trick is to avoid heavy pressure and let the brush glide gently across the surface, relying on the paint flow itself. Having just one menso brush in your kit will dramatically improve the precision of your fine details.
A hirahake (平刷毛) is a wide, flat brush packed with dense bristles, designed to cover broad areas smoothly. In crafting, it is commonly used to apply varnish over woodwork, prime large fabric swatches, or lay down solid background colors.
Painting a large area with a standard artist brush often leads to uneven patches, because the paint begins drying before you can finish blending the strokes. A wide flat brush allows you to sweep paint across the surface in just a few quick passes, leaving a sleek, seamless coat.
It is an essential workhorse when applying gesso primers or finishing a project with protective clear coats.
Sponge applicators produce delicate gradients and soft, diffused textures that traditional bristle brushes cannot replicate. The primary technique with sponges is dabbing or stippling.
Cut pieces of cosmetic sponges or dense kitchen sponges make fantastic craft applicators. Simply load a small amount of paint and gently dab the sponge onto your piece.
The biggest advantage of using a sponge is the complete absence of visible brush marks. Sponges are the gold standard for creating the browned, baked crust effect on clay fake sweets, applying textured faux-metal finishes (iron paint), or blending gentle color transitions for skies and clouds.
They also work wonderfully with masking tape and stencil sheets, as the dabbing motion prevents paint from bleeding underneath.
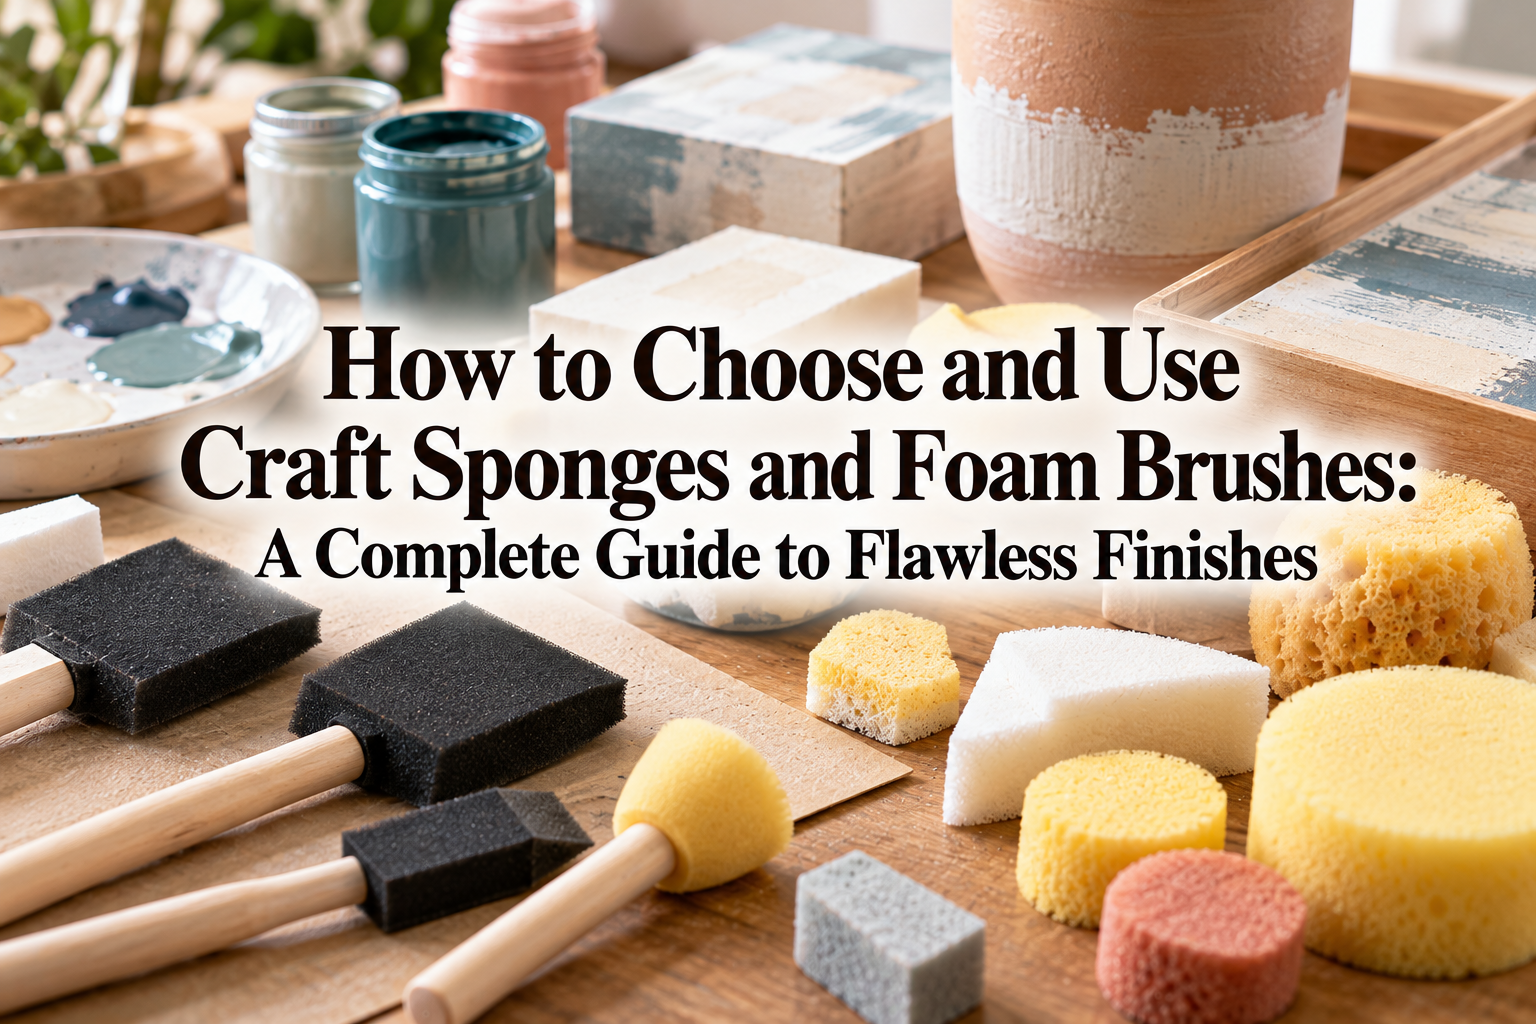
A foam brush features a high-density sponge head mounted onto a sturdy handle. It delivers all the benefits of a sponge while keeping your hands clean.
These are especially handy for working wood stains into grain, stenciling larger designs, and dabbing broad surfaces. Because there are no loose bristles to shed, foam brushes are also great for applying thick mediums, paste waxes, and heavy gels.
They are affordable, easy to rinse and reuse, and cheap enough to treat as disposables when working with tough varnishes, making a multipack well worth having on hand.
When you need completely flat, streak-free surfaces or ultra-smooth air-blended color shifts, these tools deliver shop-quality results.
A roller (or brayer) uses a rotating cylinder of sponge, rubber, or dense fiber to spread paint and mediums evenly across flat surfaces. Common uses include rolling out an even layer of adhesive in papercrafting, spreading block-printing ink, and painting flat wooden boards.
Because rollers spread adhesives and paint quickly at a uniform thickness, they drastically reduce the moisture buildup that causes paper and fabric to warp or buckle.
They are also unmatched for leveling surface textures on rolled clay or blocking in a single solid background color without any streaks.
An airbrush uses compressed air to atomize paint into an ultra-fine mist. Because it applies color without physically touching the piece, it can coat complex three-dimensional forms evenly.
Airbrushes create seamless, feather-soft gradients and micro-thin paint layers that are simply impossible to achieve with a hand brush. They are widely used in scale model building, figure painting, and custom resin tinting.
While they require a higher initial investment and routine cleaning, an airbrush is an invaluable tool if you want to push your craft finishes to a professional standard.
Flawless painting relies just as much on how you prepare and mix your pigments as it does on how you apply them.
A palette serves as the base where you dispense paint, mix custom shades, and regulate how much pigment stays on your brush. Common options include standard plastic palettes, traditional ceramic plum-blossom dishes (umezara), and disposable paper palettes.
When working with acrylic paints—which dry waterproof and become difficult to scrub off—disposable paper palettes or moisture-retaining wet palettes are ideal choices.
Selecting a palette material suited to the medium you use, whether watercolors, acrylics, or liquid resin colorants, streamlines your workflow and prevents wasted pigment.
A palette knife is a flexible metal or plastic spatula designed for blending colors directly on the palette.
Mixing paints with a paintbrush forces pigment deep into the ferrule (the metal base of the bristles), causing wear and making the brush difficult to clean thoroughly. As a rule of thumb, always mix and blend colors with a palette knife instead of your brushes.
Palette knives can also be used directly on your piece to spread heavy-body acrylics or modeling paste, building up rich, three-dimensional impasto textures.
Even if you aren't confident in freehand drawing, transfer tools make it easy to reproduce intricate motifs and crisp graphics cleanly.
Stamps feature carved designs made of rubber or clear silicone. By inking the raised face and pressing it onto your surface, you can instantly place intricate patterns and illustrations. They are available as mounted woodblock stamps, clear stamps, and hand-carved rubber erasers (keshigomu hanko).
Stamps find heavy use on paper tags, packaging, accent marks on fabric crafts, and custom repeat patterns.
Their greatest advantage is repeatability: you can reproduce crisp, sharp lines and logos identically as many times as you like.
An ink pad holds the pigment or dye used to ink your stamps. Specialized varieties exist for paper, fabric, non-porous surfaces like plastic and metal, as well as oil-based and water-based formulas.
No matter how detailed your stamp is, using an ink pad that does not match your working material can cause the ink to bead up, bleed into fibers, or wash away when laundered.
Matching the ink pad formulation to the surface you are stamping—whether porous paper, woven cloth, or smooth glass—is the most important step for clean, smudge-free impressions.
A stencil is a cutout sheet featuring negative shapes of letters or decorative motifs. You lay the stencil sheet over your craft and apply paint through the openings to transfer the design.
By stippling paint through the cutouts using a sponge, foam brush, or dedicated stencil brush, you can produce crisp, uniform graphics in seconds.
Stencils are perfect for adding industrial-style typography to rustic wooden furniture, repeating geometric patterns on canvas tote bags, or applying focal motifs to clay decor.
Now that you know the tools, here are three common pitfalls beginners often encounter when painting craft projects, along with practical solutions to save you time and materials.
A very common mistake is trying to complete an entire piece using only one brush. Covering a large board with a tiny round brush causes the paint to dry mid-stroke, leading to streaky, uneven patches. On the other hand, detailing tiny elements with a broad flat brush almost always results in paint overflowing past your lines.
The fix is straightforward: always switch tools based on the size of the area. Use wide flat brushes (hirahake) or sponges for expansive areas, standard round or flat brushes for mid-sized shapes, and fine-detail or menso brushes for delicate lines.
Using a tool made from materials incompatible with your paint medium can ruin the tool in a single session or ruin your project. For example, using harsh solvent-based or oil-based paints with an inexpensive sponge can melt the foam, leaving sticky bits stuck to your craft.
Similarly, attempting to spread heavy, high-viscosity mediums with an overly soft watercolor brush will bend the bristles out of shape without moving the paint. Always check that your tool's bristle or foam construction can handle the specific viscosity and chemical base (water-based vs. solvent-based) of the medium you plan to use.
Leaving brushes and palettes to be "washed later" allows acrylics, varnishes, and resins to cure solid, effectively ruining the tools. This is easily the most frequent mistake made by beginners.
When working with acrylic mediums or clear varnishes, keep unused brushes resting in a water basin while you work, and wash them thoroughly down to the ferrule with mild soap or brush cleaner immediately after finishing.
Once you understand what each tool does, the next step is combining them within a single workflow. Here is an example of how I combine tools when working on my own craft pieces.
When I want to give a wooden piece an aged, antique finish, I first coat the entire surface with a base color using a hirahake (wide flat brush) for a smooth layer. Once that dries, I use a sponge to dab a darker brown paint along the corners and outer edges, simulating natural wear and tear.
Finally, I place a stencil sheet across the front and use a foam brush to dab a clean typographical logo onto the wood. The result is a finished decor piece that looks like it came straight out of a boutique shop. Layering tools in this sequence expands your creative possibilities dramatically.
For clay sweets, I use a standard round brush for base coats, a sponge to build up realistic golden-brown baking gradients, and a menso brush for minute details like strawberry seeds.
Instead of sticking to a single applicator, passing the baton from one tool to the next as your project progresses is the secret to achieving polished, professional results.
The painting and drawing tools you use have a massive impact on the finished look and polish of your handmade creations. Each of the 14 tools covered here has a clear purpose and specific tasks where it excels.
You don't need to purchase everything all at once. Start by picking out two or three tools that directly match the project currently on your workbench.
Think along the lines of your immediate goal: "I need to paint a wide background smoothly, so I'll get a wide flat brush," or "I want to paint crisp eyes on a miniature, so I need a menso brush."
Equipping yourself with the right tools transforms painting from a stressful chore into a smooth, incredibly fun part of crafting. Find the tools that suit your style, and bring your creative visions to life!
If you found this guide helpful, sharing it on social media with your fellow crafters is always deeply appreciated!Until next time—happy crafting from Yassy!


For example, if you are looking for articles about mizuhiki, try searching for "mizuhiki"; if you are interested in tools, try keywords like "nippers" or "pliers."
