Why Tile Craft Tiles Lift: Causes, Solutions, and Tips for a Flawless Finish
yassy
Crafters!

Hello, everyone! This is Yassy from Crafters! (・∀・)
There is something undeniably captivating about handmade crafts that involve arranging small, colorful pieces to create intricate patterns and everyday items. Many of you may have seen stunning finished pieces in craft shops, at exhibitions, or on social media and thought, "I want to make something like that myself!"
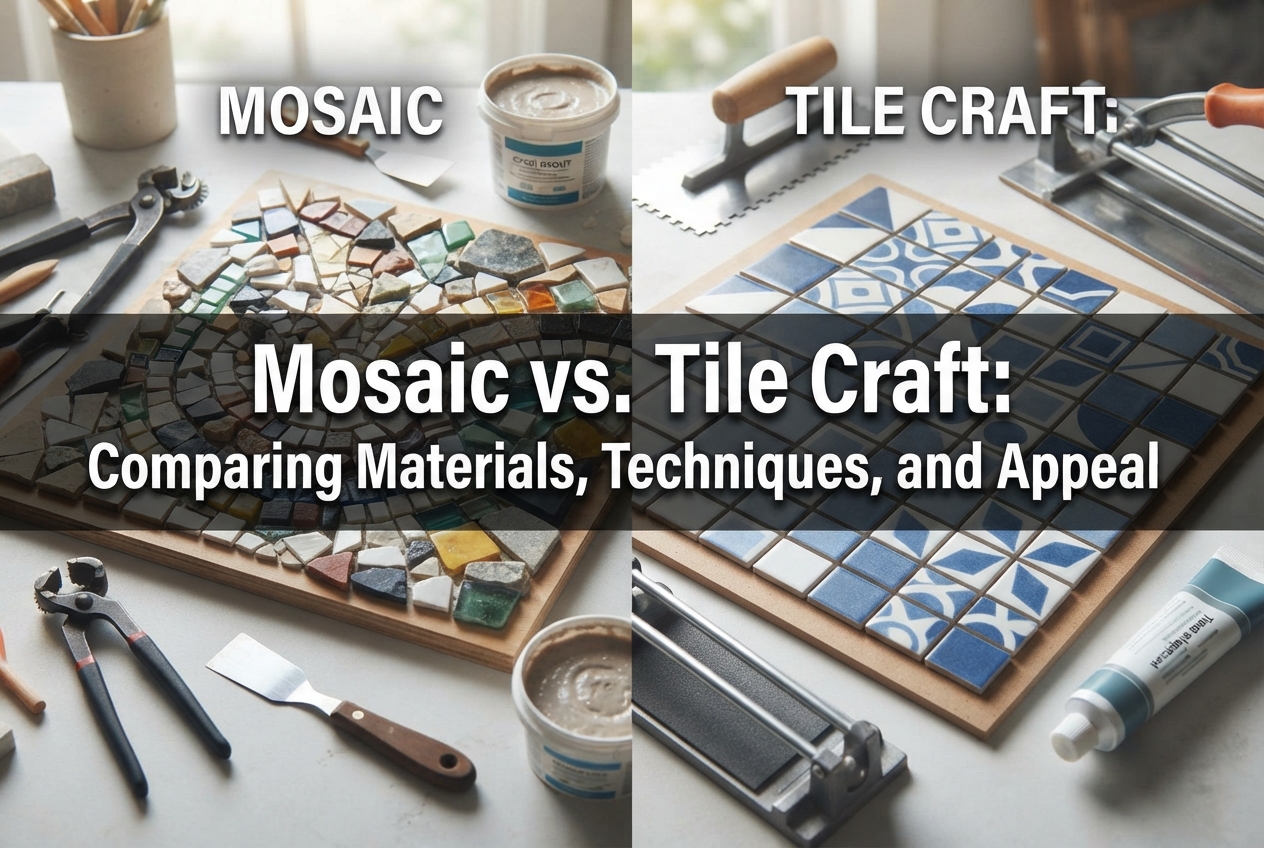
However, once you start researching materials and tutorials, you almost immediately encounter two different terms: "mosaic" (or mosaic art) and "tile craft." It is very common to feel confused about how they actually differ.
You might wonder, "Aren't they basically the same thing, since both involve gluing down small pieces and grouting the gaps?" In reality, these two crafts have clear distinctions across their historical backgrounds, how materials are prepared, the tools and techniques involved, and even their design philosophy.
In this article, I will break down the differences between traditional mosaic and tile craft from the ground up. By understanding the unique qualities and appeal of each, you will clearly see which approach best fits the project you want to create. I will also share essential tips to prevent common mistakes and my personal recommendations on how to get started, so be sure to read through to the end!
First, let's explore what traditional mosaic is as an art form and craft discipline. Understanding the foundation of mosaic makes its differences from tile craft much easier to grasp.
Mosaic is a fine art technique with an exceptionally long history dating back to ancient Mesopotamia, ancient Rome, and the Byzantine Empire. It developed primarily as a durable and lavish way to decorate the floors, murals, and ceilings of basilicas, cathedrals, and palaces.
The defining characteristic of mosaic is that it uses individual pieces to "paint" an image. Instead of applying paint to a canvas with a brush, the artist lays down finely cut fragments one by one to render figures, landscapes, and religious scenes. For this reason, mosaic is not merely a surface decoration method; it has always functioned as a highly durable medium for pictorial expression.
In mosaic terminology, the individual pieces used are called tesserae (singular: tessera).
The true fascination of mosaic lies in the sheer freedom of choosing materials for these tesserae. Typical materials include:
Rather than relying solely on uniform, mass-produced items, mosaic artists actively incorporate natural stones split by hand and irregular glass slices with uneven shapes and raw cross-sections. Combining the inherent textures, depths, and colors of raw materials is the ultimate joy of mosaic art.
The most crucial step in creating a mosaic is cutting the materials. Artists use specialized tools such as a mosaic hammer with a hardie, or kuikiri (Japanese end-cutting nippers) and wheeled mosaic glass cutters, to split and shape materials into precisely planned sizes and angles.
Each tessera is trimmed, angled, or rounded to fit snugly along curves and into tight spaces according to the planned design. Because you split the materials with your own hands to craft one-of-a-kind shapes and assemble them, mosaic work requires patience, practice, and refined manual skill.
Next, let's look at "tile craft." While it shares visual similarities with mosaic, tile craft has developed as a distinct, accessible DIY pastime with its own unique focus and charm.
Tile craft generally refers to the hobby of decorating everyday lifestyle items and home interior accents using pre-formed, commercially manufactured ceramic or glass tiles that have been cleanly molded and fired in a factory.
Common craft supplies include small square "mosaic tiles" (typically 10 mm or 15 mm squares), alongside specialty shapes like rounds, hearts, flowers, and Moroccan lantern shapes. Because these pieces are uniformly sized and smooth right out of the package, crafters can produce polished, high-quality projects without needing advanced cutting or shaping skills.
Design in tile craft centers around geometric patterns, regular grids, and thoughtful color schemes that celebrate the standardized shape of the tiles. Because the dimensions of each piece are consistent, it excels at clean grid layouts, checkerboard patterns, and crisp decorative borders.
Rather than cutting tiny fragments to paint a complex, figurative picture, tile craft places primary value on the clean rhythm of tiles and the harmonious interplay of coordinated colors.
The biggest appeal of tile craft lies in how easily it applies to everyday functional household items. Popular projects include:
By leveraging the heat-resistant and water-resistant properties of glazed tiles, you can create durable, stylish goods for daily use. Its accessibility allows even absolute beginners to finish charming items in a short amount of time.
Now, let's compare mosaic and tile craft more deeply across five specific criteria. First, take a look at the quick comparison table below for an overall overview.
The fundamental distinction comes down to whether you split materials yourself to create shapes, or use ready-made tiles as they are.
In mosaic, the process begins by cleaving large glass plates or natural stone slabs into custom pieces. You then fit these varied, non-uniform shapes together like a bespoke puzzle. In tile craft, you work with finished, uniform tiles. Because dimensions and thicknesses are standardized, you achieve a neat, professional layout without any manual cutting.
The visual approach differs significantly between the two styles.
Mosaic resembles pointillism. The flow of tessera lines—known as andamento—is deliberately arranged to convey movement, curvature, and three-dimensional volume. The angle of each piece and the width of the gap between them dramatically alter the artwork's expression, offering immense artistic freedom. Tile craft, by contrast, functions more like graphic design or patchwork. It relies on regular grids, symmetric borders, and methodical rules to create clean, orderly, and uplifting designs.
The required toolkits reflect these differing goals.
Serious mosaic work requires dedicated stone- and glass-cutting tools, such as mosaic hammers, hardy chisels, end-cutting nippers (kuikiri), and wheeled glass nippers. Cutting hard stone and glass accurately requires practice and manual strength. In tile craft, the core toolkit consists of accessible items like wood glue (or multi-purpose craft adhesive), tweezers, grout powder, a rubber squeegee, and a sponge—items readily found at local home centers and craft stores. While tile nippers or cutters can be used, they are generally reserved for simple straight snaps, requiring little technical training.
What you do with the completed piece also differs.
Mosaic pieces are primarily created as decorative fine art, framed wall panels, or architectural surface treatments intended for appreciation and long-term display. Tile craft emphasizes practical DIY utility. You get to enjoy the satisfaction of using what you made in your day-to-day life—setting a hot mug on a coaster, carrying mugs on a tiled tray, or decorating a potted plant.
Both techniques rely on cementitious grout (mortar or joint filler) to lock pieces in place, but grout plays a slightly different role in each.
In mosaic, the grout line is treated as an active part of the drawing. Artists may set tesserae extremely close together to minimize visible grout lines, or use a dark, contrasting grout to outline and emphasize specific shapes, treating the grout like line art. In tile craft, grout serves primarily to structurally secure the tiles, create a clean sealed surface that prevents dirt accumulation, and provide a unified background color (often white, light gray, or beige) that makes the vibrant tile colors pop.
When diving into either craft, beginners often hit the same few stumbling blocks. Knowing how to handle these critical steps in advance will keep your first project smooth and enjoyable.
If you mix and match different tile types in a single piece, always check their thickness (height) first!
For instance, if you place a 5 mm thick glass tile right next to a 10 mm thick ceramic tile on the same flat base, you create a steep step on the surface. When you spread grout across the top, the shorter tile will sink below the grout layer, making it nearly impossible to wipe clean. For functional items like coasters or trays, an uneven surface also means cups or objects placed on top will wobble and tip over.
If you must combine pieces of differing thicknesses, raise the lower pieces by building up adhesive or backing shims underneath so the top faces sit completely flush, or simply stick to tiles of the same thickness for your project.
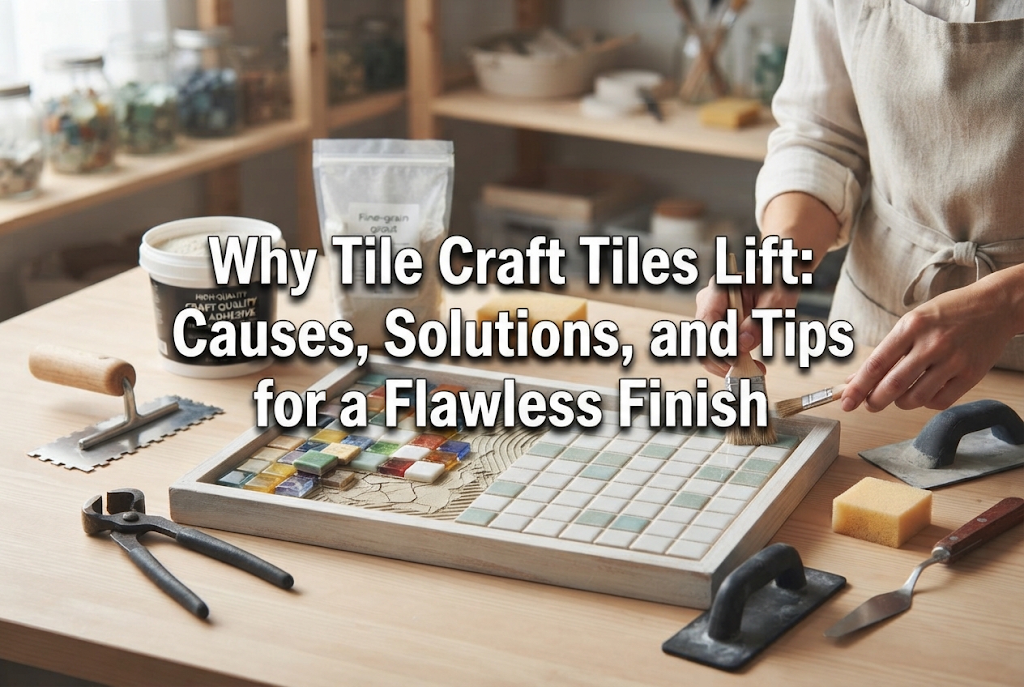
Using the wrong glue for your substrate will cause tiles to detach later on.
Standard wood glue (PVA) works fine when bonding porous ceramic tiles onto unfinished wood bases. However, if you are tiling onto plastic, metal, or glass, wood glue will fail to bond securely and tiles will pop off over time. Always select an appropriate multi-surface or glass/metal-compatible strong adhesive for non-porous surfaces.
Furthermore, applying too much glue causes it to ooze up between the tiles when you press them down. Once dried, excess glue clogs the seams and prevents grout from penetrating deeply, resulting in grout that flakes and crumbles away later. Apply a thin, even coat directly to the back of each piece, or spread a controlled, thin layer over the base with a spatula before setting tiles.
Grouting is the transformative step that defines your finished piece, but it is also where mistakes happen most frequently—specifically, adding too much water or waiting too long to wipe.
When mixing powdered grout with water, avoid making it runny. Too much water causes the grout to shrink, crack, and dry powdery and weak. Add water gradually until the mixture reaches a firm, smooth consistency resembling stiff mayonnaise or soft modeling clay.
After packing the grout firmly into all the gaps, wipe away excess surface residue using a damp, firmly wrung-out sponge. If you leave it sitting too long, the cement will cure rock-hard directly on the tile glaze, making removal extremely difficult. Wait just until the surface begins to look faintly hazy and dry to the touch, then gently smooth and clean the tiles with your damp sponge.
Now that you understand the differences, you might still wonder: "Which one should I actually tackle first?" As a crafter, here is my recommended progression.
I strongly recommend that beginners start with tile craft!
The reason is simple: there is no cutting required, which removes the risk of minor cuts and keeps your initial tool list minimal and budget-friendly.
Begin with a ready-to-use tile craft kit, or pick up a plain wooden coaster blank and a small bag of mosaic craft tiles. Work through the basic workflow:
Familiarizing your hands with this fundamental sequence—gluing, grouting, and wiping—is the fastest way to build confidence. A single coaster can be completed in just one to two hours, giving you a quick and rewarding creative win.
Once you have experienced tile craft and feel the desire to create organic, hand-shaped motifs or experiment with the raw textures of cleaved glass and natural stone, that is the perfect moment to step into mosaic art!
Pick up a pair of mosaic nippers or kuikiri, and begin by clipping the corners or splitting craft tiles in half. Once you learn to shape individual pieces at will, your expressive range expands dramatically.
Rather than investing in a full set of heavy mosaic tools right from the start, taking it step by step will prevent frustration and ensure you enjoy the creative journey for years to come.
While mosaic and tile craft appear similar on the surface, they each offer distinct workflows, traditions, and artistic rewards. Mosaic invites you to split raw materials by hand to build rich, painterly images, while tile craft lets you arrange crisp, colorful tiles into charming and functional everyday items. Both approaches are deeply satisfying.
Choose the method that aligns with the kind of project you want to create and how you want to spend your craft time. There is nothing quite like the feeling of standing back and admiring a piece you pieced together with your own hands!
If you enjoyed this guide, please consider sharing it with your fellow crafting friends—it is always greatly appreciated!
Until next time, happy crafting! This has been Yassy from Crafters!

For example, if you are looking for articles about mizuhiki, try searching for "mizuhiki"; if you are interested in tools, try keywords like "nippers" or "pliers."
