Level Up Your Needle Felting: The Essential Tool Upgrade Order for Flawless Results
yassy
Crafters!

Hi everyone, it's Yassy from Crafters! (・∀・)
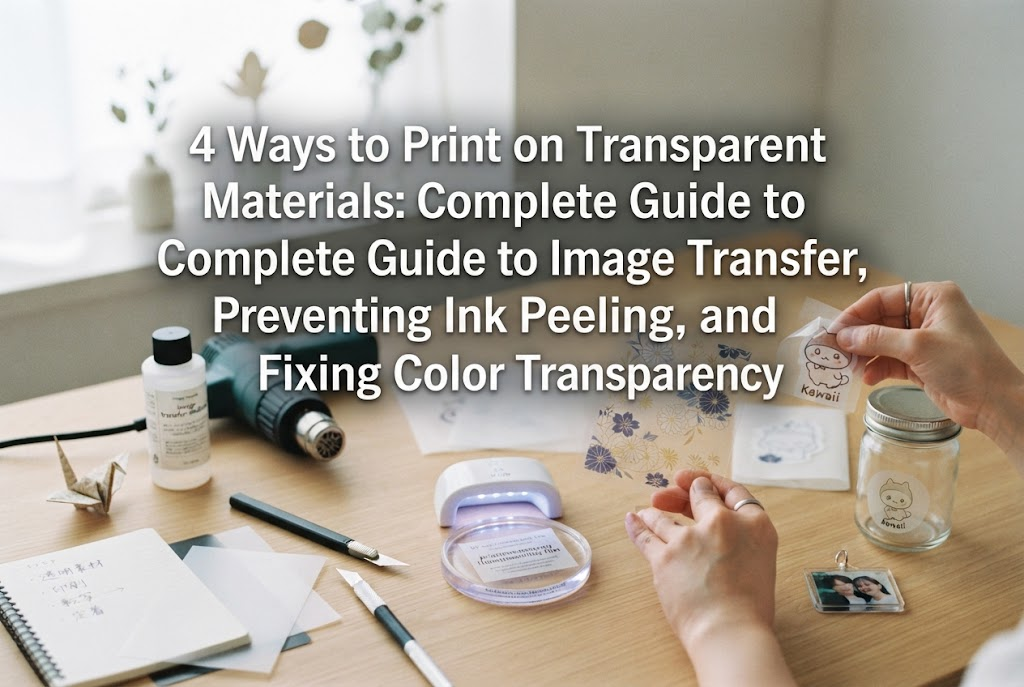
When making handmade items, seeing text or illustrations floating seamlessly on clear parts is super exciting, isn't it? Combining transparent materials—such as acrylic sheets, clear craft parts, resin pieces, glass jars, and shrink plastic—with printed designs instantly elevates the quality of your craft projects to a professional standard.
I love making, viewing, and buying handmade crafts, and I've worked on countess projects using transparent materials over the years. However, when I first tried printing on clear surfaces, I experienced endless failures: ink repelling into beads, prints scratching off with a light touch, and design backgrounds becoming see-through and totally illegible.
Transparent materials have completely different properties compared to paper. Because smooth, non-porous surfaces do not absorb ink like paper fibers do, standard printing methods simply will not work. Once you understand the underlying causes of these failures and follow the correct procedures, anyone can create beautiful, professional-grade printed transparent crafts at home using everyday equipment and printers!
In this guide, I'll walk you through 4 specific methods for printing and transferring onto transparent materials, the essential "white backing" technique to solve color transparency, and the golden rules of protective coating for long-lasting results!
Before jumping into the techniques, let's understand why printing on clear surfaces often fails. Without grasping these core reasons, you'll likely repeat the same mistakes regardless of how expensive your craft supplies are. All transparent printing troubles come down to these three factors:
Paper surfaces consist of microscopic fibers that absorb and hold liquid ink. In contrast, clear materials like acrylic, plastic, and glass have smooth, non-porous surfaces that absorb zero liquid.
If you spray liquid inkjet printer ink directly onto a smooth plastic sheet, the ink cannot penetrate. Instead, it beads up on the surface, takes an eternity to dry, and wipes off instantly upon contact. To print on clear materials, you need a specialized receptive coating layer to trap and hold the ink.
Even if the ink appears to dry on a non-porous surface, there is no chemical bond between the print and the material. The dried ink is simply resting loosely on top.
As a result, a light fingernail scratch, friction between pieces, or slight changes in ambient humidity will cause the film-like ink layer to peel right off. Improving post-print adhesion is crucial for achieving durability and a professional finish.
When printing on paper, the underlying white background reflects light, making colors look bright and sharp. Transparent materials lack this white base layer.
Without a white backing, light passes straight through bright or pastel colors like light pink, yellow, and sky blue, making them appear completely washed out or invisible. If your printed acrylic project looks blurry or faint when held up to the light, it is because of this missing white foundation.
The easiest and cleanest way to print on clear surfaces using a home printer is to use specialized transparent sheets designed specifically for home printing. Instead of printing directly onto raw plastic, you print onto a clear sheet pre-coated with an ink-receptive layer, which you then stick onto your material or embed into resin.
When purchasing transparent sheets, always double-check your printer type. Transparent sheets available online or at craft supply shops come in two distinct types: Inkjet Only and Laser Only.
Inkjet-compatible sheets feature a clear, moisture-absorbing coating layer on the surface to hold liquid ink. If you put an inkjet sheet into a laser printer, the intense heat will melt the chemical coating, wrapping melted plastic around the printer drum and damaging your machine.
Conversely, using laser sheets in an inkjet printer results in a wet, smeary mess because laser sheets lack an ink-receptive layer. Matching the sheet type to your printer mechanism is an absolute must.
Inkjet printers use either dye inks or pigment inks. For transparent sheets, dye inks produce the most stunning results.
Dye inks feature transparent color particles that allow light to pass through cleanly, resulting in a vibrant, stained-glass finish. Pigment inks consist of larger microscopic particles that rest on the surface, which can produce sharp outlines but may appear slightly cloudy or textured on clear film. For vivid, jewel-tone transparency, dye ink is highly recommended.
If you leave your printer settings on "Plain Paper," the printer will discharge too much ink, leading to smudging and blurry fine lines.
Always select high-quality media settings such as "Photo Paper," "OHP Film," or "Glossy Paper." These settings prompt the printer to control ink volume precisely, resulting in crisp, high-definition prints with finely placed ink dots.
When you need to print on curved surfaces like glass bottles or want a seamless finish that looks printed directly onto an object, water slide decal sheets are your best option. Used widely in plastic model making, this technique involves sliding a micro-thin transparent film layer carrying your design onto your project surface.
The biggest advantage of water slide decals is the ultra-thin film layer, leaving virtually no visible edge height. Your design will look as though it was printed directly onto the transparent surface.
However, because the film is extremely thin, it can tear easily during application. Avoid rubbing forcefully when removing air bubbles; stroke gently using a wet cotton swab.
If you want to transfer laser toner directly onto a clear surface without leaving behind any clear film layer at all, you can use a solvent transfer method. This technique uses a solvent to dissolve laser printer toner (from a laser printer or local print shop copiers) and fuse it directly onto plastic or acrylic.
Laser prints use resin powder (toner) melted onto paper by heat. This resin toner can be temporarily dissolved using solvents containing acetone, ethanol, or specialized transfer liquids.
Materials Required:
Always test solvent compatibility beforehand. Certain clear plastics and acrylics can turn cloudy or frosted (whitening) when exposed to harsh acetone. Test on a scrap piece first to ensure the solvent won't damage the plastic.
In addition, light rubbing will cause patchy transfers. Applying strong, consistent downward pressure is key to capturing fine graphic details.
You don't need expensive transfer sheets to make great clear decals! You can create surprisingly clear stickers using broad transparent packaging tape (OPP tape) and standard paper prints. This budget-friendly method is perfect for craft beginners.
This simple method offers high transparency and works wonderfully for decorating glass jars, clear organizers, or embedding design elements into resin crafts.
The most common issue crafters face when printing on clear materials is color transparency. Dark colors like black show up clearly, but brighter tones like red, pink, yellow, and skin tones become faint or get drowned out by whatever color sits behind your finished piece.
The professional solution to this problem is called "White Backing" (Shiro-uchi).
When ordering professional acrylic keychains or standees from print shops, a layer of solid white ink is always printed directly behind the colorful graphics. This white backing layer blocks light from passing through, allowing the colors above to pop vividly.
Because home printers rarely feature white ink, crafters must apply this white backing layer manually behind their printed designs.
When working with self-made clear prints or transfers, these three DIY approaches work brilliantly:
Method A: Paint White Acrylic Paint on the Reverse SideOn the back side of your transparent print or transfer, paint a layer of white acrylic paint directly over the colored design area using a fine detail brush. When viewed from the front, brush strokes remain completely invisible, leaving vibrant, solid colors!
Method B: Layer White Sticker Paper or White Masking TapeIf painting feels tedious, trim white adhesive sticker paper or white masking tape to match your design outline, then stick it directly behind your clear print to create a clean, light-blocking backing.
Method C: Use Opaque White Resin for Resin CraftsIf embedding transparent prints inside resin crafts, pour a backing layer of UV or epoxy resin mixed with white resin pigment behind your clear sheet. This creates a floating 3D effect while keeping the design sharp and opaque.
Freshly transferred or printed graphics on clear materials are delicate. Exposure to skin oils, friction, or humidity can cause prints to scratch or smudge over time. Applying a protective top coat is essential for professional, long-lasting handmade goods.
Select your top coat carefully based on the ink type and material compatibility:
When applying clear spray varnish, avoid heavy coats in a single pass, which can cause runs, drips, or trapped bubbles that ruin transparency.
Hold the spray can 20–30 cm (8–12 inches) away from your project. Sweep the spray evenly across the piece in light passes. Repeat the process 2–3 times, allowing each layer to dry completely for a smooth, tough protective shell.
For the ultimate high-end look on acrylic parts or clear sheets, coat your piece with UV/LED resin.
Squeeze clear resin onto the printed piece, spread it evenly to the edges using a silicon spatula or brush, and cure under a UV light. This creates a thick, glossy, dome-like finish that locks in the printed graphics permanently.
Tip: Wipe the print surface clean before applying resin to prevent the liquid resin from repelling off surface oils.
Mastering these clear printing and transfer methods unlocks endless possibilities for your craft projects! Here are some creative ideas to try:
Once you learn how to cleanly print custom text and artwork onto transparent materials, your creative freedom expands endlessly!
Keep these core principles in mind: "If the surface won't absorb ink, use a receptive sheet," "If colors look transparent, add a white backing," and "If prints rub off, seal with a top coat." Follow these rules, and your projects will turn out great every time!
Start with simple packing tape transfers or OHP sheets, then gradually explore water slide decals and resin coatings as you build confidence. I can't wait to see your wonderful creations shine!
If you enjoyed this guide, please share it with your fellow craft friends on social media or messaging apps! Thanks for reading, and see you in the next tutorial! — Yassy







For example, if you are looking for articles about mizuhiki, try searching for "mizuhiki"; if you are interested in tools, try keywords like "nippers" or "pliers."
