Raden Mother-of-Pearl Inlay: A Guide to Japanese, Korean, and Chinese Traditional Shell Craft
yassy
Crafters!

Hello, this is Yassy from Crafters! (・∀・)
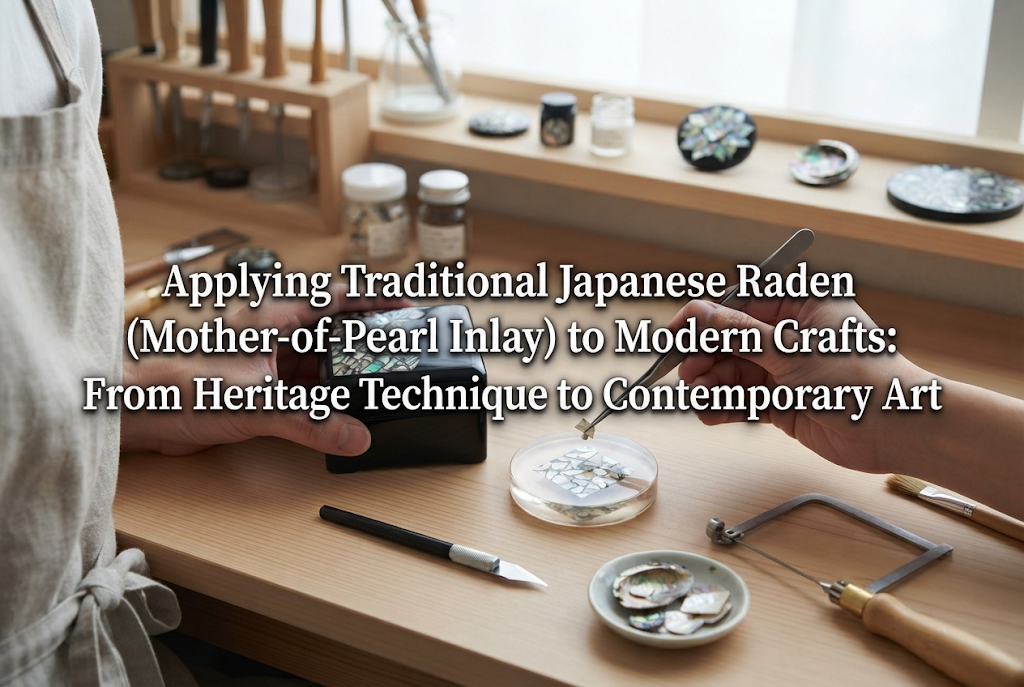
Shifting from purple to green, pink, and blue depending on the angle of light, Raden (mother-of-pearl inlay) radiates a mystical, iridescent glow. Originating as a traditional craft cherished across Japan and East Asia for decorating lacquerware and fine furniture, it might seem like an intimidating technique reserved solely for master artisans. However, adapting this technique and aesthetic into modern handmade crafts and contemporary art is currently gaining tremendous attention.
Today, by substituting natural urushi lacquer with UV/LED resin or acrylic varnish, and utilizing easy-to-handle abalone shell sheets or shell pieces, you can enjoy authentic Raden-style crafting right at home. From jewelry and phone cases to home decor and modern art pieces, the luminous brilliance of Raden dramatically elevates the quality of any handmade project.
In this guide, I will share the fundamental knowledge of traditional Raden, step-by-step instructions for modern crafters, tips to avoid common beginner mistakes, and inspiring ideas to expand your projects into unique works of art. Let's bring the mystical beauty of Raden into your craft routine!
Before applying Raden techniques to modern crafts, it helps to understand its origins as a traditional Japanese decorative art. Knowing its principles and terminology will add deeper context to your design and material choices.
In the Japanese term Raden (螺鈿), "Ra" (螺) refers to spiral shells, and "Den" (鈿) means to inlay, stud, or decorate. In essence, Raden is the technique of thinly shaving down the beautiful nacre (mother-of-pearl layer) found inside shells such as abalone, great green turban (yakou-gai), and pearl oyster (shirochou-gai), and inlaying or affixing it onto wooden or lacquered surfaces.
The mother-of-pearl layer produces structural color through light refraction. This inherent depth and organic luster cannot be replicated by artificial pigments alone, making it the defining allure of Raden.
Traditional Raden includes several methods depending on how the shells are cut and applied. Here are three classic techniques that serve as great inspiration for modern crafters:
Each of these historic methods translates smoothly into modern resin and acrylic handmade projects.
Traditional Raden requires raw shells and natural urushi lacquer, which carries the risk of skin irritation (urushiol rash) and demands advanced shell-shaving skills. Fortunately, with accessible modern alternatives, you can safely and cleanly recreate the world of Raden.
Here is a practical step-by-step tutorial for making a Raden-inspired project using accessible materials. In this example, we will focus on the beginner-friendly combination of UV resin and shell sheets.
The iridescent luster of mother-of-pearl shines most brilliantly against a dark background. Coat the bottom of your wooden base, tray, or bezel with black acrylic paint or black-tinted resin.
Allow the paint to dry completely or cure the resin thoroughly under the lamp. Unevenness in the base can cause patchy reflection, so achieving a solid, smooth black surface is your first key to success.
Using a craft knife or fine scissors, cut the shell sheet into your desired shapes.
You can create a geometric mosaic pattern, cut out specific silhouettes like floral petals or a crescent moon, or crush the sheet into tiny fragments to mimic the traditional Warigai (cracked shell) style. Once cut, dry-fit the pieces onto the base using tweezers to finalize your composition.
Apply a thin layer of clear resin onto the base, and carefully set your shell pieces into place with tweezers. Once satisfied with the layout, cure under the UV light briefly (flash cure) to lock them in place.
After the pieces are secured, pour a generous coat of clear resin over the top. Make sure to completely submerge the thickness of the shell, creating a level or slightly domed surface. Remove any trapped air bubbles using a toothpick, silicone tool, or craft heat gun, as bubbles will interrupt the reflection of the shell.
Fully cure the resin. If the edges of the shell create minor bumps or uneven spots on the surface, perform wet sanding using wet/dry sandpaper.
Start with #800 grit and work your way up progressively through #1500, #2000, and #3000 grits to level the surface smoothly. Once perfectly even, apply an ultra-thin coat of gloss topcoat resin or buff with a polishing compound. This produces a deep, mirror-like gloss reminiscent of genuine lacquerware.
When trying Raden crafts for the first time, you might wonder why the shell looks dull or cheap. I went through plenty of trial and error myself when I started. Here are three common pitfalls and how to solve them.
Cause: Placing shell sheets directly over clear or white surfaces allows light to pass through without reflecting properly, making the iridescent colors appear pale.
Solution: The fundamental rule of Raden is a dark base. Using black, charcoal, dark navy, or forest green creates high contrast, making the shell glow with breathtaking vibrancy. If you want a semi-translucent look, design partial dark backings beneath the shell elements.
Cause: Shell sheets have natural rigidity. Applying them to curved or uneven bases can cause the edges to curl upward and poke through the resin coat.
Solution: When working on curved items, lightly score or crack the shell sheet beforehand to give it flexibility (similar to the traditional Warigai method). Furthermore, always secure the shell with a thin resin layer first before flooding the entire piece with the final clear coat.
Cause: Because the shell material is inherently gorgeous, it is tempting to cover every millimeter of the surface, resulting in a cluttered look.
Solution: Traditional Japanese aesthetic values negative space (the beauty of subtraction, or ma). Intentionally leaving dark base areas visible—keeping the shell coverage around 30% to 50% of the total area—creates a refined, sophisticated finish.
Raden is not limited to tiny accessories; it can be integrated across a wide spectrum of contemporary craft and art disciplines. Here are a few creative avenues to explore:
Incorporate Raden into stud earrings, drop earrings, hair cuffs, and pendant charms.
Pairing Raden with natural wood or raw brass creates an eye-catching mixed-media look. The warmth of wood grain and the industrial chic of metal juxtaposed with shimmering mother-of-pearl yield bespoke jewelry pieces you cannot find in commercial stores.
Embellish fountain pens, ballpoint pens, smartphone cases, wooden drink coasters, or compact mirrors.
Phone cases and coasters offer broad, flat canvases ideal for intricate geometric patterns or subtle color gradients. A simple arrangement of precision-cut abalone tiles on a black base turns everyday items into luxurious, artisan-grade goods.
Apply Raden elements directly onto stretched canvas paintings, plaster castings, or 3D-printed geometric sculptures.
Integrating shell collage into abstract acrylic paintings or casting shell fragments into modern Jesmonite home decor combines heritage craftsmanship with contemporary aesthetics, creating standout pieces for gallery shows and craft markets.
Working with shell sheets, paints, and resins requires basic safety measures. Keep these precautions in mind for a safe crafting experience:
Sanding or breaking shells produces fine shell dust particles. Inhaling this dust can cause respiratory discomfort. Always wear a protective dust mask when shaping, sanding, or filing shells. Wet sanding (keeping the surface wet while sanding) is highly recommended to keep dust from becoming airborne.
Resin curing and paint application release minor chemical vapors. Always work in a well-ventilated room with open windows or an exhaust fan. Wear disposable nitrile or polyethylene gloves to avoid direct skin contact with uncured resin or solvents, and review manufacturer guidelines carefully.
While traditional Japanese Raden might seem like an elusive art mastered only by seasoned lacquer artisans, modern materials enable any crafter to enjoy its mesmerizing beauty.
The dynamic shimmer of natural abalone paired with the stark depth of a dark base offers a unique crafting experience that quickly becomes addictive. Pairing effortlessly with clear resin, Raden opens up limitless possibilities for jewelry, home decor, and mixed-media art.
Start with a small bezel pendant or a wooden coaster and explore the technique at your own pace. By blending traditional Japanese design sensibility with modern handmade freedom, you can create truly one-of-a-kind treasures.
If you enjoyed this guide, feel free to share it with your fellow crafters on social media!
Until next time, happy crafting—this was Yassy from Crafters!




For example, if you are looking for articles about mizuhiki, try searching for "mizuhiki"; if you are interested in tools, try keywords like "nippers" or "pliers."
