How to Make Plushie Faces Cute: Placement Tips and 3D Shaping Secrets
yassy
Crafters!
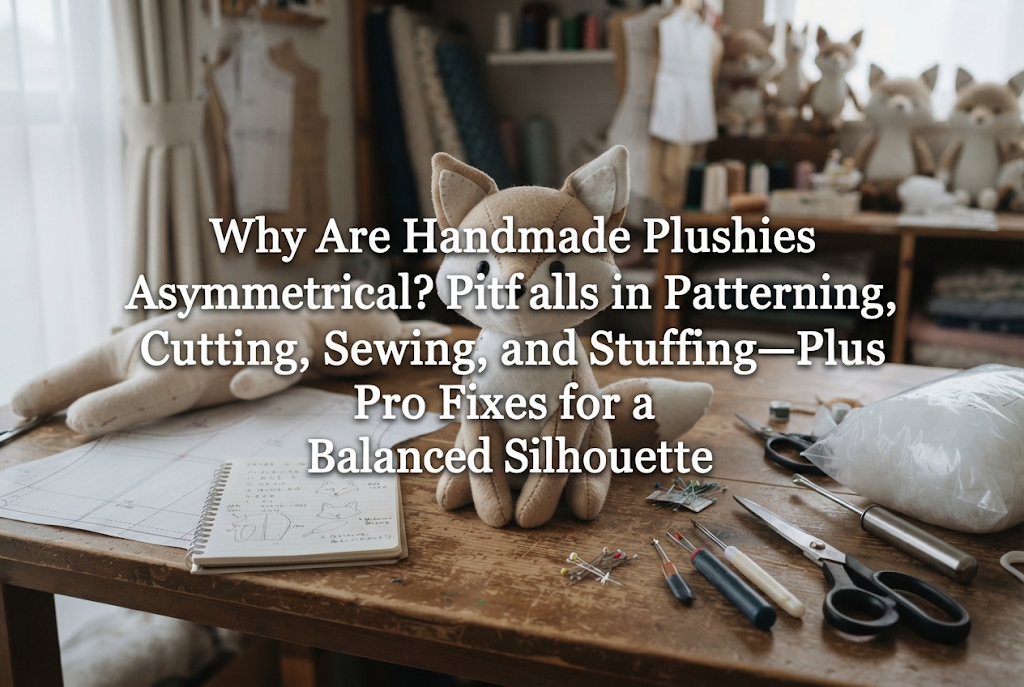

Hello, everyone! It’s Yassy from Crafters! (・∀・)
Have you ever poured your heart into handcrafting a soft toy or plushie, only to finish and feel a pang of disappointment? Maybe the face looks tilted, one arm seems thicker than the other, or the entire silhouette feels warped when viewed from the front.
Asymmetry in plushie making is a common hurdle faced by crafters ranging from beginners to intermediates. Many people try pulling out the stuffing and repacking it, only to find that the distortion stubbornly remains.
In reality, uneven stuffing is rarely the sole culprit behind an asymmetrical plushie. Hidden traps cause distortion at every single stage of the process—from tracing the pattern pieces onto the fabric and cutting, to sewing the seams and attaching the final parts.
In this guide, I will break down the root causes of plushie asymmetry step by step, sharing practical techniques and Japanese plush-making practices to help you achieve a beautifully balanced, symmetrical silhouette!
Plushie making is a complex form of three-dimensional sculpting where flat pieces of fabric are sewn together into a shell and then expanded from the inside with stuffing. Because of this, a tiny deviation of just one millimeter on a flat piece of fabric can multiply into a noticeable distortion of several millimeters—or even over a centimeter—once stuffed.
Asymmetry generally stems from four primary steps in the construction process:
The final distortion is a cumulative result of these small variations stacking up. Perfecting just one step won’t deliver a clean, symmetrical plushie if another step introduces a shift. Let’s take a detailed look at what happens at each stage.
The first trap leading to asymmetry lies in the preparation stage before you even cut your fabric. Many beginners assume that cutting along the pattern lines will automatically yield identical pieces. However, if you disregard the physical properties of the fabric when laying out your patterns, the shape will warp the moment the pieces are assembled.
Both woven and knit fabrics have a specific thread direction known as the grainline (ji no me in Japanese sewing terminology). As a general rule, fabric stretches very little along the lengthwise grain (parallel to the selvage), stretches slightly along the crosswise grain, and stretches significantly on the diagonal (the bias).
Imagine placing the pattern piece for the right side of the body along the straight lengthwise grain, but angling the pattern for the left side along the bias just to save fabric. When these two pieces are sewn together and stuffed, the left side on the bias will expand dramatically under the pressure of the fill, while the right side remains taut and firm. As a result, you end up with an uneven plushie with completely different widths and contours on each side.
Always align symmetrical pieces (left and right face, left and right limbs, front and back body panels) so that the grainline arrows on the pattern run strictly parallel to the fabric's lengthwise grain. Never compromise grain alignment to conserve fabric scrap space.
Plushie patterns often require cutting mirror-image pairs by tracing a pattern piece right-side up for one half, then flipping it over for the other half.
A common mistake here is using a chalk pen or fabric marker with a thick tip. Depending on whether you trace along the outer edge of the pattern card or hug the very inside, the finished piece can vary by 1 to 2 millimeters. If your pen tilts at an angle while tracing, the drawn line shifts between the front and back pieces, resulting in outlines of noticeably different sizes.
To prevent this, use a fine-lead mechanical chalk pencil or an ultra-fine vanishing fabric marker. Keep the pen strictly vertical against the edge of the pattern piece to produce crisp, accurate lines.
Even with accurately traced lines, the way you use your shears can alter the dimensions of your fabric pieces. This is especially true for materials commonly used in plush making—such as boa, faux fur, minky, and toy knit fabrics—which have pile or stretch and are prone to shifting during cutting.
Do you ever lift fabric into the air while cutting along your marked lines? When fabric hangs in the air, its own weight causes it to stretch and sag, making it impossible to follow the lines accurately.
When using dressmaking shears, rest the flat lower blade firmly against the cutting table and cut with the fabric lying flat. Rather than moving the fabric itself, adjust your own body position or rotate a cutting mat so that the cut lines on both the left and right pieces remain identical.
When cutting pile fabrics like boa or faux fur, cutting straight through the material as you would with plain cotton chops off large amounts of the pile fibers along the edges. If the pile is sheared off on one side but left intact on the other, the seam will have uneven volume and disrupted pile flow once sewn.
When cutting faux fur or boa, slide only the tips of your shears under the backing cloth (the base knit or weave), gently parting the fur fibers as you snip. Preserving the pile fibers along the edges ensures balanced volume and clean fur seams on both sides.
Joining the cut pieces together is the highest-risk zone for introducing asymmetry. Whether stitching on a sewing machine or hand-sewing, tension and shifting will warp the final shape.
Plushie patterns feature essential markings called notches (ai-jirushi in Japan) placed at key locations, such as the chin, crown, ear attachments, and curve peaks. These marks are critical guideposts for aligning complex three-dimensional curves.
A frequent mistake is pinning only the ends of two pieces and sewing straight through the middle without checking alignment along the way. Because feed dogs and hand-guiding apply different tension to the top and bottom layers—especially on plush fabrics—the layers feed at different rates. By the time you reach the end, one layer can easily stretch or shift by several millimeters.
To ensure symmetry, always align and pin your matching notches first. Baste with temporary hand stitches if working with tricky curves before sewing the final seam. Matching notches keeps fabric from stretching unevenly on one side.
If your pattern specifies a 5 mm seam allowance, but you sew the right side at 4 mm and the left side at 6 mm, you have already created a 2 mm discrepancy in width. Because a plushie is sewn as a closed pouch and turned right side out, that difference doubles, showing up as a visible 4 mm difference in the finished silhouette.
This is especially critical along center facial seams and gussets. Even a slight wobble in the seam allowance can twist the entire face. Use your sewing machine's presser foot edges, throat plate guides, or seam guide tape to maintain an exact, uniform seam allowance throughout.
Before turning your sewn shell right side out, you must clip into the seam allowance along curves. Outer curves need small triangular notches cut out to remove bulk, while inner curves need small slits snipped toward the seam line.
If you snip carefully and closely on the right side but space your cuts widely or forget them on the left side, the fabric will pull differently once turned right side out. The under-clipped side will pull taut and fail to round out, while the properly clipped side will expand softly, creating an uneven look.
Even if your sewing is flawless, how you pack the fiberfill can easily distort a plushie. In fact, natural hand dominance often plays an unexpected role here.
When right-handed crafters stuff a plushie, they naturally find it easier to angle tweezers or stuffing tools into the right cheek, arm, or leg, packing the fiber with firmer pressure. The left side, being slightly more awkward to reach, often ends up with less stuffing or softer, under-packed pockets.
Consequently, the right side turns out plump and firm, while the left side looks deflated and small—a classic cause of plushie asymmetry.
A reliable way to counter this is by using a digital kitchen scale. Weigh out equal amounts of polyfill in advance for matching pairs—for example, measuring exactly 3 grams for each arm. This simple step prevents one side from receiving more fill than the other.
Stuffing a plushie in a rush by pushing in large wads of polyfill creates dense clumps inside the body. These clumps exert localized pressure against the fabric walls, pushing outward unevenly. Once a dense clump sets into place, massaging the outside rarely fixes the problem.
Always pull off small tufts of fiberfill—about the size of your thumb tip—fluff them lightly between your fingers, and gently ease them into the plushie in small layers. Work back and forth between symmetrical sections (such as both cheeks or both paws) little by little, frequently checking the firmness by pinching the outer fabric with your fingers.
Sometimes the core head and body are symmetrical, but the plushie looks crooked because the external components—such as ears, limbs, safety eyes, or embroidered noses—were attached off-center.
Attaching ears or eyes by simply guessing the position by eye is risky. The curved, three-dimensional surface of a stuffed head distorts depth perception depending on your viewing angle. A placement that looks fine from the front can easily be misaligned when seen from above or from the sides.
Always use the center seam and the top seam of the head as fixed reference baselines. Use a flexible measuring tape or ruler to measure the exact distance in millimeters out from the center line and down from the top seam, marking positions with glass-head pins before attaching anything permanently.
When attaching ears or limbs to the body using a ladder stitch (blind stitch), pulling the thread with different tension on each side alters the angle of the component. If you pull tightly on the right ear, cinching its base deep into the head seam, but leave the left ear looser, the right ear will tilt backward or sit lower, making the ears look misaligned.
Keep both your stitch length and thread tension consistent as you work around each piece. After each round of stitching, inspect your work from the front, profile, and top view.
To help you stay on track during your projects, here is a practical checklist based on the techniques I use in my own plush-making routine. Keep it nearby while crafting!
The mirror and smartphone photo tricks are especially helpful. When staring closely at a project for hours, your eyes become accustomed to small imperfections and stop noticing them. Looking at your plushie in a mirror or flipping a photo horizontally instantly gives you an objective view, making any asymmetry stand out clearly.
Achieving a balanced plushie is not a matter of pure inborn talent. Asymmetry occurs through predictable, physical factors: fabric grain, scissor movement, seam allowance accuracy, notch alignment, and stuffing distribution.
Paying close attention to these small details at each stage—rather than brushing off a millimeter here and there—will dramatically improve your finished work, resulting in clean, charming, and symmetrical plushies.
On your next plush-making adventure, keep these practical points in mind and create a lovable, well-balanced friend you can be proud of!
If you found this guide helpful, sharing it with fellow crafters is always appreciated and keeps me inspired!
Until next time—happy crafting! This was Yassy from Crafters!



For example, if you are looking for articles about mizuhiki, try searching for "mizuhiki"; if you are interested in tools, try keywords like "nippers" or "pliers."
