Crochet Hooks vs. Knitting Needles: Key Differences, Project Matching, and Beginner Selection Guide
yassy
Crafters!
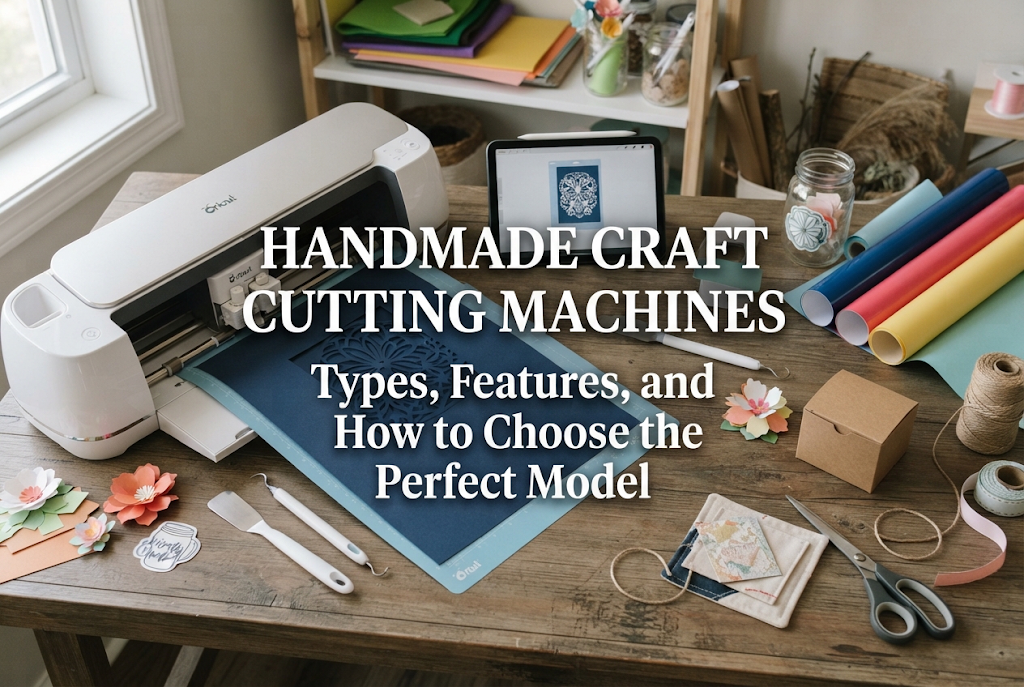

Hello everyone, Yassy from Crafters here! (・∀・)
When cutting paper, fabric, heat transfer vinyl, or leather for your handmade projects, have you ever thought, "I wish I could cut this out more cleanly," or "Making dozens of identical pieces by hand is taking forever"? Cutting designs manually using scissors or craft knives is certainly part of the handmade charm, but it is also the most time-consuming and exhausting step in the process.
If you want to solve these cutting hassles instantly and elevate your craft quality to a professional standard, a electronic cutting machine is your ultimate secret tool! As someone who loves making, viewing, and buying handmade crafts, I still vividly remember the shock I felt when I first introduced a cutting machine into my workflow. Watching intricate designs that are virtually impossible to cut by hand get sliced cleanly in just a few seconds was truly thrilling.
However, when looking up cutting machines online or at retail stores, the sheer variety of sizes, functions, and prices can make anyone wonder, "Which one should I actually choose?" Since it is an investment, nobody wants to make a mistake.
In this article, I will share my knowledge and experience to explain the types and mechanics of cutting machines, the materials they can cut, and essential criteria every beginner should know. By the end of this guide, you will clearly understand which cutting machine best suits your handmade craft projects and feel confident selecting your ideal unit!
If you think cutting machines are only for factory production or high-end commercial studios, that is far from the case! Today's desktop cutting machines are compact, affordable, and immensely beneficial for independent creators and hobbyists working from home. Here are the key reasons why I so strongly recommend adding one to your workspace.
The single biggest factor affecting the perceived quality of a craft item is cutting accuracy. No matter how wonderful a design is, distorted edges or uneven outlines instantly give off an unfinished, amateur look.
A digital cutting machine uses micro-precision blades guided by digital vector lines sent from a computer or smartphone. It faithfully reproduces intricate curves, complex geometric patterns, and tiny lettering down to the millimeter. Tasks that would take over 30 minutes by hand can be completed in just a few seconds to minutes.
This drastic reduction in production time frees up hours of labor, allowing you to focus on assembling, finishing, or brainstorming your next craft idea.
When preparing for craft fairs or running an online handmade store, making multiple identical items is unavoidable. Cutting 20 or 30 pieces of the exact same shape by hand is extremely tedious, and subtle variations are bound to happen.
With a cutting machine, the 1st piece and the 100th piece will have the exact same level of precision. Because every component matches perfectly, the overall quality of your finished items remains exceptionally stable. You can fulfill orders and stock up for markets with speed and peace of mind.
A cutting machine does far more than simple paper cutouts. Its scope includes cutting iron-on heat transfer vinyl for custom t-shirts and tote bags, making original brand stickers, cutting fabric pattern pieces, trimming leather accents, and much more.
Bringing delicate designs to life—designs you might have given up on cutting manually—vastly expands your artistic expression. You can even produce custom packaging stickers and thank-you cards, raising the overall presentation of your brand.
To choose the right model, it helps to understand how these machines actually operate. Most desktop cutting machines popular among crafters use a "roller feed" mechanism.
In a roller feed system, material is attached to a sticky cutting mat with grid lines. The machine feeds this mat forward and backward with internal rollers while a blade moves left and right to execute the cuts.
Imagine a home inkjet printer, but instead of ink nozzles, a tiny blade applies downward pressure (blade force) to cut through the material on the mat. This structure keeps the machine compact while allowing long materials—such as rolled vinyl or iron-on sheets—to be cut smoothly over extended lengths.
The blade is the heart of any cutting machine. Made of ultra-fine carbide metal, different blade styles are used depending on material thickness and toughness:
Achieving a successful cut requires a balance between blade depth (how far the blade extends) and blade pressure (downward force). Getting these settings right enables precise "kiss cuts" (cutting only the top vinyl layer without slicing the backing sheet) or complete cut-throughs without destroying the underlying mat.
Cutting machines on the craft market generally fall into three main categories based on size and feature set:
These lightweight, small-footprint machines sit neatly on any desk. Their cutting width is usually limited to around 10 cm to 20 cm (less than A4 width), but they take up minimal space.
Best for: Small planner stickers, jewelry backing cards, minor heat transfer accents, and nail art decals.
They are great if you have limited desk space or want to bring your machine to workshops or craft events. However, the narrow cutting width makes them less suitable for large fabric items or large apparel graphics.
This is by far the most popular category among craft artisans. They offer cutting widths ranging from roughly 20 cm to 30.5 cm (handling standard A4 up to 12×12 inch scrapbooking paper).
Best for: General paper crafts, fabric pattern cutting, t-shirt vinyl, sticker sheets, and custom packaging boxes.
With a great balance between footprint and cutting power, switching blades allows these models to handle everything from delicate paper to thicker fabrics and light leather. If you are unsure which category to choose, a standard entry model is usually the safest bet.
Equipped with stronger motors and significantly higher blade force, these models are designed for heavy-duty applications. Cutting widths often span from 30 cm up to 60 cm or more.
Best for: Genuine leather goods, thin balsa wood, thick shrink plastic, acrylic engraving, and large commercial signage.
Loved by leathercrafters, woodworkers, and 3D model makers, these machines handle rigid materials with ease. They are larger, heavier, and more expensive, but offer unmatched versatility for tough materials.
Here is an overview of popular craft materials you can process with a cutting machine, along with helpful practical notes:
Paper is the most fundamental material for cutting machines. You can produce intricate lace-like greeting cards, pieces for 3D paper quilling, display signs, and custom labels.
By using the machine's optical sensor feature (often called "Print & Cut" or registration mark sensing), you can print artwork on your home printer and have the cutting machine automatically trim around the contours with precise alignment. This feature is essential for custom sticker makers.
Cutting fabric with scissors can cause fraying or distortion, but a cutting machine yields clean edges. Using a rotary blade, the machine rolls over thin cotton, heavy canvas, or appliqué felt without bunching up the fabric.
This saves immense time when cutting pieces for fabric accessories, traditional Japanese craft elements like tsumami zaiku (folded fabric art), patchwork shapes, or plush toys.
Heat transfer vinyl allows you to press custom graphics or text onto t-shirts, hoodies, totes, and pouches. After cutting the design on your machine, you simply peel away the excess vinyl ("weeding") and iron it onto your textile for a professional finish.
Waterproof adhesive vinyl can be cut to create custom lettering or decal graphics for mugs, glass jars, phone cases, or display signs.
Using high-force machines and specialized blades, you can cut 1.5 mm to 2 mm vegetable-tanned leather, synthetic leather, shrink film, and reusable stencil sheets.
Cutting identical leather pieces or pre-marking stitch holes drastically streamlines the leathercrafting process.
While cutting machines are incredibly useful, misunderstanding their operation can lead to frustration. Here are three common misconceptions among beginners and how to handle them:
Many beginners assume a cutting machine prints ink and cuts all in one step. However, cutting machines do not contain ink modules—they are strictly cutting tools.
Furthermore, feeding a plain photo or image file into the machine won't work automatically, because the machine needs specific line paths to guide the blade.
Solution: Install the manufacturer's dedicated design software (usually free for PC or mobile). These programs include automated image tracing features that convert drawings or flat graphics into cuttable vector lines without requiring complex graphic design expertise.
Like any precision tool, cutting machines use consumable parts that require periodic replacement. The two primary consumables are the sticky cutting mat and the cutting blade.
Over time, mats accumulate dust, paper fibers, or thread fragments, losing their tackiness. If the material slips during cutting, the job will fail. Blades also wear down with use, so budgeting for spare mats and replacement blades is essential.
Solution: Purchase one or two extra cutting mats and spare blades suitable for your main materials when buying your machine.
Even if a machine specification lists a "2 mm maximum clearance," it does not cut dense materials like a pair of heavy shears. Instead, it repeatedly passes over the exact same path, gradually scoring deeper into the material.
For hard or dense items, cutting might require 10 or more passes. Extremely hard materials can also deflect the blade tip, resulting in slightly angled edges.
Solution: Consider both thickness and density. When working with leather, select softer vegetable-tanned cuts; for wood projects, opt for lightweight balsa. Choosing materials suited to desktop machine capabilities ensures clean results.
Keep these five key factors in mind when making your purchase decision:
Here are practical techniques I have gathered over years of crafting to keep your machine performing smoothly and prevent material waste:
No matter how experienced you become, always perform a small test cut when working with a new material or a different paper brand! Most software options allow you to cut a tiny 0.5 cm shape in a corner of your material.
Cutting an entire complex design only to realize the blade didn't pierce the material wastes valuable supplies. Verifying that the blade cleanly cuts the top material while barely scoring the backing sheet guarantees success before launching full cuts.
Cutting mats lose tackiness when paper dust or fabric fibers cling to the adhesive. Follow these rules to keep mats sticky longer:
If your mat's adhesive is getting weak, or if you are working with curled leather or vinyl sheets, secure the outer edges of the material to the mat using painter's tape or masking tape.
This simple trick prevents the material from lifting or catching on the blade during fast cutting movements, protecting expensive materials from being ruined.
A digital cutting machine is far more than a time-saving appliance. It acts as a reliable creative partner, turning complex designs that feel daunting to cut by hand into flawlessly finished pieces.
Adding one to your craft setup elevates your production speed, output precision, and overall creative range. I hope this guide helps you find the perfect machine to support your handmade journey!
If you found this article helpful, please feel free to share it with your fellow craft enthusiasts! See you in the next post—Yassy out! (・∀・)



For example, if you are looking for articles about mizuhiki, try searching for "mizuhiki"; if you are interested in tools, try keywords like "nippers" or "pliers."
