Beginner’s Guide to Wax Sealing: Tools, Starter Kits, and How to Make Beautiful Wax Seals
yassy
Crafters!

Hello, crafters! It’s Yassy from Crafters! (・∀・)
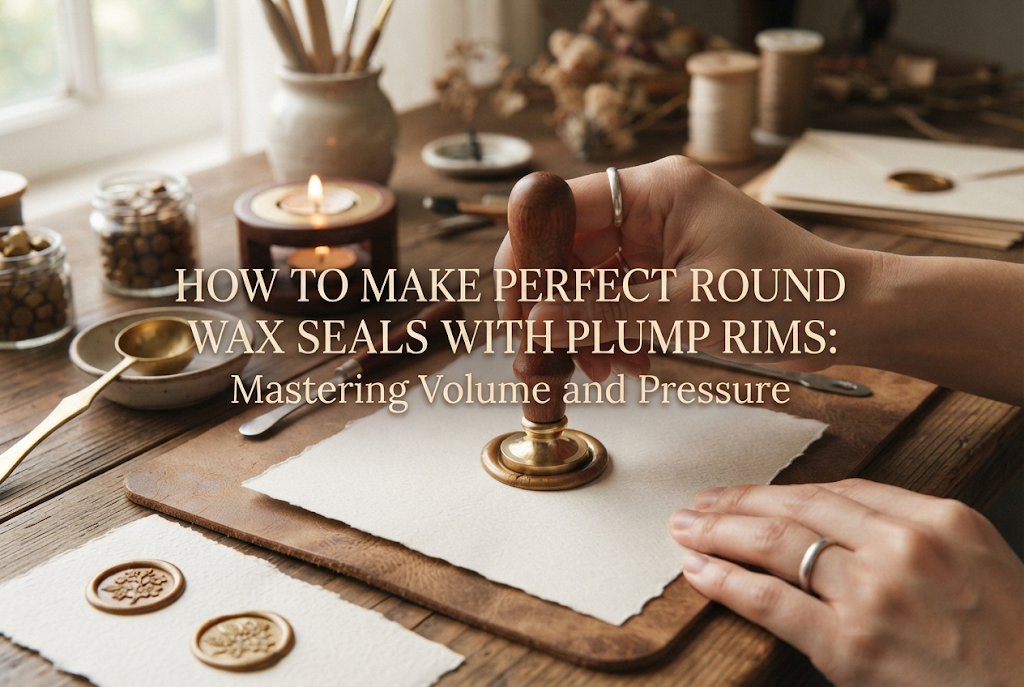
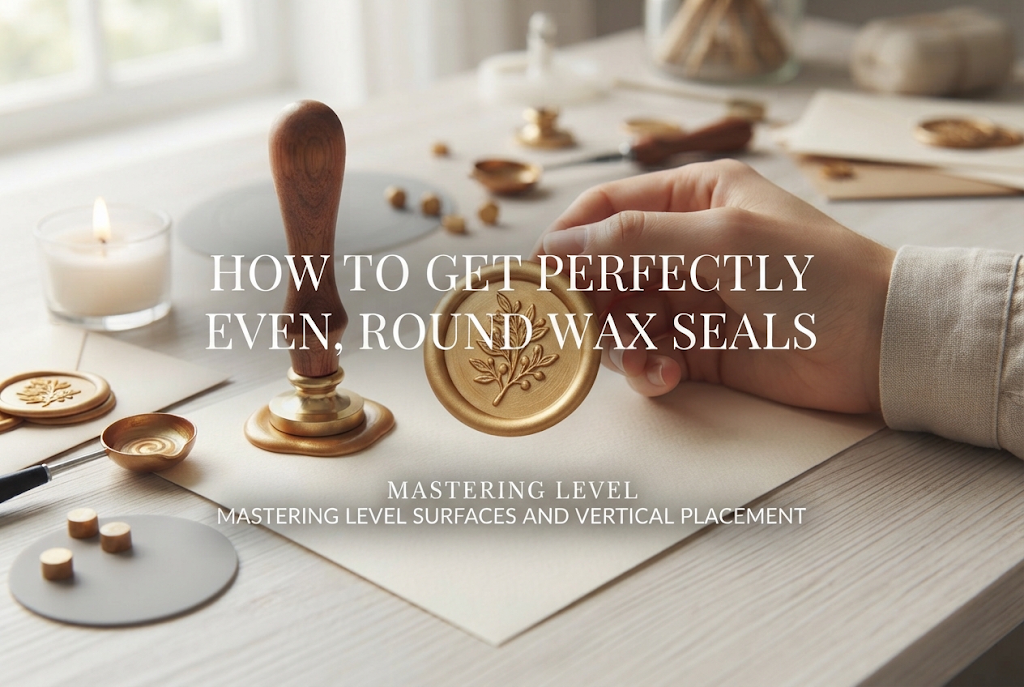
When making wax seals, have you ever struggled with them turning into awkward ovals or ending up with thin, torn-looking edges? A wax seal used on a letter, gift wrapping, or as an accent for handmade crafts instantly looks far more luxurious when the impression forms a clean, perfect circle framed by a plump, uniform rim.
In reality, the feel of stamping and the beauty of the final seal aren't just matters of chance or intuition. By logically understanding and controlling two key factors—wax volume and pressing pressure (force and angle)—anyone can create consistently beautiful seals every single time.
In this guide, I’ll break down the common pitfalls beginners face, explain why mistakes happen, and dive deep into the pressing techniques needed to achieve flawless round seals with gorgeous, raised edges. I’ll also share my own practical thought process, so read on and give these methods a try!
First, it's essential to understand that melted sealing wax is a viscous fluid. When you place a metal stamp head onto this fluid, the wax is pushed outward by the head’s own weight and the pressure applied by your hand.
Achieving a perfectly round shape and a uniform edge comes down to two conditions:
If you have too little wax, the edge won't form properly and the wax will cut off mid-impression. If you use too much, it spills over into a messy puddle that loses its round shape. Furthermore, even if your wax volume is spot-on, tilting your hand during the press will direct the wax in one direction, creating an uneven oval.
To achieve a flawless press, mastering both precise wax measurement and a purely vertical pressing motion is an absolute must.
A common misconception among beginners is thinking that using three wax beads is always enough. Because many starter kits recommend "3 to 4 beads per seal," plenty of crafters melt three beads regardless of the stamp they use.
However, stamp heads come in various sizes—from standard 25 mm heads to smaller 20 mm options, larger 30 mm heads, and oval or uniquely shaped designs. Different surface areas naturally require different wax volumes.
When using standard octagonal wax beads (approximately 0.25 g to 0.3 g per bead), here are the general guidelines by size:
For a 25 mm head, using only 3 beads often covers the design area but leaves the rim thin and flat, missing that high-end look. To achieve a delightfully plump edge, 3.5 to 4 beads is ideal. You can easily get half a bead by cutting one with craft scissors.
Here is a detail I always pay close attention to: when pouring melted wax from a melting spoon onto parchment paper or a silicone mat, a small amount inevitably remains coated on the inside and bottom of the spoon.
This residue is especially noticeable with a brand-new spoon or when working with cooler, thicker wax. Because of this, I always add an extra 0.5 bead to my spoon beyond the base requirement. By planning for the wax that stays behind, the actual volume landing on the work surface remains completely consistent.
Once you have measured your wax correctly, the next step is mastering pressing pressure. The amount of force, its direction, and your posture make a tremendous difference in forming a round shape and a plump edge.
The most frequent pressing error is pushing down far too hard. In an effort to make the engraved design crisp, many beginners lean their body weight into the stamp and crush it completely.
Bottoming out the stamp forces all the wax beneath it outward. This leaves the center impression paper-thin (or translucent) and spreads the rim into a flat, wide puddle. On the other hand, merely resting the stamp gently without any downward guidance prevents the wax from filling the engraved grooves, yielding a faint, incomplete impression.
The ideal downward force is simply the natural weight of the metal head, assisted by a very light touch from your hand—just several tens to about a hundred grams of force directed straight down.
Rather than squishing the wax, aim to maintain a layer of uniform thickness while feeling the gentle resistance of the wax beneath. The exact depth to stop is the moment the engraved face is fully submerged and a natural border starts swelling smoothly around the perimeter.
The angle of your press is just as crucial as the amount of force. If you tilt the stamp by even one degree, wax will thin out on the tilted side and spill out excessively on the other, ruining the symmetry.
To ensure a straight vertical motion, pay attention to your seating and grip. Look down at the wax puddle from directly above while seated. Instead of holding the handle like a pencil, lightly pinch the top of the handle with three fingers: thumb, index, and middle finger.
Keep your arm tucked close to your side and rest your elbow on the table to act as a stable pivot. This prevents hand tremors and allows you to lower the head straight down from above.
No matter how vertically you press, you won't get a round seal if the wax puddle underneath is uneven. It pays to treat pouring and stamping as a continuous, unified sequence.
When pouring from the melting spoon, hold it about 1.5 cm to 2 cm above your mat and pour into a single stationary point without moving the spoon. Pouring in circular motions introduces air bubbles and creates uneven ridges that prevent a clean circle from forming.
Pouring straight down from that height at a steady pace allows surface tension to naturally spread the wax into a neat, round pool. Make sure to let the very last drop fall right into the center.
Once the wax pool forms, place the stamp head in the center without hesitation. Avoid slamming or dropping the stamp down forcefully, as the impact can splatter the wax or trap large air pockets.
Keep the bottom of the stamp head parallel to the wax surface and let it touch down gently. As it makes contact, watch the wax spread outward like ripples, then lightly adjust your vertical pressure.
To master volume and pressure, you cannot overlook wax temperature. The wax's fluidity and viscosity change drastically depending on heat.
If wax is overheated until it is runny like thin soup, it rushes outward the moment you apply pressure, leaving a thin, brittle edge. High heat also promotes bubbles inside the wax.
Conversely, if the wax is under-melted and thick, it won't spread easily under the stamp’s weight or light hand pressure. As a result, the outer rim ends up jagged and broken, and wax fails to enter the finer engraved details.
The sweet spot is a smooth, honey-like consistency. Watch for the moment the wax flows smoothly and thick from the spoon as you tilt it.
Once you've pressed the stamp and formed a round shape with a nice rim, never lift it immediately. Removing the stamp too soon is the number one reason beginners ruin their seals.
Lifting the head while the wax is still warm and soft stretches the newly formed rim and design details, warping the shape or leaving wax stuck to the metal.
After releasing your pressing grip, leave the stamp completely untouched for 15 to 30 seconds. As the metal head absorbs heat from the wax and the seal hardens fully, the stamp will release smoothly on its own. Touch the metal portion of the stamp; if it feels cool again, it's ready to peel.
The surface beneath your wax also impacts how pressure distributes and how fast the wax cools.
For beginners, a dedicated silicone mat is by far the easiest to work with. Silicone has subtle elasticity, absorbing and softening slightly excessive downward pressure. This cushion helps preserve a plump thickness even if your pressing hand is a bit firm.
On the other hand, hard, cold surfaces like marble tiles or ceramic plates transfer downward force directly without absorption. Their high thermal conductivity also cools the bottom of the wax instantly upon contact. This environment is best suited for experienced crafters looking for exceptionally sharp, taut edges.
If you want reliably thick, round seals, practicing on a silicone mat to develop your feel for pressure is the fastest path to success.
Working with sealing wax involves open candle flames or electric warmers. Proper safety must always come first when crafting.
Always read and follow the manufacturer instructions for your warmers, candles, and melting spoons. Ensure good ventilation while working, and keep your workspace tidy, free of flammable materials.
Melted wax and metal spoons reach high temperatures and can cause burns upon skin contact. Always set up a safe crafting environment away from small children and pets before you begin.
Putting all these principles together, here is the complete workflow to follow when stamping. Visualize these steps as you work:
If a seal doesn't turn out as planned, use this guide to identify the cause right away.
Cause: Pressure was applied at an angle, or the wax was already poured in an uneven oval.Solution: Anchor your elbow and look straight down over your workspace. Focus on pouring the wax straight down into one single point without moving the spoon.
Cause: You didn't use enough wax, or the wax was too cool and set before it could spread.Solution: Try increasing your wax by 0.5 bead. Double-check that your wax is fully melted to a smooth honey-like flow right before pouring.
Cause: You pressed down with too much physical force.Solution: Stop pushing hard. Transition to simply resting the stamp head in place and supporting it with minimal vertical pressure.
Creating wax seals might seem tricky at first glance, but once you grasp the core principles of wax volume and vertical pressure control, mistakes drop dramatically.
Match bead counts to your stamp head diameter, pour at a smooth honey-like consistency, and apply gentle vertical pressure with an anchored elbow. Once these techniques become second nature, you’ll easily craft professional-quality seals with perfectly round borders and plump, gorgeous rims every time!
Building your tactile sense through repeated practice is one of the most rewarding parts of wax sealing. Use these insights to grab your favorite stamp and create some stunning pieces!
If you enjoyed this guide, sharing it with your crafting friends on social media would mean the world to me!
Until next time, happy crafting! This was Yassy from Crafters!

For example, if you are looking for articles about mizuhiki, try searching for "mizuhiki"; if you are interested in tools, try keywords like "nippers" or "pliers."
