How to Get Perfectly Even, Round Wax Seals: Mastering Level Surfaces and Vertical Placement
yassy
Crafters!

Hello, this is Yassy from Crafters! (・∀・)
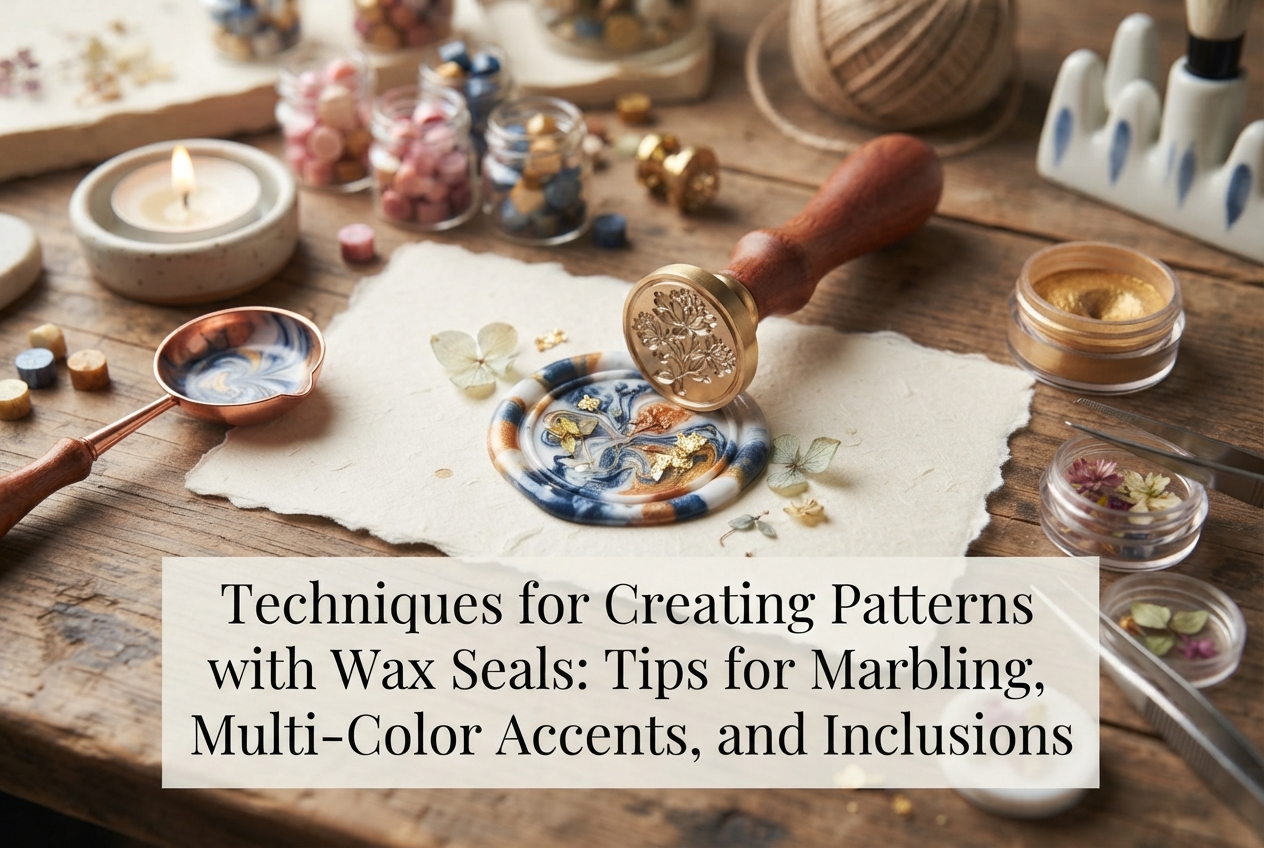
Wax seals are wonderfully popular for sealing letters, wrapping gifts, and adding accents to paper crafts. While a solid, single-color seal looks classic and lovely, combining wax colors or embedding mixed materials to create unique patterns makes your work truly one-of-a-kind.
Many beginners face common hurdles: "I wanted a marbled effect, but the colors blended too much and turned into a muddy mess," "I want the engraved design to stand out in a different color," or "I want to cleanly embed dried flowers and gold leaf."
In this guide, I will break down specific techniques for creating beautiful, eye-catching patterns with wax seals. From choosing color combinations and monitoring melting consistency to timing your stamp, here are all the tips you need to succeed without frustration.
When creating patterns on wax seals, there are four main approaches. Each technique creates a completely different mood and finish, so it helps to first decide what look you want to achieve.
By simply adding these patterning techniques to standard single-color stamping, the sense of luxury and originality in your finished pieces jumps significantly. While it might look challenging at first glance, anyone can master these results by understanding your tools and how wax behaves.
Marbling is by far the most popular customization technique for wax seals. You melt two to four wax beads together in a melting spoon, pour the wax onto parchment paper or a silicone mat, and stamp. However, casually mixing them is not enough to get clean results.
The most frequent mistake beginners make when marbling is excessively stirring the melting wax with a pick or stir stick. If you mix colors completely in the spoon, the borders between shades disappear, blending into a brand-new composite color that often looks dull and muddy.
The golden rule for marbling: Never over-mix in the spoon. Once the beads melt and reach a smooth, syrupy consistency, trace a figure-eight lightly with your pick once or twice at most. For the most part, the natural movement from pouring and the pressure of pressing the stamp will form gorgeous, fluid swirls on their own.
To keep marbled patterns looking clean and sophisticated, thoughtful color selection is essential. Rather than choosing colors at random, assign roles to each shade:
My personal go-to formula is "two dusty/muted shades + one pearlescent or metallic shade." For example, pairing dusty blue, white, and gold reliably produces a vintage, high-end marbled seal every time.
How you pour the wax from the spoon directly alters the final marbled look:
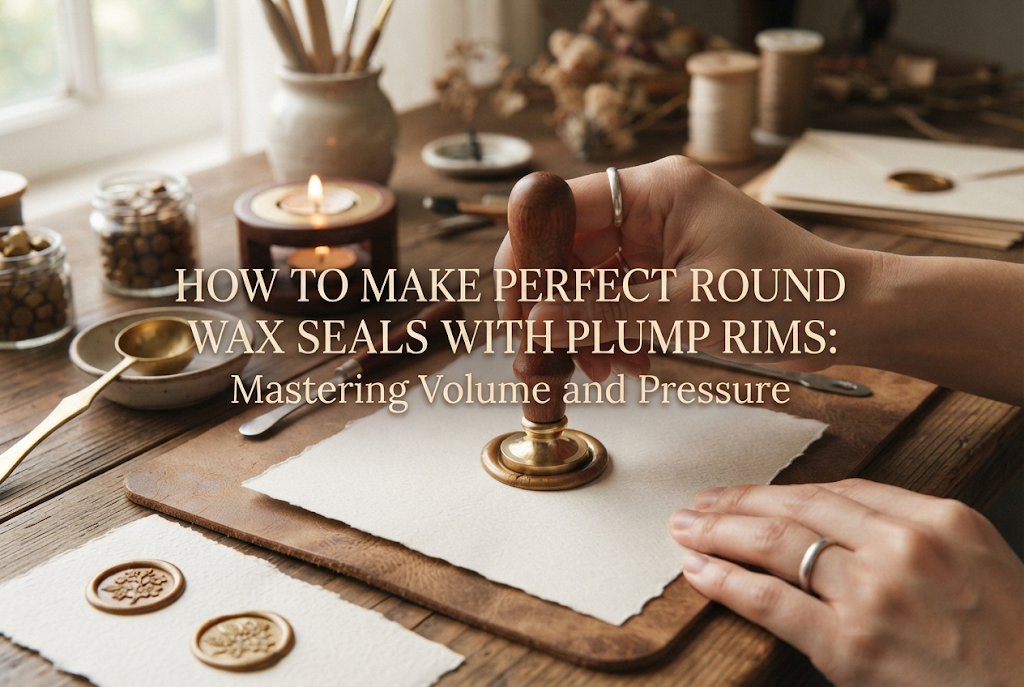
Once poured, place the stamp promptly before the surface begins to set. Press straight down with even vertical pressure to ensure the swirling wax spreads into a neat, balanced circle.
This technique uses the stamp head's engraved grooves to color the recessed design differently from the background base. For example, you can craft a pictorial seal featuring a deep navy background with a bright gold rose centered on top.
This method involves applying a small amount of accent wax directly into the engraved cavities of the stamp head before stamping the base:
The residual heat from the base wax slightly remelts the wax resting in the stamp grooves, bonding the two colors firmly together. When you lift the stamp, the color seated in the grooves transfers cleanly onto the base, revealing a distinct two-tone design.
The trickiest part of this method is the temperature of the base wax. If the base wax is too hot, it will completely melt the pre-applied design wax, causing it to bleed and blur the crisp lines.
Conversely, if the base wax is too cool, it will fail to bond with the wax on the stamp head, causing the design layer to peel off. After melting your base wax, remove the spoon from the flame and let it rest for 5 to 10 seconds. Once the runny surface sheen settles into a slightly thicker consistency, that is the ideal moment to press.
Encapsulating dried petals, pressed leaves, gold or silver foil, iridescent film, or glitter within the wax introduces depth and a lovely three-dimensional quality.
When working with embedded items, the sequence and placement determine the quality of your results.
I recommend combining an "underlay" and "overlay" approach. First, arrange small flakes of gold leaf or fine bits of dried florals directly onto your silicone mat or parchment paper. Gently pour the melted wax over them, place a slightly larger petal on top of the poured pool, and then press down with your stamp.
This captures materials both underneath and inside the wax body, resulting in impressive visual depth and texture.
To make the most of embedded elements, clear sealing wax is your best option.
Clear wax has a higher viscosity and cools down more slowly than traditional pigmented wax, meaning it requires higher heat to melt thoroughly. The end result resembles an exquisite herbarium specimen suspended inside transparent glass.
When using clear wax, applying a very thin layer of solid release agent—such as petroleum jelly or Mentholatum ointment—to the stamp head will cleanly prevent any sticking.
Rather than patterning the melted wax itself, this technique involves highlighting the raised relief after the seal has fully cooled, pulling fine engraved details into sharp focus.
Using a specialized metallic craft marker (in gold, silver, or rose gold) is the quickest and most popular approach.
The critical technique here is to hold the pen at a low angle rather than upright. If you apply the pen vertically, the nib slips into the background recesses, muddying the relief effect.
Lay the pen tip nearly flat against the seal and gently glide it across only the highest raised details. Applying almost zero pressure and letting the marker lightly graze the surface yields a clean, professional finish.
If you want a softer, diffused glow rather than the sharp lines of a marker, cosmetic eyeshadow or metallic nail mirror powder works exceptionally well.
Pick up a minute amount of powder on a silicone applicator or cotton swab and lightly dab it onto the raised parts of the seal. Blending it gently creates a dimensional metallic sheen reminiscent of antique metal. Once applied, brush away any stray powder with a soft makeup brush.
Wax seal patterning succeeds or fails largely based on two factors: temperature control and working speed. Take your time to observe the wax's fluid state rather than rushing the process.
Here is one of my personal favorite easy methods that always looks stunning: Clear Wax + Crushed Hologram Flakes + Gold Pen Highlighting.
First, sprinkle a small pinch of finely crushed nail aurora flakes on your mat. Pour well-melted clear wax directly over them, then press down with your favorite stamp (botanical or crystal designs look incredible here). Once completely cool, lift the stamp to reveal a base that catches light like an uncut gemstone.
Finally, lightly trace the delicate raised outlines using a gold metallic pen. In just a few steps, you will have a dreamy, jewel-like seal that looks like something straight out of a boutique stationery shop! It is simple yet rewarding to create, so please give it a try.
While a single-color wax seal is timeless, incorporating patterns opens up boundless creative potential.
From organic marbling and crisp two-tone engravings to botanical inclusions and metallic highlights, every method is easily achievable once you understand the basic principles. Because wax behaves slightly differently with every pour, no two patterned seals will ever be identical—and that is the true beauty of this craft.
Experiment with your favorite color palettes and materials, and enjoy creating one-of-a-kind miniature works of art!
If you enjoyed this guide, sharing it with your fellow crafters on social media would mean the world to me!
Until next time, happy crafting! This was Yassy from Crafters!



For example, if you are looking for articles about mizuhiki, try searching for "mizuhiki"; if you are interested in tools, try keywords like "nippers" or "pliers."
