How to Choose Wax Seal Stamp Heads: A Complete Guide to Sizes, Shapes, and Engraving Depths
yassy
Crafters!

Hello everyone, it's Yassy from Crafters! (・∀・)
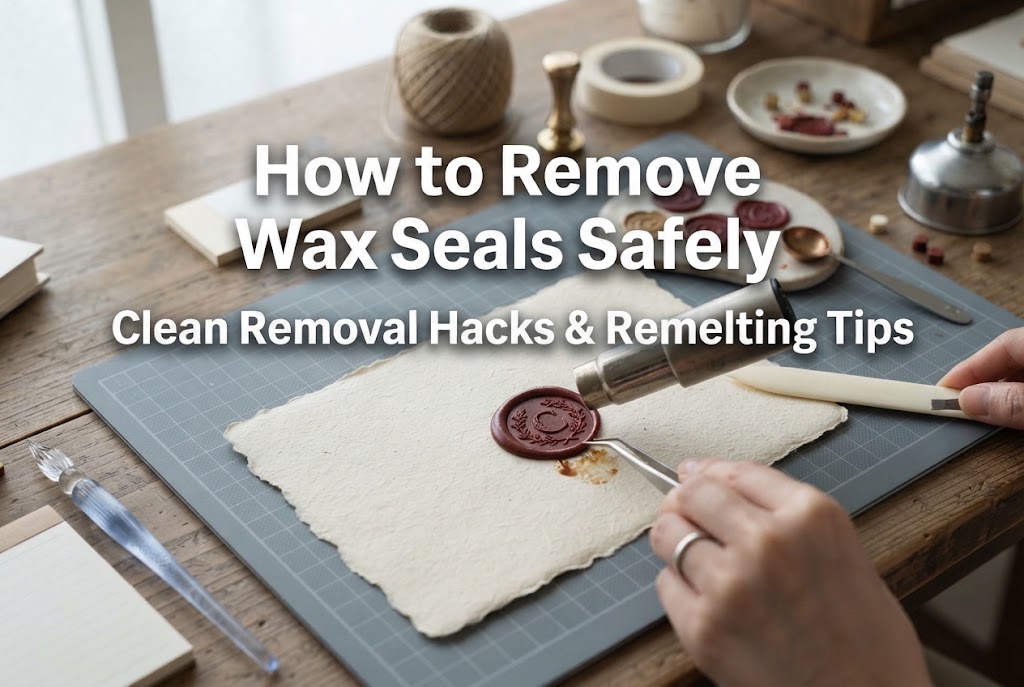
Wax seals have become immensely popular for sealing letters, wrapping gifts, and decorating journals or planners. There is nothing quite like the feeling of creating a beautifully raised, glossy seal impression. However, if you craft with wax seals long enough, you will inevitably encounter a moment when you urgently need to remove one.
Troubles like these can make you feel as though your entire crafting session has been ruined. But don't worry! Once you understand the physical properties of modern sealing wax, you can easily remove ruined seals, rescue delicate paper without tearing it, and even reuse the wax.
In this guide, I will walk you through thorough, step-by-step methods for removing wax seals from various surfaces and materials. We will also cover clever tricks for remelting failed seals and emergency solutions for stuck stamp heads, so be sure to read through to the end for your next crafting session!
Before jumping into specific removal techniques, it helps to understand why sealing wax adheres to surfaces and how it responds to temperature. Knowing these basics will dramatically reduce the risk of accidentally damaging your work by applying unnecessary force.
Traditional sealing wax was primarily made from shellac (a natural resin secreted by lac bugs), tree resin, and rosin. Once hardened, traditional wax became as brittle as glass—which was intentional, because letters were meant to be broken open upon receipt.
However, almost all sealing wax sold today at craft stores and stationery shops is "flexible wax" formulated with EVA (ethylene-vinyl acetate) or paraffin. This modern wax retains elasticity even after hardening, allowing it to survive postal handling without shattering.
Because of this flexibility, pulling on warm or partially set wax will cause it to stretch out of shape or pull tightly on paper fibers. The first key principle to clean removal is to stop trying to "pull" the wax off; instead, focus on separating the bonding surface using heat, cold, or specialized tools.
Sealing wax softens when heated and shrinks slightly when chilled. Harnessing this temperature response is the single biggest secret to successful removal.
Depending on the surface material (paper, silicone, glass, or metal), your approach will be completely opposite: either cooling it down or warming it up. Getting this backwards can leave you with a sticky mess, so pay close attention to the target material!
Making wax seal stickers in advance on silicone mats or baking paper (parchment paper) is a popular technique. While these surfaces are generally non-stick, pulling seals off incorrectly can still tear edges or warp impression details.
The most common beginner mistake is rushing to lift the stamp head or peeling the seal off the sheet before it has fully cooled down.
Even if the top surface looks solid, the core of the wax and the underside touching the mat retain heat and stay soft for longer than you think. If you try to remove the seal at this stage, the bottom will stretch, ruining the raised edge of your design.
Once you press your seal, leave it alone for at least 1 to 2 minutes until it feels completely cold to the touch. In cold winter rooms, wax sets rapidly, but during warmer summer months, it requires extra cooling time.
When the wax is completely cold, resist the urge to dig your fingernails under the edges of the seal, as this will leave unsightly gouges in the soft sides of the wax.
Instead, the correct method is to push upward from the underside of the flexible silicone mat or parchment paper.
Flexing the backing material removes all stress from the seal itself, preserving its perfect round shape. I always use this rhythmic popping technique when batch-producing seal stickers for my projects.
If high room temperature prevents the wax from setting quickly, or if you are using specialty wax containing fine metallic glitter that clings tightly to the sheet, use a cold pack (ice pack).
Place your silicone mat on a cold pack wrapped in a thin cloth for about 5 seconds, or lightly rest a cloth-wrapped cold pack directly onto the top of the seal. The rapid temperature drop causes the wax to contract instantly, making it pop off the mat effortlessly.
Perhaps the most stressful mistake is stamping a seal directly onto an expensive envelope, wedding invitation, or planner page, only for it to end up crooked or smudged. Before you throw away the envelope, try these paper rescue techniques!
The ideal removal approach depends on the paper's texture and weight (smooth coated cardstock vs. fibrous handmade or cotton paper).
For smooth, heavy cardstock or postcards, cutting the thin bond layer between the wax and paper using a blade is highly effective. Use an ultra-sharp craft knife or a thin, flexible metal palette knife (spatula).
Do not attempt to pry the entire seal off in one motion, or you will tear a deep hole in the paper. Success comes from gently wiggling the blade tip side to side to shave the surface fibers delicately.
On absorbent or textured papers like cotton paper or watercolor paper, wax seeps deep into the fibers. Scraping with a blade here will thin the paper too much or create holes. For these papers, use heat.
Use a standard hair dryer or an embossing heat tool to warm the ruined seal. Work carefully to avoid burns or blowing hot wax onto surrounding surfaces.
When warmed, flexible wax loses its grip and takes on a rubbery texture. Catching the wax at this exact pliable moment allows you to peel it away cleanly without dragging out clumps of paper fiber.
Even with careful technique, removing wax from paper can leave behind light scuffs or raised paper fibers. You still don't need to discard your envelope! Here is how I clean up the area:
The simplest cover-up is to make a fresh, flawless seal on a silicone mat, apply thin double-sided tape or a wax seal sticker backing to the rear, and stick it directly over the damaged spot. Making the new seal slightly wider than the original fully hides any underlying marks.
Alternatively, placing a small piece of lace paper, decorative masking tape, or a vintage postage stamp over the scuff before applying a new seal creates a beautiful layered look. Sometimes a happy accident leads to an even more elaborate design than originally planned!
Another alarming issue for crafters is pressing a metal stamp head into wax, only for the metal to become firmly frozen into the hardened pool!
If this happens, never pull forcibly on the handle. Doing so can strip the threaded screw joint between the handle and brass head or rip the wax design to shreds. Remain calm and use one of these solutions.
Stuck stamp heads usually result from three main factors:
Brass head stamps feature high thermal conductivity. Under normal circumstances, brass cools at a different rate than wax, creating a slight thermal contraction gap that allows the stamp to pop out cleanly. However, if heat or residue prevents this gap from forming, the metal becomes locked in place.
When a head gets stuck, cold is your best ally. Metal contracts slightly when exposed to cold temperatures.
You will be amazed at how easily the stamp releases! If an ice pack isn't handy, resting a cold aluminum beverage can against the metal head works well too.
If cooling alone doesn't free the stamp, use liquid lubrication to break the bond.
Using an eyedropper or cotton swab, apply a few drops of anhydrous alcohol or high-proof rubbing alcohol right along the seam where the metal head meets the wax. Alcohol has low surface tension, allowing it to creep instantly into microscopic engraved crevices.
As the alcohol penetrates, it releases the surface tension between the metal and wax, allowing the head to slide out smoothly. Once removed, wipe the stamp head dry with a tissue paper.
If you enjoy sealing small glass potion bottles, metal tins, acrylic boards, or candle surfaces, you may occasionally want to clean off an old seal.
Smooth, non-porous surfaces that do not absorb liquids or air—such as glass bottles, tin cans, and plastic containers—are actually much easier to clean than paper!
The easiest method is placing the entire item in the refrigerator or freezer for 5 to 10 minutes. Because glass or metal contracts at a vastly different rate than wax, the seal will pop loose on its own and can be flicked off with a finger.
For larger objects or fixed acrylic sheets that cannot fit in a freezer, soak a paper towel in rubbing alcohol and rest it over the wax seal for a few minutes. The seal will peel away intact like a single clean coin without damaging the underlying surface.
It feels wasteful to throw away removed wax, especially since quality sealing wax beads can be pricey and come in beautiful custom mixed shades.
Fortunately, removed flexible wax is 100% recyclable! Here are two ways to give your discarded wax new life.
Flexible resin wax can be remelted and reshaped as many times as you like without losing quality.
Important Note: If you scraped the wax seal off paper, check the underside for small paper fibers. Trim away any paper scrap remnants with scissors before putting the wax in your spoon to prevent black charred specks in your new seal.
You can also mix leftover scraps of different colored waxes together in your spoon to create custom, one-of-a-kind marble patterns! Collecting your failed seals in a small jar gives you fantastic experimental materials for future projects.
If the wax seal itself turned out beautifully shaped, but you simply placed it on the wrong spot on your paper, there is no need to melt it down at all.
Simply stick a round double-sided wax seal adhesive backing (or a piece of strong thin double-sided tape) to the flat back of the removed seal. Trim any excess tape around the edges with small embroidery scissors, and you have instantly created a self-adhesive wax seal sticker!
Keeping pre-made stickers on hand allows you to quickly decorate envelopes, planner pages, or delicate papers without worrying about heat or spills.
While knowing how to remove wax is helpful, avoiding sticking issues in the first place is even better! Here are my favorite preventative crafting habits:
When stamping multiple seals in a single session or using deeply engraved stamp heads, applying a microscopic film of oil to the metal surface works as a fantastic release agent.
This simple trick completely eliminates friction when pulling the stamp out of warm wax, providing a silky-smooth release. Be sure to use only a tiny amount of oil so the wax surface doesn't appear greasy.
When working with irreplaceable vintage stationery, hand-written invitations, or expensive heavy cardstock, direct stamping carries a high risk of mistake.
In these situations, I always recommend making your wax seals on a silicone mat first, then attaching them to your project with double-sided adhesive tape.
Creating seals on a mat allows you to make dozens of attempts until you produce the absolute best seal, guaranteeing that your final project remains flawless!
When using hair dryers, embossing heat tools, or open candle flames to melt and manipulate sealing wax, always exercise caution against burns.
Additionally, certain wax formulations may emit mild odors when heated. Always work in a well-ventilated room, and refer to the manufacturer's safety instructions for your specific wax brand and heating equipment.
Let's review the key points for removing wax seals safely:
While wax sealing might feel like a high-stakes, one-shot task, it is actually a forgiving and adaptable craft once you master these simple recovery techniques. Knowing that any mistake can easily be removed, rescued, or remelted takes away the pressure and lets you fully enjoy the creative process.
The next time you encounter a sticky wax seal mishap, remember these handy tricks and tackle the fix with confidence! I hope these insights help make your wax sealing journey smooth and enjoyable.
If you found this guide helpful, please share it with your fellow crafting friends on social media or messaging apps—it truly means a lot to me and encourages my work!
Until next time, happy crafting! This was Yassy from Crafters!


For example, if you are looking for articles about mizuhiki, try searching for "mizuhiki"; if you are interested in tools, try keywords like "nippers" or "pliers."
