Japanese Shrink Plastic (Puraban) Thickness Guide: How Much Does It Expand When Baked?
yassy
Crafters!
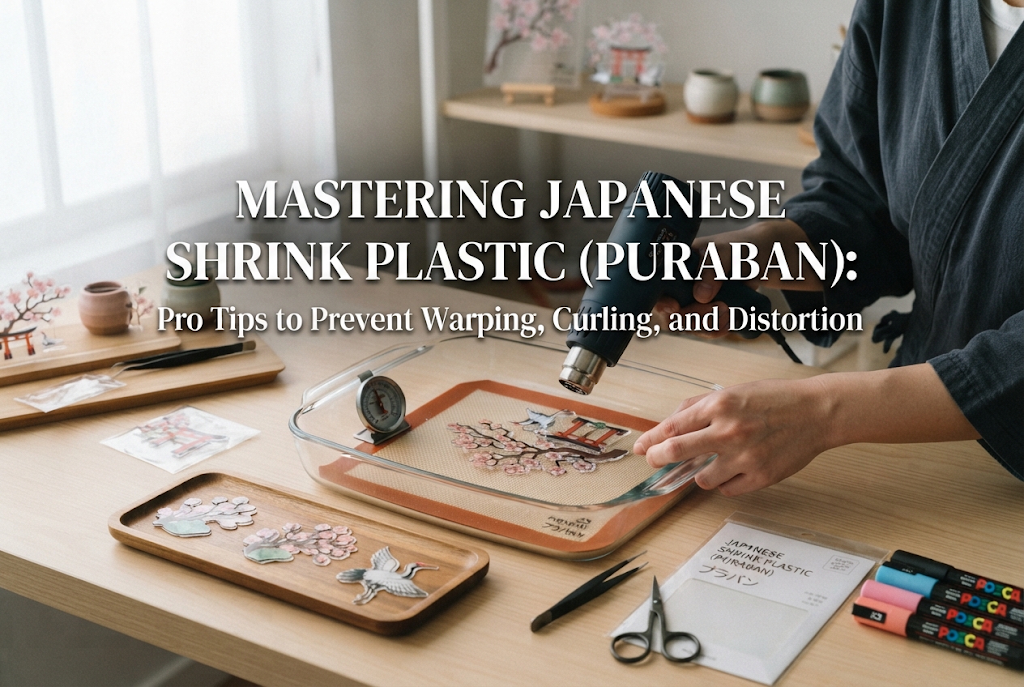

Hello, everyone! This is Yassy from Crafters! (・∀・)
Many of us played with shrink plastic—known as puraban in Japan—when we were kids. However, when you try making sophisticated accessories or keychains as an adult, it is surprisingly common to run into frustrating issues, such as pieces refusing to lay flat or curling into a tangled mess that won't undo itself.
Have you ever thought, "I put it in the toaster oven just like the book and tutorials said, but the edges stayed curled up and hard," or "I drew a square, but it baked into an elongated rectangle"? Heating and shaping shrink plastic actually follows clear physical principles, and there are specific practical techniques that reliably prevent these failures.
In this guide, I will share all of my tried-and-true techniques—from the science behind why puraban shrinks, to cutting prep work that prevents warping, toaster oven setup, and the critical pressing technique used immediately after removal. With the right know-how, you will be able to bake perfectly crisp, flat, and beautiful shrink plastic pieces every single time!
To master shrink plastic, it is essential to first understand why it shrinks when heated and why it curls so violently mid-process. Once you understand the logical cause, you won't panic during baking and can handle each stage with confidence.
Standard craft shrink sheets are made of polystyrene (PS). During manufacturing, the plastic is stretched tightly in both directions, rapidly cooled, and forcibly set into thin sheets.
When heated in a toaster oven, the stretched polymer chains naturally attempt to return to their original relaxed state, causing the sheet to shrink rapidly. Because the plastic seeks its original thickness as it contracts, it becomes much thicker, harder, and sturdier as it shrinks.
When placed in a toaster oven, shrink plastic does not shrink uniformly. Heat reaches the thin edges and corners first. The sections that absorb heat contract first, while the cooler center remains at its original size.
This difference in shrinking speed caused by temperature disparities makes the plastic twist, roll up, and curl dramatically. This is not a failure; it is an entirely natural phase of the shrinking process. Once the heat spreads evenly throughout the entire piece, it naturally flattens out again on its own.
The real problems arise when people pull the plastic out too early before it has finished shrinking, or when overlapping edges melt and stick together. Guiding your piece safely through this curling transition is the first hurdle to a clean bake.
The beauty of your finished piece is decided well before it enters the toaster oven—starting right at the tracing and cutting stage. If you cut corners here, your piece will warp no matter how well you bake it.
Shrink plastic has a subtle "grain" based on the direction it was stretched during production. While it varies by product, most sheets do not shrink at an exact 1:1 ratio vertically and horizontally.
For instance, a sheet might shrink by 45% along its length but only by 40% across its width. If you cut out a circular design placed diagonally across the sheet without realizing this, it will bake into a skewed oval.
To achieve clean, proportional finished pieces, always align your artwork parallel to the edges of the sheet. Before starting a real project, cut a test square measuring 5 cm × 5 cm, bake it, and write down the exact vertical and horizontal shrink ratios for your specific sheet.
Motifs with sharp, pointed tips—such as stars, triangles, or pointed leaves—absorb heat at those tips first and curl up the most aggressively. Furthermore, pointed tips that touch each other while curled often melt together, ruining the design.
When cutting out your shape, use scissors or a craft knife to trim away a tiny bit (about 0.5 mm) from sharp corners to give them a gentle roundness. This single step dramatically reduces erratic warping at the corners during heating.
Cutting shrink plastic with scissors often leaves microscopic jagged edges, hairline cracks, or burrs along the cutline. When heat concentrates at these imperfections, they can turn into tears or cause unpredictable distortions.
Run your finger along the cut edges. If you feel any rough spots, gently smooth them with around 400-grit sandpaper. A smooth edge distributes heat evenly and gives your finished piece sleek, clean sides.
If you plan to attach jump rings for keychains or jewelry, punch the hole before baking. Once the plastic has hardened after baking, punching a clean hole becomes extremely difficult.
Remember that the hole also shrinks to about 1/4 to 1/5 of its original size. A standard single-hole punch (approx. 6 mm in diameter) results in a hole roughly 1.2 to 1.5 mm wide after baking. If you punch too close to the edge, the shrinking plastic may tear or distort at the rim. Always position your hole at least 3 to 5 mm away from the outer edge.
Eighty percent of shrink plastic failures stem from an improper heating setup. Never place puraban directly onto the wire rack or inside an unheated oven.
The most common mistake is placing shrink plastic into a cold toaster oven before turning it on. Doing this subjects the piece to slow, uneven heat as the heating elements warm up, resulting in severe rippling and incomplete shrinking.
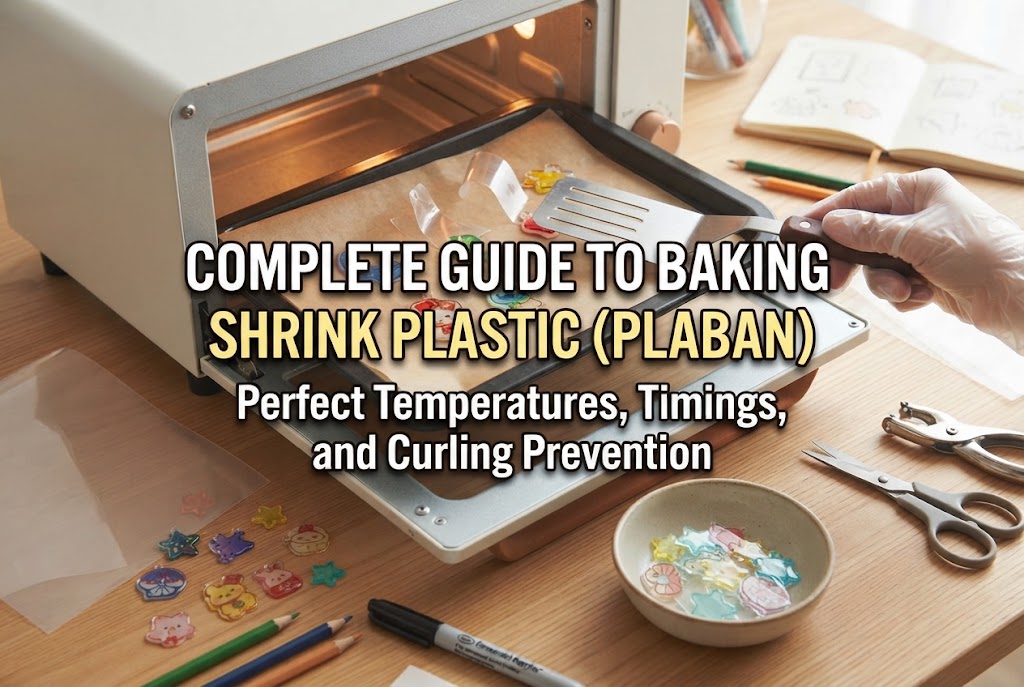
Always run the toaster oven empty for 1 to 2 minutes so the interior reaches a uniform high temperature (around 180°C to 200°C; about 1.5 minutes for a standard 1000W model). Placing your piece into a thoroughly preheated chamber allows heat to envelop it instantly, ensuring a rapid and smooth shrink cycle.
For your baking surface, take a sheet of aluminum foil, crumple it tightly into a ball with your hands, and then gently smooth it back out before placing it in the oven. Do not use smooth, flat foil.
If shrink plastic sits on flat foil, the melting plastic clings directly to the surface, preventing it from contracting smoothly. This causes severe distortion.
Crumpling the foil creates peaks and valleys, reducing the contact surface to tiny points and dramatically lowering friction. The plastic can slide and shrink freely across the surface, drastically minimizing warping and curling.
If you want to prevent the textured pattern of crumpled foil from transferring onto the back of your piece, baking parchment paper (silicone-coated, heat-resistant up to 250°C) is an effective alternative.
Parchment paper has a very smooth surface and will not stick to the plastic. However, because it is lightweight, heat convection or oven airflow can cause its edges to curl up. Make sure it sits flat and stable across the baking tray.
Once baking begins, the decisive window lasts only a few dozen seconds. You need to know exactly how the plastic behaves and identify the precise moment to take it out.
When you place shrink plastic into a preheated toaster oven, it progresses through the following stages:
The most crucial rule here is: never touch the plastic while it is violently curled. Do not panic and open the door or poke it with chopsticks or tweezers. Opening the door lets heat escape, halting the shrink cycle and freezing the piece in its warped state.
The ideal moment to take the plastic out is about 2 to 3 seconds after it has flattened out and all twitching movement has completely stopped.
Right after it returns to a flat shape, the thick center may still need a couple of seconds to finish contracting. Waiting those extra 2 to 3 seconds ensures the entire piece has shrunk completely and internal stress has eased.
Conversely, leaving it in the oven long after it has stopped moving can cause the plastic to overheat, producing air bubbles, yellowing, or scorching. Do not miss that "2 to 3 seconds after motion stops" window.
The instant it leaves the toaster oven, shrink plastic is soft and pliable. You have only about 3 to 5 seconds before it cools to room temperature and hardens completely. Your flattening press must happen within this fleeting window.
If you start searching for tools after taking the plastic out, you will miss the window every time. Set up the following items right beside your toaster oven before you even start preheating:
My personal favorite setup is a thick, flat acrylic stamping block paired with parchment paper. Because the acrylic block is transparent, I can visually monitor the plastic while pressing down.
Speed and flow are vital when moving from the oven to the press:
If you press a book directly onto hot plastic without parchment paper, ink from the cover can transfer or paper fibers can stick to your piece. Always sandwich the plastic between parchment paper before pressing.
What matters most when pressing is not brute force, but applying pressure straight down and evenly. If you push at an angle, the soft plastic will shift sideways, resulting in slanted, distorted edges.
Press directly from above and hold completely still. Holding it firmly for at least 5 seconds allows the plastic to shed its heat, return to room temperature, and set rock-hard. Releasing too early can cause the plastic's memory to pull the edges back up, so do not let go until it has cooled.
Even with careful preparation, unexpected mishaps happen. Knowing how to respond allows you to salvage your work smoothly.
This is the most common issue when baking long, slender shapes or intricate motifs. As the plastic shrinks aggressively, the curled ends can collide and fuse together from the heat.
If you see edges stick together inside the oven, quickly open the door slightly and use two clean metal tweezers to gently nudge them apart. Do not pull with excessive force, or the plastic will stretch or tear. Gently guide the tips apart.
Once separated, shut the door immediately to let the oven reheat so the piece can flatten. For very long, narrow shapes, consider slightly lowering your toaster's heat output or using an embossing heat tool to shrink the piece gradually under manual control.
If you took the piece out slightly late or pressed with uneven pressure, your cooled piece might remain warped. Fortunately, because shrink plastic softens again with heat, you can reheat it.
Place the warped piece back onto the crumpled foil in your fully preheated toaster oven. After 20 to 30 seconds, it will soften up again. As soon as it becomes pliable, immediately remove it and press it flat between parchment paper and your heavy block once more.
Keep in mind that repeated reheating degrades the plastic, making it brittle and cloudy. As a general rule, limit reheating corrections to just once.
If your finished piece came out too tall or too wide, this is not a pressing error—it is caused by drawing without accounting for the sheet's shrink ratio.
Unfortunately, once the plastic has fully shrunk, you cannot fix its aspect ratio with heat. Preventing this requires the test bake mentioned earlier.
If your test piece reveals that the plastic shrinks 40% along the length and 50% along the width, adjust your initial artwork by drawing it slightly taller beforehand. If you work digitally, apply the reciprocal of the shrink ratio to scale your template before printing to achieve perfect final proportions.
Here is a quick summary of the recommended tools and their roles for baking puraban smoothly. Check that you have everything ready before starting.
Shrink plastic involves working with high heat. While it is accessible and fun, never neglect burn protection and indoor air quality. Always consult manufacturer instructions and work safely.
The interior of the toaster oven, the wire rack, the foil, and the freshly baked plastic reach temperatures near 200°C (nearly 400°F). Touching them with bare hands will cause burns.
Always wear clean, 100% cotton work gloves without rubberized grips, and use tweezers or tongs to remove items. Rubber grip dots on gloves can melt onto hot surfaces and cause serious burns. If crafting with children, an adult must handle all heating and removal steps.
When heated, polystyrene resin releases a distinctive plastic odor and trace fumes. Breathing these fumes over extended periods can cause discomfort or headaches.
Always open at least two windows to establish cross-ventilation, or run your kitchen range hood on high while working. Maintaining good airflow is an essential crafting rule.
Here is a quick recap of the vital points for baking flat, beautiful shrink plastic:
Warping and curling are not reflections of poor skill; they are natural physical phenomena of heat-shrink plastic. With the right prep, the proper setup, and attentive timing, anyone can bake beautifully flat, professional puraban pieces.
Once you can reliably produce crisp, flat bases, downstream steps like UV resin coating, coloring, and jewelry assembly become so much easier, elevating the quality of your finished work. Give these tips a try on your next project!
If you found this guide helpful, sharing it on social media or with your fellow crafters would mean the world to me! Until next time, happy crafting—this was Yassy from Crafters!


For example, if you are looking for articles about mizuhiki, try searching for "mizuhiki"; if you are interested in tools, try keywords like "nippers" or "pliers."
