Japanese Chokuto vs. Nomi: A Complete Guide to Carving Tools and Chisels for Crafters
yassy
Crafters!
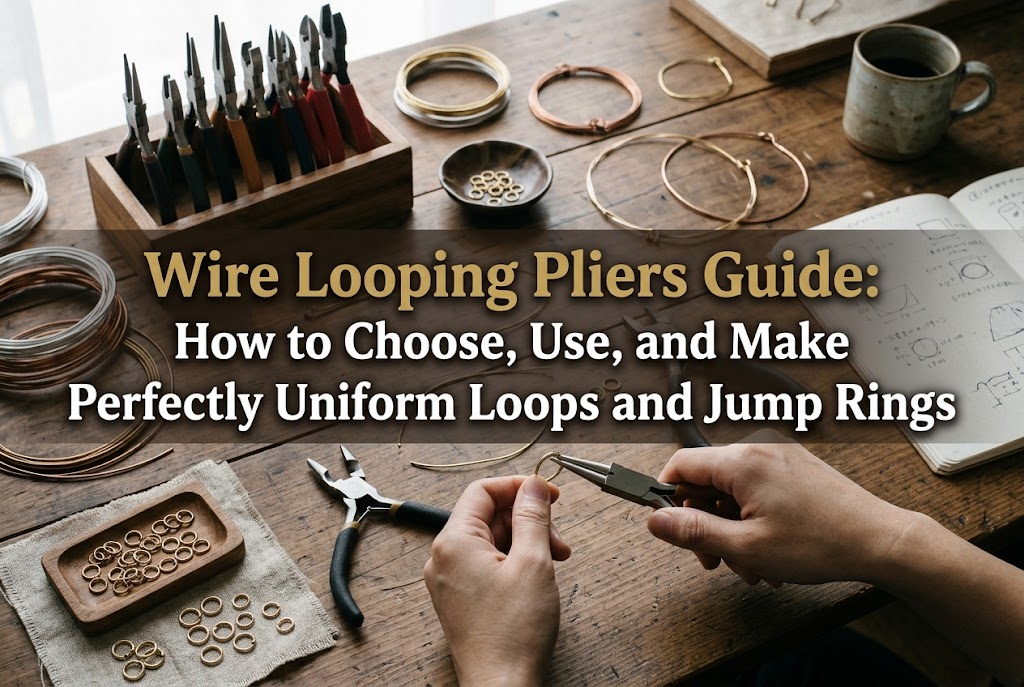

Hello, crafters! It’s Yassy from Crafters! (・∀・)
When working with wire jewelry or beaded pieces, have you ever struggled to turn a clean loop at the end of an eye pin or create your own uniform jump rings?
Trying to shape consistent loops with standard round-nose pliers is one of the very first hurdles every beginner faces. Loop sizes often turn out mismatched, or circles end up slightly warped and oval instead of perfectly round.
The magical tool that instantly solves this problem and lets anyone craft uniform, professional-grade loops is a pair of wire looping pliers (also commonly known in jewelry craft as bail-making or multi-step looping pliers).
I personally love making, admiring, and collecting all kinds of handmade crafts. The moment I added wire looping pliers to my toolkit, the precision of my wirework shot through the roof, and my workflow became dramatically faster.
In this guide, I will take an in-depth look at wire looping pliers: their core purpose, how they differ from round-nose pliers, the different types available, key criteria for choosing the right pair, and step-by-step techniques for achieving flawless results.
Wire looping pliers are dedicated tools engineered exclusively for bending craft wires, headpins, and eye pins into clean, accurate circles and loops.
Unlike standard pliers, their jaws feature a distinct, specialized shape.
One jaw is crafted as a smooth cylinder (mandrel), while the opposing jaw is either concave to cup around that cylinder, or flat to press against it.
By simply clamping the wire between these specialized jaws and bending it around the cylinder, anyone can produce round loops without measuring or guesswork.
The primary job of wire looping pliers is the fast, repeatable production of identical circles.
Standard round-nose pliers have tapered conical jaws that get narrower toward the tip. Because of this taper, shifting your wire even a couple of millimeters along the jaw changes the diameter of the finished loop. With wire looping pliers, each stepped section of the jaw is a straight cylinder with a fixed diameter.
As long as you clamp the wire at the designated step and bend it fully around the barrel, you get a loop of the exact same diameter every single time.
Because the tool utilizes leverage around a fixed cylindrical form, you don't need to apply excessive force. Even makers with lighter grip strength can create smooth, sturdy loops without straining their hands.
Many beginners assume that if they already own round-nose pliers, dedicated looping pliers are unnecessary. That is a misconception.
While they may look similar, round-nose pliers and wire looping pliers serve distinct purposes:
If you turn ten eye pins using round-nose pliers, even experienced crafters will see millimeter-level variations. Using wire looping pliers, even a beginner can make all ten loops exactly identical.
If your goal is to elevate your jewelry to a polished, professional quality suitable for selling, using wire looping pliers alongside round-nose pliers is the most reliable approach.
While wire looping pliers offer massive advantages, they also have specific limitations as specialized tools. Knowing both sides will help you set realistic expectations before purchasing.
The biggest advantage is the ability to make clean, professional loops regardless of your technical experience.
When making paired items like earrings or symmetrical components for necklaces, even a slight difference in loop diameter makes the finished piece look unbalanced. Wire looping pliers ensure that left and right components match completely.
Furthermore, because the wire conforms directly to a cylinder, the loops stay round rather than pinching into teardrops, immediately giving your work a refined appearance.
Forming loops with round-nose pliers requires twisting your wrist while judging the curve by eye, which puts strain on your wrists and elbows. During batch production, hand fatigue can quickly slow you down.
With wire looping pliers, you clamp the wire and gently rotate the tool or wrap the wire with your fingers around the fixed barrel. The wrist movement is minimal and requires far less squeeze, keeping your hands comfortable during longer crafting sessions and drastically cutting production time.
The trade-off is that loop sizes are strictly limited to the stepped barrel diameters available on the tool. Unlike round-nose pliers, you cannot adjust by sliding a fraction of a millimeter to create a custom intermediate diameter.
Additionally, looping pliers tend to be slightly bulkier and heavier than slim round-nose pliers, making them less suited for tight adjustments between tiny seed beads. Rather than an all-in-one tool, they should be treated as a dedicated specialist for loop formation.
Understanding the variations in jaw shape will help you choose the best pair for the jewelry you want to make.
The stepped design—often featuring 3 or 6 graduated barrel sizes—is my top recommendation for beginners.
A single pair can offer steps ranging from 2 mm, 3 mm, 4 mm, 5 mm, up to 7 mm or 9 mm. Whether you need small loops for delicate dangles or larger inner diameters for custom jump rings, one pair handles it all. For versatile handmade jewelry, stepped looping pliers are the most practical first purchase.
These pliers feature a single fixed barrel size (such as 3 mm). The head is slimmer, offering clear visibility when connecting small components. They are ideal for high-volume production where you repeatedly turn the exact same loop size, but they lack the flexibility beginners usually need.
The two most common jaw pairings are:
For clean, reliable circles with minimal effort, the concave-and-cylinder configuration provides the most secure grip.
Confusing specialized tools with general-purpose ones can damage your materials or wear out your tools prematurely. Here is how to keep them separate:
Round-nose pliers have two smooth conical jaws. Use them when you need custom organic curves, very tiny inner loops, or when fine-tuning a loop's opening. Reserve wire looping pliers for your baseline loops: standard jump rings, eye pins, headpins, and identical repeated links. Forming the basic loop with looping pliers and making micro-adjustments with round-nose pliers is the most efficient workflow.
Chain-nose and flat-nose pliers have flat gripping faces meant for holding components, opening and closing jump rings, and making crisp, angular bends. Attempting to create round loops with flat jaws will leave sharp kinks and dent marks on your wire. Keep flat-jaw tools for gripping and finishing, not curve-forming.
A wire jig uses movable pegs arranged on a base plate to guide wire into shapes like hearts, stars, or geometric motifs. Jigs are designed for flat structural shapes, whereas wire looping pliers are handheld tools built for fast, direct creation of functional connecting loops.
Buying an overly cheap, poorly aligned tool often leads to scratched wires and uneven loops. Here are four essential points to inspect before purchasing:
Always verify the stepped barrel diameters. In jewelry making, inner loop diameters between 2 mm and 5 mm are used most frequently. Look for a stepped model that covers roughly 2 mm on the narrowest step up to 6 mm–8 mm on the widest. This range covers everything from delicate wire-wrapped gemstone briolettes to sturdy connector rings.
Choose pliers with a return spring between the handles. Without a spring, you must manually pry the jaws open with your fingers after every bend, which slows you down considerably. Ergonomic, non-slip grips also reduce hand fatigue during extended crafting sessions.
Standard craft wire used in jewelry typically runs between 0.4 mm (26 gauge) and 0.8 mm (20 gauge). Most jewelry looping pliers handle brass, copper, and sterling silver within this range comfortably. If you plan to bend hard wire or thick stainless steel above 1.0 mm (18 gauge), opt for heavy-duty wire-working pliers instead. Forcing thick, hard wire into delicate jewelry looping pliers can misalign the jaws permanently.
Quality lies in the alignment of the jaws. When closed, the cylinder should sit flush and centered within the receiving jaw without wobbling or uneven gaps. While budget tools exist, I recommend purchasing from reputable craft tool manufacturers or dedicated jewelry supply shops, typically in the range of 2,000 to 3,500 Japanese yen (around $15 to $25 USD). Well-hardened steel ensures the stepped barrels will not deform over years of regular use.
Even with the right tool, proper technique is essential for professional results. Follow these steps:
Because the barrel diameter is constant, maintaining a consistent cut length ensures every finished bead dangle matches in height and loop shape.
When working with coated, colored, or plated craft wire, the metal tool jaws can occasionally scuff the surface. To prevent this, wrap one or two thin layers of masking tape around the inner contact surfaces of the jaws. The tape acts as a gentle cushion, shielding the wire from direct metal-on-metal friction. Additionally, remember to grip only firmly enough to keep the wire from sliding; let your bending motion shape the wire rather than tight squeezing.
If your loops are not turning out as expected, check these common causes:
Cause and Solution: You are squeezing the handles too tightly. The cylindrical barrel is a form guide, not a crimper. Hold the pliers just tightly enough to support the wire, and use your other hand to guide and wrap the wire around the cylinder.
Cause and Solution: The wire entered the jaws at a slant. Always make sure the wire is positioned perpendicular (at a 90-degree angle) to the axis of the cylinder barrel before bending. If an offset occurs, do not try to squeeze it flat with the looping pliers; use two pairs of chain-nose pliers to gently twist the ends back into alignment from front to back.
Cause and Solution: Forcing thick or hardened wire (like thick stainless steel) on the thinnest 2 mm step can bend the barrel. Always match wire thickness and temper to the tool's intended capacity to protect your equipment.
Once you have a pair in your workspace, several classic jewelry techniques become far easier:
Instead of relying on commercial jump rings, you can craft your own matching rings from craft wire. Wrap your wire continuously around one step of the pliers to create a tight coil. Using flush cutters, clip down the length of the coil ring by ring to yield identical, custom jump rings. Linking these together creates an artisan chain necklace or bracelet with an authentic handmade finish.
In Japanese wire jewelry crafting, the wire-wrapped loop technique used to secure gemstone beads and briolettes is widely known as megane-dome (literally "glasses wrap"). When done freehand with round-nose pliers, loop sizes often vary from bead to bead, giving a multi-stone necklace an uneven look.
Using wire looping pliers ensures that every single wrapped loop across a strand of gemstones is identical in diameter. The orderly, uniform rhythm of the stones gives your finished piece the refined elegance buyers look for.
Wire looping pliers are more than just a convenience; they are precision tools that fundamentally transform the quality of your finished jewelry. If you have ever been frustrated by uneven loops or time-consuming pin bending, the solution often isn't more practice—it's simply having the right tool for the job.
Adding a quality stepped pair to your bench will make your wirework smoother, more enjoyable, and visibly more professional.
If you found this guide helpful, please feel free to share it with your fellow makers! Until next time—happy crafting from Yassy!




For example, if you are looking for articles about mizuhiki, try searching for "mizuhiki"; if you are interested in tools, try keywords like "nippers" or "pliers."
