How to Make Japanese Shrink Plastic Jewelry: A Beginner’s Quick-Start Guide
yassy
Crafters!
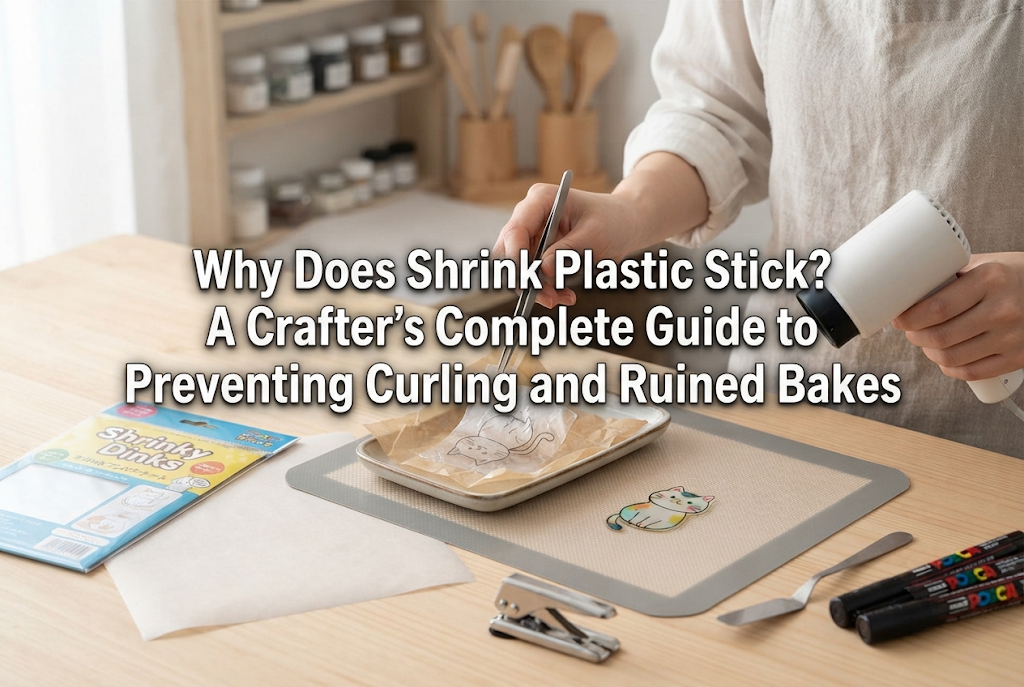

Hello, crafters! It's Yassy from Crafters! (・∀・)
Shrink plastic—often called plaban in Japan—is a wonderful craft for making cute charms, accessories, and everyday goods. But so many crafters have faced that heartbreaking moment in front of the toaster oven: your piece curls up wildly, sticks to itself into an inseparable ball, or fuses stubbornly to the aluminum foil beneath it.
After spending time meticulously coloring and cutting out your design, watching it crumple into a ruined lump in seconds is truly devastating. When I first started out, I had my fair share of toaster oven disasters, turning pieces into sad little plastic dumplings more times than I care to admit!
However, shrink plastic doesn't stick by accident. There are clear physical and thermal reasons behind every mishap. Once you understand how polystyrene shrinks and how heat distributes through the sheet, you can reliably prevent these sticking troubles every single time.
In this guide, I will break down why shrink plastic sticks based on different scenarios, provide step-by-step preventative measures, and even share rescue techniques to save your work if sticking does occur!
"Shrink plastic sticking" actually refers to several distinct phenomena. To identify the root cause, let's categorize how and where your piece is sticking:
The most frequent frustration is self-adhesion, where edges touch during the intense curling phase of the bake. However, sticky traps exist at every stage of the process. Let's examine each situation in detail so you can pinpoint where things went wrong.
When you heat shrink plastic, it first curls upward before settling back down flat as it contracts. When the curled ends touch while molten, they melt together instantly. Why does this happen?
Shrink plastic is made from polystyrene. When heated, the internal tensile stress created during its manufacturing is released, causing it to return to its original thicker, smaller state. If there is a temperature difference between the top and bottom surfaces, or between the perimeter and the center, the hotter sections shrink much faster than the cooler areas.
This uneven contraction speed forces the sheet into an extreme U-shape or tube-like curl. Hot polystyrene is exceptionally tacky. The moment those curled edges make contact, their polymer chains interlock at a molecular level, fusing them together.
The number one mistake beginners make is placing the plastic into a cold toaster oven. When you turn on the heating elements from a cold start, intense infrared radiation blasts the upper surface of the sheet while the interior air and baking tray remain cool. This sharp temperature gradient causes violent curling and immediate self-adhesion.
Design geometry plays a significant role. Compared to balanced shapes like circles or squares, designs with thin, elongated projections—such as flower petals, animal tails, or ribbons—absorb heat much faster than the main body. These slender sections curl first, touch the broader base, and seal shut before the rest of the piece can catch up.
When crafters see their creation writhing and curling dramatically, instinct often tempts them to yank open the toaster oven door. Please resist this urge! Opening the door lets cold air rush into the chamber, dropping the surface temperature instantly. The plastic hardens in its twisted state, completely eliminating any chance of it flattening out naturally.
Another common scenario is a piece that shrinks down flat, but refuses to release from the foil underneath. This issue usually stems from liner preparation and coloring mediums.
Do you pull a sheet of aluminum foil straight from the roll, smooth it out, and place your plastic directly on it? This is a classic misstep. A flat sheet offers a large contact surface area. As the plastic softens under high heat, it forms an airtight seal against the smooth metal. As it cools, it adheres like vacuum packaging, causing the foil to tear and cling stubbornly to the back of your charm.
Many crafters switch to baking parchment paper, but caution is necessary here as well. Standard household parchment paper is typically heat-rated to around 250°C (480°F) for up to 20 minutes. Compact toaster ovens without fine temperature dials can easily spike near 300°C (570°F) directly beneath the heating elements. Overheated parchment can degrade its silicone coating, causing the plastic to weld directly to the paper fibers.
The medium you use to color your plastic makes a big difference. Oil-based permanent markers, opaque paint pens (such as POSCA), crayons, and certain gel pens contain resins and waxes that liquefy when heated. If you bake your piece before the ink has fully dried, or if you place the colored side facing down onto the liner, these binders act like glue under heat.
Trying to bake several pieces simultaneously to save time frequently ends in sticky collisions inside the oven.
Shrink plastic does not sit quietly while shrinking. The immense contraction force can cause the piece to flip, bounce, or slide across the tray by several centimeters. Even if you arrange them with ample spacing beforehand, pieces can jump into each other while their surfaces are molten, instantly fusing together.
If you use a toaster oven with a convection fan, the forced air can push the lightweight, curling plastic across the tray, blowing it into neighboring charms or directly against the oven walls.
Immediately after shrinking, the plastic is removed from the oven and pressed with a flat object to ensure it stays perfectly level. Sticking hazards exist during this step too.
The most dangerous habit is pressing hot plastic directly with clear plastic rulers, acrylic stamping blocks, or plastic folders. The freshly baked plastic is well over 100°C (212°F). Placing another plastic tool in direct contact with it causes them to thermally bond almost instantly. Similarly, pressing directly against printed paper or book pages can cause printer toner to transfer onto your charm or paper fibers to embed into the hot surface.
Once you understand these mechanisms, the solutions are straightforward. Applying the following rules will bring your failure rate down to nearly zero.
Run your toaster oven empty for 1 to 2 minutes before baking. When the interior air and walls are thoroughly and evenly heated, thermal distribution becomes balanced. Preheating ensures the entire plastic piece heats uniformly, preventing the severe, one-sided curl that causes self-adhesion.
When preparing your foil liner, crumple it firmly into a loose ball with your hands to create fine wrinkles, then gently unfold it. This crinkled texture creates tiny ridges, reducing the contact area with the plastic from a flat surface to minimal contact points. This physically prevents molten plastic from sealing against the foil. Keep the folds loose and fluffy so the peaks remain raised.
Consider structural stability when cutting your plastic. Needle-thin points and deep, acute slits are prone to wild twisting. By rounding the corners slightly and making narrow stems just a bit thicker, you stabilize the heat absorption and minimize dramatic curling.
While it is tempting to bake a whole batch at once, stick to baking one piece—or at most two—at a time, especially while building your skills. A solitary piece has nothing to bump into, no matter how much it jumps. It also lets you give your full attention to timing the removal and pressing steps.
Instead of pressing your hot charm directly between books or acrylic blocks, slide it inside a folded piece of parchment paper before applying weight. The parchment acts as a heat barrier, protecting your tools, preventing thermal welding, and preserving a smooth, glossy finish.
Here is an overview of common materials used for baking trays and pressing setups:
While you can choose based on your desired finish, crinkled aluminum foil remains the most reliable and accessible option. If you prefer a mirror-flat backing, an oven-safe silicone mat designed for baking is also an excellent tool.
Even with careful preparation, a piece may occasionally take an unexpected bounce and stick. If that happens, don't panic—you may still be able to salvage it before it cools completely.
If parts touch lightly inside the oven, act while the interior is still hot:
If the bond was just a light touch rather than a full weld, a light nudge will often pop it free. Never touch hot plastic with bare hands—always use heat-resistant gloves and metal tools.
If you notice a joined corner after the piece has already cooled and hardened, there is still hope. Polystyrene is a thermoplastic, meaning it softens again when reheated.
Place the deformed piece back onto crinkled foil inside the toaster oven and reheat it. Within a few dozen seconds, it will become soft and pliable once more. Remove it promptly and use two pairs of tweezers to gently peel the joined sections apart. After separating them, reheat the piece one more time so it softens flat, then press it as usual.
Some pieces cannot be saved. If the plastic has melted into a single fused mass where boundaries have disappeared, or if prying tears the surface leaving holes, it is beyond repair. Forcing apart fused plastic can produce sharp fragments or cause burns. In such cases, it is best to accept the loss, review what caused the issue, and create a fresh piece with proper precautions.
To finish, here is the exact routine I follow every time I bake shrink plastic. Since adopting these habits, I haven't lost a single charm to sticking accidents:
Shrinking plastic is a race against cooling time. Right next to my toaster oven, I arrange my heavy pressing book, a folded sheet of parchment paper, fine-tipped tweezers, and heat-resistant oven mitts within arm's reach. If you have to search for your pressing tool after removing the piece, the plastic will stiffen within seconds, ruining your chance for a clean finish.
From the moment the plastic goes into the oven until it finishes shrinking (around 40 to 60 seconds), I keep my eyes glued to the viewing window. Watching the entire transformation—curling, peak height, and finally relaxing flat—allows me to decide in real time whether the piece needs a few more seconds to flatten or if I need to intervene with tweezers. Relying purely on a kitchen timer leaves you blind to what is happening inside.
Shrink plastic curling and sticking is never just bad luck. It happens because of specific, preventable factors: uneven chamber temperatures, flat foil, or overcrowded baking trays.
Preheat thoroughly, use nicely crinkled foil, bake one piece at a time, and watch the process closely through the window. By following these core principles, your shrink plastic will flatten out obediently and beautifully every time.
Master these heating techniques, and have fun creating all the lovely charms and accessories you envision!
If you found this guide helpful, please share it with your fellow crafting friends on social media. Happy crafting, and see you in the next article! This was Yassy from Crafters!


For example, if you are looking for articles about mizuhiki, try searching for "mizuhiki"; if you are interested in tools, try keywords like "nippers" or "pliers."
