Screen Printing Photo Emulsion Guide: How It Works, Coating Tips & Troubleshooting
yassy
Crafters!

Hello everyone, it's Yassy from Crafters! (・∀・)
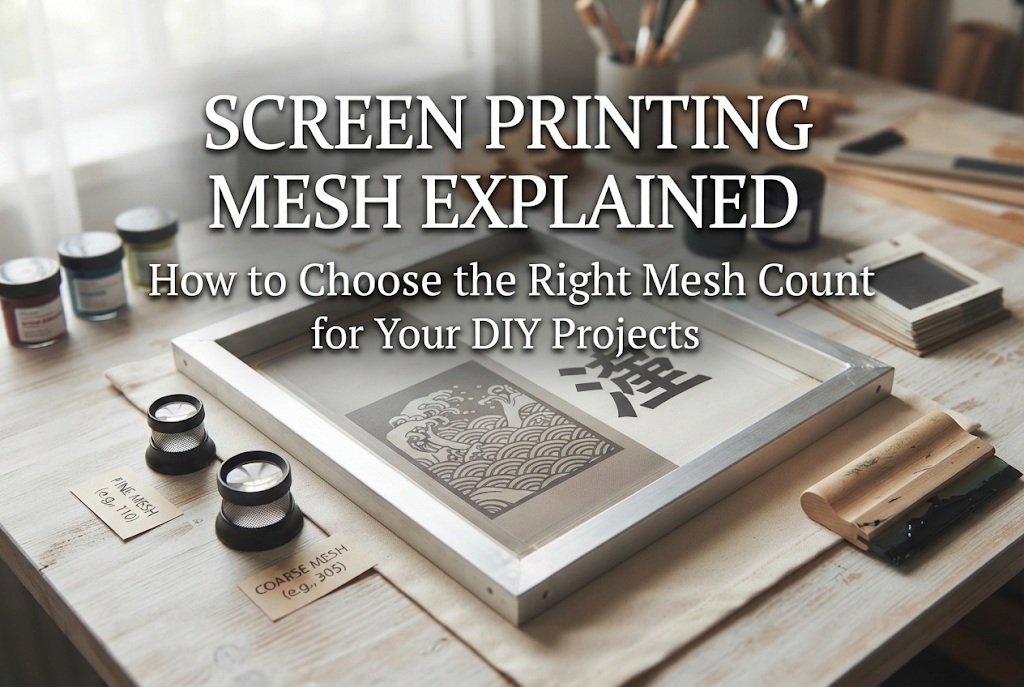
Screen printing is an incredible technique that allows you to print your original illustrations onto T-shirts, tote bags, paper goods, and so much more. It instantly broadens what you can achieve in handmade crafting. However, when you first decide to try screen printing, tooling up is often the very first hurdle. In particular, choosing screen printing mesh—traditionally referred to as sha (紗) in Japanese printmaking—can be confusing with all its various counts, materials, and types.
Many beginners find themselves asking: "What actually changes when the mesh number changes?" "What does 120 mesh mean?" or "Does the color of the mesh fabric matter?" Picking the wrong screen mesh directly leads to printing issues—such as ink failing to pass through to the fabric, or fine linework bleeding and muddying together.
In this guide, I will thoroughly explain the essential knowledge behind screen printing mesh, often called the heart of the process. We'll cover what mesh count means, the differences in materials and colors, and how to choose the right one without making costly mistakes. By the end of this article, you will know exactly which mesh is perfect for your creative vision.
Screen mesh is the finely woven fabric stretched tightly over a wooden or aluminum screen frame. Historically, this fabric was woven from real silk threads—which is how the name "silk screen" originated. In modern craft and industrial printing, however, synthetic fibers such as polyester and nylon have become the standard due to their outstanding durability and dimensional stability.
The mechanics of screen printing are straightforward. You apply a photosensitive photo emulsion onto the mesh stretched over the frame, then use light exposure to create areas that are blocked and open areas that form your design. Once the stencil is prepared, you place ink onto the screen and pull it across with a rubber blade called a squeegee. The ink passes through only the open mesh openings, transferring the design onto your chosen material.
In short, the screen mesh functions as a fine filter for your ink. The size and density of the mesh openings determine how much ink passes through in a single pull and how fine your printed lines can be. Choosing your mesh is genuinely the single most important factor determining print quality.
When shopping for screen mesh, you will see numbers like "80 mesh," "120 mesh," or "200 mesh." This number is called the "mesh count," a unit indicating how fine the weave is.
Specifically, mesh count tells you how many thread openings exist along one linear inch (approx. 2.54 cm). The smaller the number, the coarser the mesh (larger holes); the larger the number, the finer the mesh (smaller holes). Keep this fundamental rule in mind:
Let's take a closer look at what each range is best suited for in terms of materials and inks.
Coarse mesh in the 60 to 100 range features large individual openings. This allows heavy-viscosity (thick) inks and specialty inks with larger particles to flow smoothly through the screen.
For instance, if you are working with glitter inks, glow-in-the-dark inks, puff/expanding inks for raised textures, or opaque inks applied directly onto dark T-shirts without an underbase, a coarse mesh is an absolute must. If the mesh openings are too small, glitter flakes will instantly clog the screen. Around 80 mesh, however, glitter ink prints effortlessly.
Keep in mind that because the weave is coarse, tiny lettering and fine linework can end up with jagged, stepped edges. Use coarse mesh primarily for bold logos, thick text, and large solid fill areas.
The 120 to 150 range is the classic standard for handmade T-shirt printing and canvas tote bags. When in doubt, starting with 120 mesh is virtually foolproof.
Most commercial water-based fabric inks are formulated to pass cleanly through 120 to 150 mesh screens. This range deposits an optimal amount of ink onto cotton T-shirts and canvas, producing rich, vibrant colors while keeping the hand-feel soft and wearable.
Because it offers the perfect balance between crisp line definition and easy ink flow, it handles everyday illustrations, accent logos, and medium-weight typography with ease.
Mesh counts of 180 and above are designed for intricate linework, small text, and printing onto flat, non-porous surfaces like paper, smooth wood, plastic, or metal.
If you print on a smooth, non-absorbent material like paper or metal using coarse mesh, too much ink is released, resulting in bleeding, blurred outlines, and puddling. Fine mesh restricts ink flow to the bare minimum, allowing you to reproduce crisp, razor-sharp edges.
One crucial note: because the openings are extremely tiny, thick water-based inks will clog the screen quickly. Pair fine mesh with smooth-flowing, low-viscosity inks, slow-drying oil-based inks, or solvent-based inks.
Mesh properties depend not only on thread count, but also on the fiber material. For DIY crafters, the two primary options are polyester and nylon.
Polyester is by far the most widely used material in contemporary screen printing. It is highly resistant to water and chemical solvents, and boasts excellent dimensional stability, meaning it resists stretching out of shape when pulled taut.
When stretching mesh onto a frame, polyester holds tension without sagging over time, ensuring precise registration. This makes it much easier to keep multi-color and layered prints aligned. For both beginners and professionals, polyester is the undisputed first choice.
Nylon mesh is known for its flexibility and high abrasion resistance. It is often favored when printing onto curved, 3D objects (like bottles or irregular shapes) and in heavy-duty printmaking where mechanical wear is high.
However, nylon absorbs ambient moisture and expands or contracts with humidity. Repeated printing with water-based inks can cause nylon screens to sag slightly, leading to blurred impressions. For flat printing on paper or fabric, stick with polyester mesh.
Browsing screen mesh supplies, you will notice fabrics in either pure white or yellow/orange. While this might look like a cosmetic choice, it actually impacts the stencil quality during screen exposure.
White mesh is the most widely available and economical choice, commonly included in beginner starter kits and pre-stretched hobby frames. Because white fibers reflect light freely, exposure times (curing the photo emulsion under UV light) are relatively short.
The downside of white mesh is light scatter (halation). When UV light strikes white threads, light bounces in random directions inside the fiber weave. This scattered light bleeds behind the opaque black areas of your film positive, partially curing emulsion where you wanted open holes.
As a consequence, ultra-fine lines and tiny dot details can fill in and fail to wash out cleanly. White mesh works well for bold, broad graphics, but makes exposing delicate, intricate artwork trickier.
Yellow (or amber) dyed mesh is formulated to absorb UV light. By absorbing light rather than bouncing it around, yellow mesh virtually eliminates halation along the edges of your stencil.
Because light scattering is prevented, your stencil washes out with crisp, razor-sharp edges matching your original transparency exactly. If you are printing ultra-fine pen lines, detailed halftones, or micro-typography, yellow mesh drastically lowers your exposure failure rate.
Since yellow mesh absorbs UV light, you will need a slightly longer exposure time than white mesh. It is also slightly more expensive, but considering the dramatic reduction in ruined stencils, I strongly recommend choosing yellow mesh whenever possible.
Here are three typical issues beginners face when handling screen mesh, along with practical troubleshooting steps.
Symptom: You pull the squeegee with firm pressure, but ink barely transfers to the fabric, or after printing a few pieces, the design suddenly becomes faint and patchy.
Cause & Solution: Either the ink viscosity is too thick for your mesh count, or water-based ink has dried in the screen openings. Check whether your ink matches your mesh count; thick textile inks cannot pass through fine 180+ mesh. For T-shirts, switch down to a 120 mesh screen, or blend a screen printing retarder (slow-drying medium) or a few drops of water into your ink to soften its consistency before continuing.
Symptom: Gaps inside printed letters fill with ink, or edges look mushy instead of sharp.
Cause & Solution: The mesh is too coarse for the substrate, or the tension on the frame is too loose. Printing on paper with an 80 mesh screen deposits too much ink on a surface that cannot absorb it, causing it to pool and bleed outward. Use 180 mesh or higher for paper. Additionally, if the mesh is loosely stretched, the screen sticks to the substrate instead of snapping off cleanly, forcing ink to smudge sideways. The mesh should be stretched drum-tight—tapping it with a finger should produce a clear, taut sound.
Symptom: The squeegee drags roughly across the screen, or the mesh fabric rips mid-print.
Cause & Solution: Misaligned mesh grain, improper frame clamping, or a nicked squeegee blade are the usual culprits. Screen mesh is woven with warp and weft threads intersecting at right angles. Always stretch the mesh square to the frame edges. If stretched at an irregular diagonal angle, tension concentrates unevenly, leaving the mesh vulnerable to tearing. Also inspect your squeegee blade; sharp corners or trapped debris can slice through stretched mesh. Always check your tools before printing.
Use this reference table to quickly determine the ideal mesh count and ink pairing for your project:
When you feel stuck picking supplies, here is how I personally approach the decision based on different creative goals:
First, if I were trying screen printing for the first time with the goal of printing personal illustrations on canvas tote bags or cotton T-shirts, I would immediately choose 120 mesh yellow polyester. A 120 count pairs effortlessly with off-the-shelf water-based textile inks, keeping screen clogging to a minimum while cleanly rendering the hand-drawn line quality I want.
Second, if the project involved printing detailed pen-and-ink illustrations on shop cards or stationery, I would prepare an 180 mesh yellow polyester screen. Bleeding is the primary enemy when printing on paper. With 180 mesh, you lay down a whisper-thin ink film, resulting in a crisp graphic that feels completely smooth and flush against the paper surface.
Organizing your project around these three questions—What am I printing on? What ink am I using? How fine is my artwork?—will immediately reveal the single best mesh count for the job.
Screen mesh is technically a consumable item, but with proper post-print care, a well-made screen can be reused dozens or even hundreds of times. Here is the step-by-step cleaning procedure to keep your mesh in top shape:
The golden rule: wash the screen immediately after your print run. Never let it sit. Water-based inks can dry within screen openings in a matter of minutes, after which they are nearly impossible to remove.
When drying your screen, avoid directing hot air from a hair dryer at close range. High heat can cause polyester threads to shrink, warping your frame tension or tearing the mesh. If you need to speed up drying, use the cool air setting or rely on ambient air.
Screen printing mesh is truly the foundational element that determines both your print quality and how smooth your printing process feels.
By understanding what mesh counts represent—around 120–150 for everyday fabric goods, and 180+ for delicate papercrafts—you can choose with confidence and avoid frustrating print flaws.
Opting for yellow mesh to prevent halation and establishing a habit of immediate, gentle cleaning will ensure your DIY screen printing sessions remain rewarding and productive.
Screen printing might feel technical at first, but once you find the right mesh and ink pairings for your style, it becomes one of the most versatile and enjoyable mediums in handmade crafting. Use this guide to pick the ideal mesh for your next creation!
If you found this guide helpful, sharing it with your fellow makers on social media is always deeply appreciated!
Until next time, happy crafting—Yassy from Crafters signing off!



For example, if you are looking for articles about mizuhiki, try searching for "mizuhiki"; if you are interested in tools, try keywords like "nippers" or "pliers."
