How to Choose Japanese Fabric Glue: The Ultimate Guide to Durable, Washable No-Sew Crafts
yassy
Crafters!

Hello, everyone! It’s Yassy from Crafters! (・∀・)
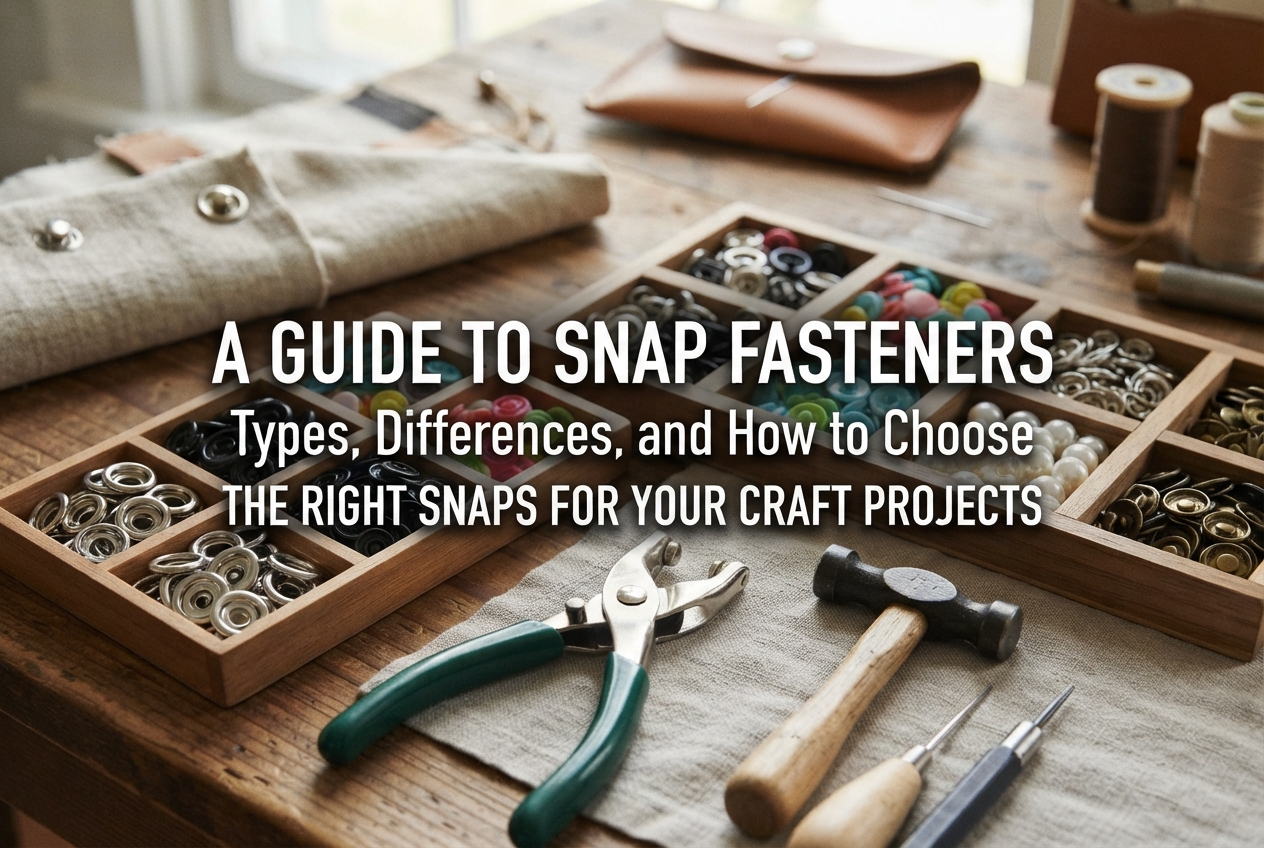
Snap fasteners—often simply called snaps or press studs—are an indispensable fastening option for handmade pouches, bags, and clothing. Being able to open and close them smoothly with just a light pinch of your fingers makes them one of the most reliable and frequently used findings in any crafter's toolkit.
However, when you browse a craft supply store or an online shop, the options can be overwhelming: sew-on varieties, press-set types requiring special tools, metal hardware, lightweight plastic, and more. Have you ever wondered which one is truly right for your project?
Choosing the wrong snap can lead to frustrating mistakes: the fastener might be too stiff, tearing the fabric when opened; it might fit too loosely, popping off during use; or the prong post might not match the thickness of your material.
In this guide, I will walk you through the primary types of snap fasteners, their pros and cons, and foolproof tips on how to choose the perfect snap for your fabrics and handmade projects!
To choose the right snap, it helps to first understand how they work.
A snap fastener typically comes as a two-part matching pair: the protruding piece (often called the stud or male part; in Japan, referred to as genko) and the receiving recessed piece (the socket or female part; known in Japan as bane). When pressed together, they lock securely into place.
In terms of installation, snaps broadly fall into two main categories: Sew-on types and Press-set (riveted/clenched) types.
Press-set fasteners branch out further: some require dedicated hand pliers (handy press), some use an anvil and setter tool with a hammer, and others are modern one-touch snap designs that simply click together by hand without any tools.
Here is an overview of the most popular snap fasteners used in sewing and handmade crafts.
These are the most traditional and beginner-friendly snaps, attached directly to fabric using a regular hand-sewing needle and thread.
They feature small stitching holes around the outer rim. In addition to standard nickel-plated or brass metal versions, transparent nylon (plastic) variations are widely available when you want the hardware to stay virtually invisible.
Pros:
Cons:
Lightweight snaps molded from durable polyacetal resin (frequently called purasnappu in Japanese craft shops). They are the go-to fastener for baby clothes, bibs, adaptive clothing, and rainwear.
While the standard installation method involves piercing an awl hole through the fabric and flattening the post with dedicated snap pliers or a tabletop press, tool-free "one-touch" plastic snaps that click together by hand have also become very popular.
Pros:
Cons:
In Japan, these metal fasteners are widely known as "American Snaps." They feature an open ring with tiny sharp prongs on the underside that pierce directly through the fabric to interlock with the socket or stud.
Pros:
Cons:
Known in Japanese leathercraft and sewing as bane-hokk, this metal snap contains a tiny wire spring inside the socket (female) piece. It is a staple fastener for leathercraft, canvas bags, and structured fabric goods.
A complete set consists of four individual pieces: cap, socket, stud, and post. They are installed using a matching setter punch, an anvil base, and a craft mallet or hammer.
Pros:
Cons:
Known in Japan as jumper-hokk, these large metal fasteners provide a much firmer grip than spring snaps. They are commonly seen on jackets, windbreakers, heavy outerwear, and rugged leather goods like biker wallets and belts.
Pros:
Cons:
With so many options out there, how do you decide which snap to use? Keeping these four criteria in mind will ensure you pick the right match every time.
The single most critical factor is fabric compatibility. The post or prong length of your fastener must match the total thickness of the layers you are joining.
If you use a fastener with a grip that is too strong for a lightweight fabric, the pull force required to open the snap will easily rip right through the cloth.
Always consider who will use the finished piece and under what conditions.
For baby bibs, rompers, and infant garments, metal components can trigger skin irritation or allergic reactions. Furthermore, metal can oxidize or rust with frequent washing and baby saliva. For these items, smooth plastic snaps are the undisputed best choice.
For projects made for young children or elderly individuals who may have limited hand strength, choose fasteners that open easily without excessive tugging, such as prong ring snaps, plastic snaps, or sew-on snaps.
Decide early in the design stage whether you want the hardware to be on display or completely hidden.
Press-set hardware requires dedicated setter tools, punches, and anvils matched to the exact size of the snap.
If you do not own setting tools and do not wish to purchase extra gear right now, stick with sew-on snaps or tool-free one-touch plastic snaps. You can start creating immediately with the basic sewing supplies you already have at home.
Beginners often run into similar issues when installing snap hardware. Knowing these prevention tips in advance will protect your hard work from getting ruined!
This is by far the most frequent issue: the fabric simply cannot handle the repeated pulling stress, causing the fastener to rip a hole and pop out completely.
Solution: Always reinforce the placement area with fusible interfacing or a reinforcement patch (chikara-nuno)!Whenever you attach snaps to lightweight or medium-weight cloth, iron a patch of fusible interfacing onto the wrong side of the fabric. When working with stretchy knits or delicate double gauze, sandwiching a small 1.5 cm (about 0.6 inch) square of sturdy interfacing or scrap woven fabric behind the snap will dramatically boost durability.
After setting a snap, the hardware feels loose, rattles, or turns freely, threatening to fall off.
Solution: The fabric layer is too thin for the post, or you did not apply enough pressure during setting!If your fabric thickness is shorter than the snap's post or prongs, the metal or plastic stem cannot compress tightly against the surface. Add a small fabric patch or interfacing spacer between the layers to build up the necessary thickness.
Additionally, make sure you press or hammer straight down with firm, even pressure. If the tool is tilted or struck too lightly, the fastener cannot flare properly.
It is surprisingly easy to attach a piece to the wrong side of the fabric, leaving you unable to snap the project shut.
Solution: Dry-fit the pieces and double-check the overlap before committing!With flap pouches or overlapping button plackets, it is easy to mix up the arrangement—remember that the overlapping top layer needs the socket facing inward, while the underlying layer needs the stud facing upward. Before you hammer or crimp, align your project as it will look when finished, hold the parts in place with your fingers, and visually confirm that the male and female pieces meet correctly.
If you find yourself wondering, "Which snap is truly best for my exact project?" here is a quick cheat sheet based on what I personally reach for in my own craft work:
Recommended: Plastic Snaps (10 mm to 11.5 mm)Gentle on delicate baby skin, hypoallergenic, and safe through hundreds of machine wash cycles. Since these are often made from soft gauze or jersey knits, always back the snap area with a small square of interfacing before pressing.
Recommended: Spring Snaps (small to medium) or Sew-On SnapsFor fabric pouches where you want a crisp, satisfying closure and an upscale boutique feel, the classic metal look of spring snaps is hard to beat. If you prefer a completely clean exterior with no visible hardware, sew-on snaps attached strictly to the lining are the way to go.
Recommended: Prong-Type Ring Snaps or Clear Sew-On SnapsFor lightweight apparel, discreet transparent nylon sew-on snaps maintain a streamlined look, while delicate ring snaps offer a lovely decorative, casual finish along plackets.
Recommended: Spring Snaps (large) or Heavy-Duty SnapsSturdy, dense materials require reliable, robust hardware. Punch a clean hole using a rotary or drive punch first, then seat and hammer your heavy-duty fasteners securely into place.
To wrap things up, here are a few handy tools that will make your snap installation much smoother and cleaner:
Snap fasteners might look intimidating at first glance, but once you understand how to match the fastener type to your fabric's weight and remember to reinforce the area with interfacing, installing them becomes quick, satisfying, and easy.
A crisp, functional snap adds both professional polish and everyday usability to any handmade item.
Use the guidelines from this article on your next project, find the perfect snap hardware, and enjoy crafting! If you found this guide helpful, please share it with your fellow makers on social media—it always makes my day and keeps me inspired to write more!
Until next time, happy crafting! This was Yassy from Crafters!




For example, if you are looking for articles about mizuhiki, try searching for "mizuhiki"; if you are interested in tools, try keywords like "nippers" or "pliers."
