How to Choose Irons and Mini Irons for Handmade Crafts: Tips from a Japanese Crafter
yassy
Crafters!

Hello! This is Yassy from Crafters! (・∀・)
Have you ever wished you could print your own illustrations, logos, or text directly onto fabric when making handmade pouches, tote bags, clothing, or custom brand labels? While using store-bought fabric is always fun, being able to print your original designs onto cloth instantly boosts the originality and professional finish of your creations.
In my journey of crafting countless fabric items, I have experimented with many different fabric printing methods. Unlike printing on paper, printing on fabric comes with its own unique challenges and rules. Without the right knowledge, you might encounter frustrating problems like prints peeling off after a single wash, fabric jamming and nearly breaking your printer, or ink bleeding until text becomes an unreadable blur.
But don't worry! Once you master the correct techniques and steps, anyone can easily create professional-grade, wash-safe printed fabric right in their home workspace.
In this article, I will share my hands-on expertise, covering four popular fabric printing methods, fabric compatibility, perfect settings for home inkjet printers, and heat-setting techniques to ensure your prints last through repeated washes.
The greatest advantage of printing your own designs on cloth is the ability to freely produce one-of-a-kind materials. It allows you to express a unique aesthetic across your entire project that ready-made commercial fabrics simply cannot offer.
For example, sewing a small cotton label printed with your brand logo into the side seam of a pouch immediately gives it the refined look of a boutique item. Alternatively, printing a large illustration onto sturdy canvas lets you sew an eye-catching statement tote bag.
Ordering custom-printed fabric from commercial printing companies often involves high minimum order quantities and expensive setup costs. However, learning how to print on fabric at home allows you to produce exactly what you need, starting from a single piece, at a low cost. Fabric printing is a powerful skill that every crafter should learn to expand their creative possibilities and dramatically improve project quality.
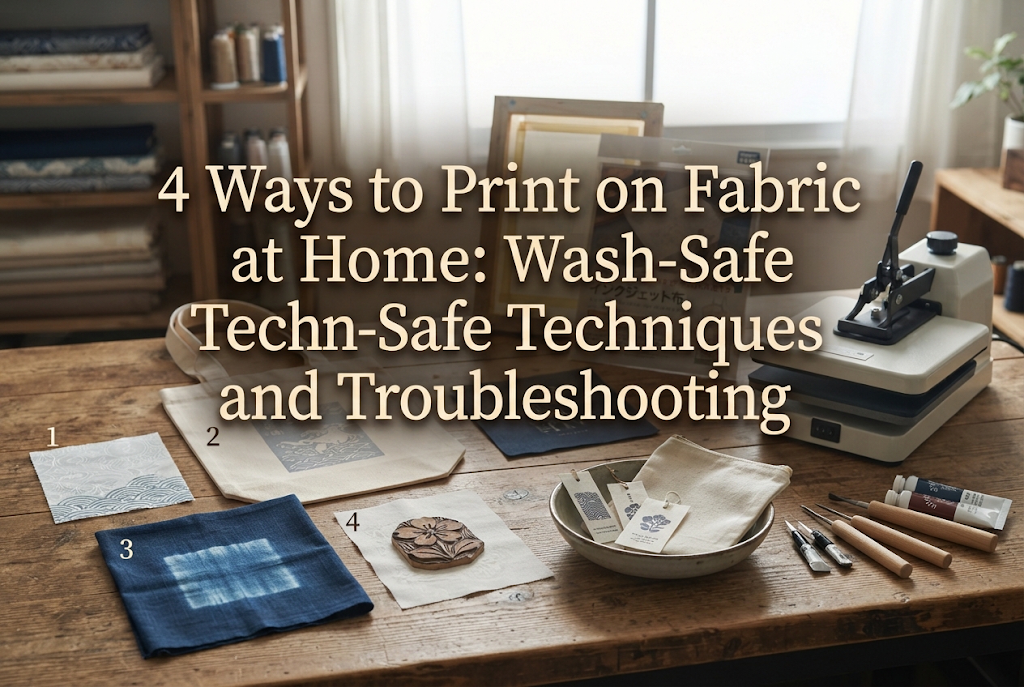
There are four main methods for printing on fabric at home. Each offers a different texture, requires different tools, and suits different applications. Let's look at the characteristics of each approach.
This method involves printing your design onto specialized iron-on transfer paper using a home inkjet printer, then transferring the image onto fabric using the heat and pressure of an iron.
Pros: Excellent for transferring full-color photos, complex graphics, and smooth color gradients. Transfer papers are available in distinct types for white/light fabrics and dark fabrics like black cotton.
Cons: Leaves a thin, rubbery film layer on the printed area, slightly reducing the natural softness of the fabric. However, it remains unbeatable for ease of use and vibrant color reproduction.
This technique uses specialized fabric sheets (such as cotton) backed with a thin paper layer, allowing them to pass directly through a home printer's feed slot. After printing, you simply peel off the backing paper.
Pros: Preserves the natural texture, breathability, and softness of the fabric because there is no film layer at all. It integrates seamlessly into your sewing projects. It is hands-down the best choice for making custom brand tags and small sew-on patches.
Cons: Water resistance during washing varies greatly depending on the ink type (pigment vs. dye ink), making proper post-processing essential.
A classic, authentic technique where you create a mesh screen, place fabric ink on top, and push the ink directly into the fabric fibers using a squeegee.
Pros: Once a screen is created, you can quickly mass-produce dozens or hundreds of identical prints. Because the ink thoroughly penetrates the fibers, it offers outstanding durability and a crisp finish comparable to commercial graphic tees.
Cons: Screen creation requires preparation time and initial setup costs, making it less suitable for multi-color photo prints or complex gradients. However, it is by far the best option for mass-producing single-color logos or icons.
This hands-on method involves cutting a template from a plastic sheet and dabbing fabric paint with a sponge (stencil), or using carved rubber stamps with fabric ink pads.
Pros: Requires no precision machinery like printers, making it a budget-friendly option you can start right away. Slight variations and faded textures add a charming vintage, handmade warmth to your pieces.
Cons: Limited capability for reproducing intricate, high-detail artwork. However, it is very effective for simple accents and geometric patterns.
Even if you purchase top-quality transfer paper or ink, ignoring how your chosen fabric reacts will lead to failure. Here is how to pair your fabrics with the right printing methods.
100% cotton is the most forgiving, reliable, and easiest fabric to print on. It has high heat tolerance and excellent ink absorption.
It easily withstands the high temperatures required for iron-on transfers and absorbs screen printing inks and fabric paints perfectly. If you are a beginner trying fabric printing for the first time, stick with 100% cotton fabrics like canvas, oxford, or sheeting for the highest success rate.
Linen is beloved for its natural, rustic texture, but its surface contains slubs (slight knots in the yarn) and uneven weaves.
Because of this texture, iron-on transfer sheets may trap tiny air pockets beneath the film, causing the transfer to peel off during washing. When working with linen, choose methods that sink ink directly into the fibers, such as screen printing, stenciling, or direct-print fabric sheets.
When printing on synthetic fibers like polyester and nylon, or cotton-poly blends, heat control is critical.
Synthetic fibers melt, scorch, or discolor easily when exposed to the high temperatures (160°C–180°C / 320°F–356°F) needed for standard iron-on transfers. If you must use transfer paper on synthetic fabric, choose specialized sheets designed for low-temperature, short-duration pressing, and always test on a scrap piece first.
Printing onto transfer paper or printable fabric sheets with an inkjet printer requires specific setup rules that differ from standard paper printing.
Do you know what type of ink your home printer uses? Inkjet printer inks generally fall into two categories: dye ink and pigment ink.
Dye ink penetrates deep into paper fibers to create vivid photo prints, but it dissolves easily when exposed to water. If you print directly onto fabric using dye ink, the colors will bleed heavily or wash away in the laundry.
Pigment ink, on the other hand, consists of tiny color particles that adhere firmly to the surface of the material, making it exceptionally water-resistant. If you plan to make fabric items that will be washed repeatedly, using a pigment ink printer (or at least a printer that uses pigment ink for black) is essential.
If your printer uses only dye inks, make sure to purchase iron-on transfer sheets specifically labeled as compatible with dye inks, which feature a special protective coating layer to trap the ink.
When using iron-on transfer sheets that are placed face-down onto fabric before applying heat, you must print your design as a mirrored (horizontally flipped) image.
If you forget this step, all text and logos will end up reversed on your final product, wasting both the sheet and printer ink.
Many printer drivers automatically mirror the image when you select paper types like "T-Shirt Transfer" or "Iron-On Paper." However, to be completely safe, flip the image manually in your design software and print a quick test on regular paper to check it with your own eyes before printing on expensive transfer sheets.
Printable fabric sheets and heavy transfer papers are significantly thicker and heavier than standard copy paper. Passing them through a front-loading paper cassette can cause the sheet to bend sharply around internal rollers, resulting in paper jams or ink smudges along the edges of the fabric.To avoid this, always use your printer's manual feed tray or rear feed slot for fabric materials. Keeping the paper path as straight as possible reduces feeding issues dramatically. Selecting "Thick Paper Mode" in your printer settings will also raise the print head to prevent smudging.
A print that looks perfect right after printing can crack or peel in the wash if proper post-processing (heat setting) is skipped. Here are the best ways to ensure your prints remain durable.
The most common reasons iron-on transfers fail are insufficient heat and inadequate pressure.
Never perform iron-on transfers on a soft, padded ironing board. Pressing down on a padded surface absorbs the downward force, preventing the adhesive resin from fusing deeply into the fabric fibers.
Instead, place a single thin bath towel over a sturdy wooden table or solid floor. Place your project on top, hold the iron with both hands, and lean your body weight directly over it to apply strong, firm pressure (targeting around 20 kg / 45 lbs of pressure).
Turn off the steam setting (use dry heat) and set the iron to medium-high heat (160°C–180°C / 320°F–356°F). Press firmly for 20 to 30 seconds per section, covering every edge thoroughly. Strong, uniform pressure is the secret to preventing peeling in the laundry.
When using direct-print fabric sheets (such as printable cotton sheets), do not cut or sew the fabric immediately after printing.
Fresh ink takes time to set completely. Allow the printed sheet to air-dry untouched for at least 10 to 30 minutes. Follow the product instructions to rinse off any unbonded surface ink with water, let it dry, and then finish by ironing it thoroughly on the dry setting using a pressing cloth. Applying heat significantly enhances ink bonding.
When washing finished items, turn them inside out, place them in a mesh laundry bag, use a mild neutral detergent, and wash on a gentle cycle. Avoid strong bleach, optical brighteners, and tumble drying, as these accelerate fading and wear.
If you use screen printing inks, stencils, or rubber stamps with fabric ink, simply drying the ink is not enough to make it wash-safe.
Most fabric inks contain polymer binders that require heat activation to cross-link and bond permanently with the textile fibers (heat curing).
Once the ink is completely dry to the touch, cover the printed area with parchment paper (baking paper) or a thin cotton cloth, and press it with a dry iron at medium-high heat for 1 to 2 minutes. Move the iron slowly to distribute heat evenly without scorching. This step creates a durable, water-resistant print that survives repeated washing.
Here are three frequent mistakes beginners make when printing on fabric, along with my practical tips to prevent them.
After washing an iron-on print, the edges lift or fine line cracks appear across the surface.
Cause & Solution: Sharp, 90-degree corners are the most vulnerable starting points for peeling due to laundry friction. To fix this, always round off every corner of your transfer sheet using scissors before pressing. Removing sharp corners reduces friction points and drastically minimizes the risk of peeling. Also, if you are printing on stretchy knit fabrics or T-shirts, make sure to use transfer sheets specifically designed for stretch fabrics.
When printing delicate text or fine line drawings, the ink bleeds into the fabric, making lines thick and muddy.
Cause & Solution: This happens when the printer releases more ink than the fabric can absorb cleanly. Setting your printer to "Maximum Quality" or "High Quality Photo" often deposits excessive ink. For fabric materials, set the print quality to "Standard" or "Normal" to control ink output. Additionally, working in high humidity can cause fabric to absorb excess moisture, promoting ink bleed—so try to work in a dry environment.
In an effort to apply sufficient heat, holding the iron down too long can scorch the paper or turn the fabric yellow.
Cause & Solution: Direct, unshielded heat is scorching the material. Always place a sheet of silicone release paper or standard oven parchment paper over the print area before applying the iron. Parchment paper tolerates high heat, distributes thermal energy evenly, and prevents direct burning. A thin cotton handkerchief works as a pressing cloth too, but parchment paper is much easier to work with and monitor.
Choosing the best printing method depends entirely on what item you are making. Here is how I choose the right method based on the project goal:
Matching your technique to the fabric, design complexity, and quantity needed is the golden rule for achieving flawless results every time.
We have covered four essential fabric printing techniques, fabric compatibility, printer configurations, and heat-setting rules for long-lasting prints.
While printing on fabric might seem intimidating at first, sticking to basic principles—choosing the right technique for your material, applying heavy pressure on a solid surface, and thorough heat setting—allows anyone to create beautiful, washable custom fabrics right at home.
There is nothing quite like the excitement of seeing your own artwork transformed into a professional piece of printed fabric. Use these practical tips to explore new ideas and elevate your handmade creations!
If you found this guide helpful, please share it with your craft friends on social media! See you in the next article! This was Yassy from Crafters!



For example, if you are looking for articles about mizuhiki, try searching for "mizuhiki"; if you are interested in tools, try keywords like "nippers" or "pliers."
