How to Choose Irons and Mini Irons for Handmade Crafts: Tips from a Japanese Crafter
yassy
Crafters!

Hello, everyone! It’s Yassy from Crafters! (・∀・)
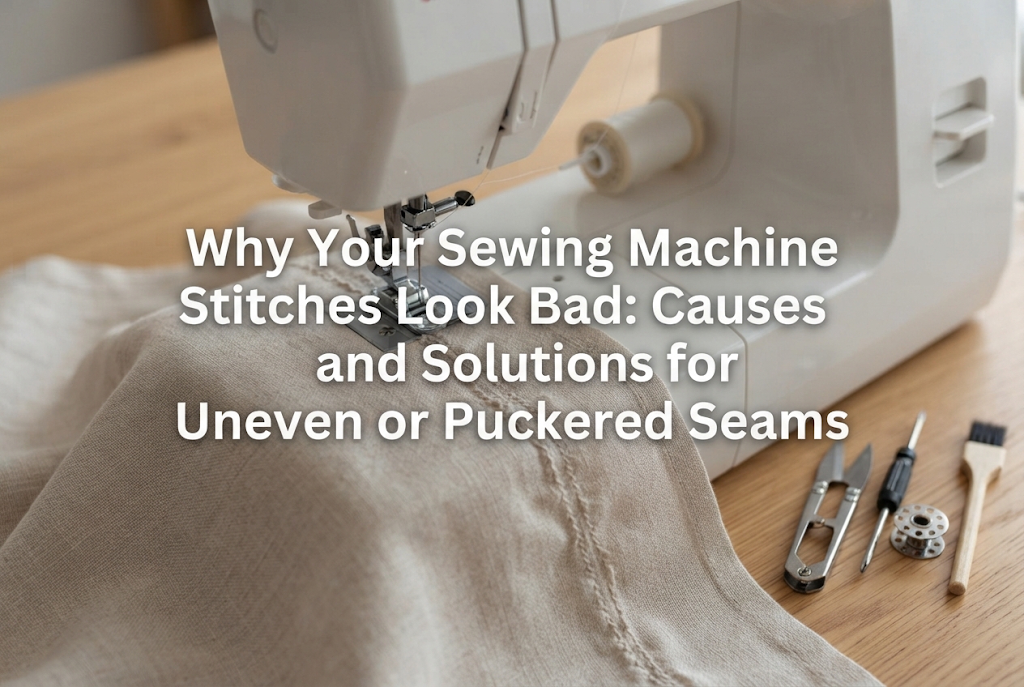
Have you ever been working on a sewing project only to end up with crooked stitches or a tangled nest of thread underneath your fabric? You carefully prepared your favorite fabric, excited to sew, but messy stitches can completely ruin your motivation.
Many people immediately worry, wondering, “Is something wrong with my machine? Did it break down?” In reality, more than 90% of stitch problems are caused by simple setup mistakes or using the wrong needle and thread combination.
In this article, I will explain the most common stitch issues, their root causes, and practical fixes that anyone can easily apply right away. Even beginners can restore neat, straight, and beautiful stitches simply by going through these checkpoints one by one, so please use this as your go-to troubleshooting guide!
While we often describe it broadly as “bad stitches,” sewing machine troubles actually show up in several different ways. Identifying exactly what is happening on your fabric is your first step toward fixing it.
This happens when a huge clump of tangled thread builds up on the underside of the fabric right when you start sewing or midway through, causing the fabric to jam. It is one of the most frequent sewing hiccups and can be very alarming for beginners, especially because the fabric often becomes stuck to the machine.
Seeing a mess on the back usually leads people to think, “Is there a problem with my bobbin thread?” However, almost every bird’s nest is actually caused by the upper thread. When the upper thread lacks proper tension, it cannot pull the bobbin thread up, leaving loose upper thread to pool and tangle repeatedly around the bobbin area.
Skipped stitches occur when the machine fails to form a stitch at regular intervals, leaving gaps and floating threads along your seam. Instead of evenly spaced, neat stitches, your seam becomes irregular and loses its structural strength.
When stitches skip, the timing between the needle penetrating the fabric and the rotary hook catching the thread loop is misaligned. This is directly caused by a bent or blunted needle, or by a mismatch between the thickness of the needle and the fabric.
In this scenario, the stitches are continuous, but you might see little dots of bobbin thread poking through on the right side of the fabric, or loops of upper thread dangling on the reverse side. The entire seam may also pull tightly, causing the fabric to wrinkle and pucker.
This is a clear sign that your thread tension (the balance between the upper and lower threads pulling against each other) is off. In an ideal stitch, the upper and lower threads lock together precisely in the middle of the fabric layers. If the tension on either side is too tight or too loose, the stronger thread pulls the other thread onto its surface.
Now that we have identified the symptoms, let’s look at the underlying causes. A sewing machine is a precision tool, which means even a tiny threading oversight or a minor setting issue will directly impact stitch quality.
Threading mistakes are the number one cause of stitch trouble. Even when you think you threaded everything properly, the thread might not be seated between the tension discs, or it may have slipped off the take-up lever (the metal arm that moves up and down).
Crucially, if you thread the machine while the presser foot is down, the tension discs remain closed, preventing the thread from sitting deep inside them. Threading with the presser foot down leaves zero tension on the upper thread, resulting in severe tangling underneath.
Fabrics come in all weights and textures—from lightweight lawn and gauze, to medium-weight cotton sheeting and broadcloth, all the way to heavy denim and canvas. Are you using the exact same needle and thread for all of them?
For example, using a thin needle on thick fabric causes the needle to flex when piercing the cloth, leading to skipped stitches or broken needles. Conversely, using a thick needle on delicate fabric punches large holes and causes puckering. Pairing the right needle and thread with your specific fabric weight is an absolute necessity for achieving clean stitches.
Sewing machine needles are consumables. Even if a needle does not look visibly bent, its tip wears down, blunts, or bends microscopically after extended use.
Sewing with a blunted needle prevents it from cleanly piercing the fabric weave, causing it to miss the hook loop and skip stitches. A damaged needle tip can also snag the fabric fibers, fray your thread, and leave your seam looking fuzzy or jagged.
Sewing machines feature a tension dial to regulate upper thread tightness. Many home machines include an “Auto” or “Standard” setting, but depending on the fabric weight and thread type, this baseline setting may not yield balanced stitches.
If the upper tension is too high, it drags the bobbin thread to the top surface. If it is too loose, excess upper thread droops onto the back. Without setting the dial to the proper balance, the two threads cannot interlock evenly.
The bobbin area is another common culprit. If the bobbin is inserted in the wrong direction (clockwise versus counterclockwise) or not caught properly under the tension spring of the bobbin case or hook race, the lower thread will not feed smoothly.
Furthermore, lint and trimmed fabric fuzz accumulate inside the bobbin race over time. This dust creates uneven friction against the rotating bobbin, leading to inconsistent lower thread feed and wavy seams.
Now that we understand the causes, here are the exact steps I (Yassy) always follow to resolve stitch problems. If your machine starts acting up, work through this checklist in order.
When stitches turn messy, the first and most effective fix is a complete rethread. Do not try to tug or tweak threads mid-path; take both the upper spool and the bobbin completely out of the machine.
When rethreading the upper thread, make sure the presser foot is fully raised. Raising the presser foot opens the tension discs so the thread can seat securely inside. Follow the numbered guides on your machine carefully, and visually verify that the thread is seated all the way inside the take-up lever eyelet.
When inserting the bobbin, confirm that the thread unwinds in the direction specified in your machine’s manual. For top-loading (drop-in) bobbins, place the bobbin in, guide the thread through the designated slot, and ensure it clicks or catches into the proper tension guide.
Next, check if your needle size and thread weight match the fabric you are working with. Here is a handy baseline guide:
While a Size 11 (75/11) needle and #60 thread are versatile standards for general sewing, never hesitate to switch sizes when moving to thicker or thinner materials. Adjusting these basics makes a dramatic difference in seam quality.
Once you have rethreaded and selected the right needle and thread, test-sew on a scrap of fabric folded to the exact same thickness as your project piece. Examine both the front and back of the seam carefully.
If the upper thread loops loosely on the underside, your upper tension is too loose; turn the dial to a higher number to tighten it. If the bobbin thread is pulled up to the right side, or if the seam is puckering tightly, the upper tension is too high; turn the dial to a lower number to loosen it.
When adjusting the dial, do not make large leaps. Adjust in small increments (such as 0.5 at a time) and test-sew after each tweak until you find the sweet spot where the stitches lock neatly in the center.
If skipped stitches or uneven seams persist after checking tension, swap in a brand-new needle. Personally, I make it a rule to replace my needle after finishing each major project or sewing a large item like a structured bag, even if the needle does not appear visibly damaged.
When installing a new needle, pay close attention to its orientation. Machine needles have a flat side and a rounded side. For most domestic machines, insert the needle with the flat side facing away from you (toward the back).
Push the needle upward until it firmly hits the top stopper, then tighten the clamp screw securely. If the needle is inserted too low, the hook cannot catch the thread properly, resulting in skipped stitches.
Routine cleaning is vital for maintaining steady tension. If your seams look irregular, remove the needle plate (the metal plate beneath the foot) and inspect the bobbin housing underneath.
Cutting and sewing fabrics creates an astonishing amount of fine lint and loose fibers that pack into the feed dogs and hook area. Use the small brush provided with your machine to gently sweep out all dust buildup.
Note: Avoid using canned compressed air, as it can blast lint deeper into the machine’s mechanical gearing and cause malfunctions. Always brush or vacuum the lint outward instead.
When you are still getting comfortable with machine sewing, unexpected glitches can lead to counterproductive fixes. Here are a few common misunderstandings and tips I always keep in mind:
As mentioned earlier, when a chaotic thread nest forms under the fabric, nine out of ten beginners assume the bobbin is the culprit and repeatedly reinsert the lower thread.
However, machine mechanics dictate that issues appearing on the bottom are almost always caused by the top. A bird’s nest underneath means zero tension on the upper thread. Keeping this simple rule in mind will save you countless minutes of frustrating bobbin troubleshooting: When the underside looks messy, always check the upper thread first!
In an effort to keep seams straight, beginners often pull the fabric firmly from the front or back while sewing. Forcing fabric through disrupts the timing between the needle and feed dogs, bending needles and skipping stitches.
Sewing machines are equipped with metal “feed dogs” under the foot designed to advance the cloth at an even pace. Your hands are only there to gently guide the direction and keep the fabric straight. Trusting the feed dogs to move the fabric naturally will result in consistent, balanced stitches.
I completely understand the excitement of wanting to dive right into your actual project after changing threads. But no matter how rushed I am, I never skip test-sewing on a scrap folded to match the project layers.
A quick test seam lets you catch threading errors and tension issues 100% of the time before touching your good fabric. Ripping out tangled stitches from your main piece risks damaging the material and is incredibly frustrating. Taking just a few seconds to run a line of test stitches on a scrap is truly the fastest path to success.
Today, we walked through the causes behind problematic stitches and how to solve them systematically.
When seams look uneven or threads tangle, it is easy to worry that your machine has broken down. In most cases, running through these simple checks will resolve the issue right away:
A sewing machine is an honest tool: set it up properly, and it will reward you with clean, sturdy, and beautiful stitches. When trouble strikes, stay calm, remove the threads, and check each setting step by step. Let’s make the most of our sewing time with perfectly balanced seams!
If you found this helpful, sharing this post with your fellow sewing friends is always deeply appreciated!
See you in the next article! This was Yassy from Crafters!


For example, if you are looking for articles about mizuhiki, try searching for "mizuhiki"; if you are interested in tools, try keywords like "nippers" or "pliers."
