Japanese Crafter’s Guide to Tatting Lace Thread: How to Choose the Right Size, Fiber, and Twist
yassy
Crafters!

Hello everyone, Yassy here from Crafters! (・∀・)
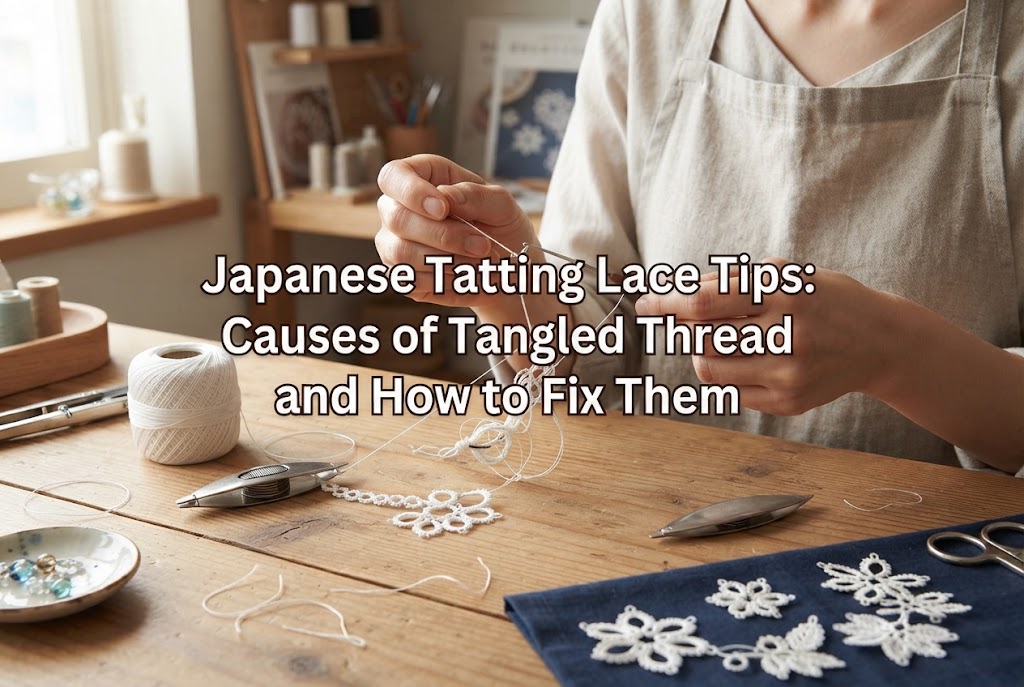
Tatting lace allows us to create delicate, beautiful lace patterns. Rhythmically flipping a small shuttle back and forth to form intricate stitches is such an enjoyable and relaxing experience. However, almost everyone who starts tatting encounters a major obstacle early on: thread tangling!
Have you ever experienced your thread twisting into tight coils as soon as you pull it from the shuttle, rings getting stuck halfway when you try to close them, or knots looking stiff and messy? Thread tangling in tatting isn't just bad luck—it happens due to specific structural mechanics, hand movement habits, and thread characteristics.
In this article, I will unpack the exact reasons why tatting thread tangles and share practical, actionable techniques you can use right away for smooth, stress-free tatting!
Before diving into specific causes, it helps to understand how tatting works and why thread twists more in tatting than in other fiber arts. In crochet or knitting, you pull loops of yarn through other loops. In tatting, however, you form double stitches around a central core thread.
Holding the shuttle in your right hand and continually weaving it under and over the thread loop naturally introduces a rotation (twist) into the working thread with every single stitch. As you continue crafting, this twist accumulates moment by moment. If you do not release this built-up twist, the thread reaches its limit, kinks back on itself, and forms stubborn snarls.
Let's look at the five main causes of tangled thread and their solutions one by one!
The single biggest reason tatting thread forms tiny coils or bunches up into knots on its own is the twist that builds up as you tat. Every double stitch adds a subtle rotation to the thread. While a few stitches won't cause trouble, completing an entire ring or chain accumulates a significant amount of twist energy.
Once the twist reaches a critical point, the thread cannot stay taut. The moment tension slackens, it snaps back into S-shapes or tight coils, wrapping around itself.
You can easily prevent built-up twist with a simple habit. The most effective method I use is letting the shuttle dangle freely in the air. When you finish a motif, or when you transition from a chain to a ring, pull out about 15 cm to 20 cm (6 to 8 inches) of thread from your shuttle and let the shuttle hang freely beneath your work.
The shuttle will spin rapidly as it releases the built-up twist. Simply wait until it stops spinning completely. This releases all the pent-up tension in the thread. If you notice your thread starting to act lively or twisty while working, pause and let the shuttle dangle right away. Doing this regularly prevents about 80% of tangling issues!
The second cause involves how you manage thread from the shuttle. Beginners often pull out long lengths of thread to give their hands more space to work. However, the greater the distance between your hand and the shuttle, the easier it is for thread to slacken and tangle in mid-air.
Another common mistake is winding thread onto the shuttle unevenly, or pulling it too tightly while winding, which stretches the thread out of shape.
As a general rule, keep the working thread length manageable—around 10 cm to 15 cm (4 to 6 inches) between your hand and the shuttle. Keeping it short makes controlling the thread much easier, especially if you are new to tatting.
When winding thread onto your shuttle or bobbin, wind it smoothly and evenly with consistent tension. Avoid letting thread pile up unevenly at one side or hump up in the middle. Unevenly wound thread catches on itself when pulled from the shuttle, creating unwanted friction or jams.
The third cause lies in the properties of the thread itself. Craft shops carry so many beautiful threads that it is tempting to try them all. However, tatting subjects thread to continuous, intense friction as knots are pulled tight over the core thread. If you use thread that isn't suited for tatting, it will quickly fray, and the raised fibers will catch on each other, preventing you from closing your rings smoothly.
The following types of thread tend to tangle easily in tatting and are quite challenging to use:
If tangling frustrates you, review the thread you are using. For beginners, I strongly recommend thread explicitly labeled as "Tatting Thread." Tatting thread features a very tight twist (high twist) and surface treatments (like mercerization or gassing) to make it smooth and resistant to friction from the shuttle.
If you prefer standard crochet lace thread, choose a high-quality thread in manageable sizes, such as size 20 or size 40, with a firm, tight twist. Switching to dedicated tatting thread often makes an immediate difference, allowing your stitches to glide effortlessly!
The fourth cause involves the core technique of tatting: the stitch flip (transferring the node). A double stitch in tatting is not tied directly with the shuttle thread; instead, the hitch is transferred ("flipped") onto the thread wrapped around your left hand.
If the flip is incomplete, the knot binds tightly around the core thread instead of forming around it loosely. When you reach the end of a ring and try to pull the core thread to close it, the thread locks up halfway. Forcing it causes the core thread to jam inside the stitches, creating a bunched-up mess.
Checking whether your flip succeeded is easy. After completing a half-stitch or full double stitch, gently tug the shuttle thread in your right hand. If the stitch glides smoothly over the core thread on your left hand, the flip was successful!
If the shuttle thread feels stiff or stuck when pulled, the flip failed and you have accidentally knotted the core thread. Unpick the stitch immediately and retry the flip. Especially when starting out, focus on keeping the core thread sliding smoothly rather than trying to tat quickly.
A frequently overlooked cause is the condition of your tools and hands. Plastic or wooden shuttles that have been used for a long time may develop microscopic scratches or burrs on the pick, join, or edges. These tiny imperfections snag thread fibers, causing fraying and unexpected tangles.
Additionally, sweaty hands or oily hand creams make the thread sticky, drastically reducing slipperiness and causing thread loops to cling together when tightening knots.
Gently run your fingertip over your shuttle surface to check for burrs or rough spots. If you find any small scratches, smooth them out carefully using very fine sandpaper (1000 grit or higher) or a buffing nail file.
Wash your hands before starting to tat to remove oils and perspiration. Avoid applying hand lotion right before tatting; wait until it is fully absorbed into your skin. In warm weather or if your hands tend to sweat, keep a small dry towel nearby to wipe your hands regularly while working!
Even with careful preparation, thread tangles happen sometimes. The most important rule is: never pull hard on a tangle! Pulling forces the knot tighter, making it impossible to undo.
When a tangle occurs, stay calm and follow these steps to gently undo it:
As soon as you notice a tangle, release all tension from your hands and shuttle. Let the thread drop slack completely.
Trying to untangle tiny tatting knots with your fingers alone is difficult. Use a fine steel lace hook (such as size 12), a blunt tapestry needle, or a sewing awl.
Look closely at the tangled point in good lighting. Take a moment to see which thread crosses over where without rushing.
Insert the needle tip into the center loop of the tangle and wiggle it gently to expand the space. Once one loop loosens, the rest usually unravel smoothly. If a tangle is hopelessly locked, cut the damaged section with embroidery scissors and join new thread—this yields a much cleaner finish than forcing a damaged thread.
Here are two extra little techniques I use regularly to keep my tatting smooth and enjoyable!
Applying a light coating of thread wax (such as beeswax thread conditioner) or thread glide spray smooths down tiny surface fibers and significantly reduces friction. This works wonderfully when using threads that tend to fray or catch.
When immersed in crafting, it's easy to hold tension tightly without realizing thread twist is building up. Setting simple rules—like dangling the shuttle after every three rings, or taking a quick break to smooth your thread after finishing a motif—keeps your thread well-conditioned and improves the overall quality of your work!
In this article, we explored why tatting lace thread tangles and how to prevent it. Thread tangling in tatting isn't random; it happens due to accumulated twist, incomplete flips, tool condition, or thread selection.
Let's review the key points:
Once you understand why thread twists and tangles, your tatting experience becomes much smoother and far less stressful. I hope these techniques help you enjoy creating crisp, beautiful lace pieces!
If you found this helpful, sharing it with your crafting friends is always greatly appreciated!
Until next time, happy tatting from Yassy at Crafters!




For example, if you are looking for articles about mizuhiki, try searching for "mizuhiki"; if you are interested in tools, try keywords like "nippers" or "pliers."
