Japanese Glass Fusing for Beginners: Top 3 First Projects & Success Tips
yassy
Crafters!

Hello, this is Yassy from Crafters! (・∀・)
Glass fusing—where you combine colorful pieces of glass and melt them together in an electric kiln—is a truly captivating craft with its beautiful transparency, smooth curves, and light-capturing charm. The moment your custom-designed glass pieces fuse into a one-of-a-kind piece of jewelry or a dish, the excitement never gets old, no matter how many times you experience it.
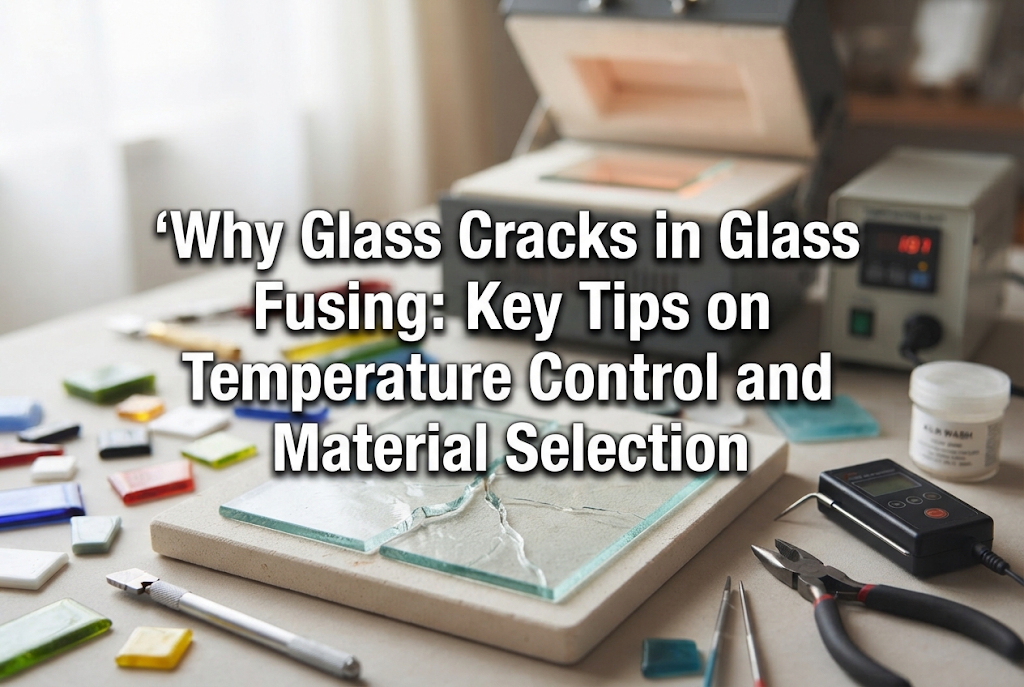
However, the most shocking setback for anyone starting out in glass fusing is cracking. Many crafters have opened their kiln after a firing only to find a project split cleanly in two, or had a piece suddenly snap and shatter hours or days after taking it out of the kiln.
It is truly heartbreaking to see a project you meticulously cut and placed end up broken. But glass cracks for clear, physical reasons. By correctly understanding the properties of glass and how heat transfers through it, you can dramatically reduce the risk of breakage.
In this guide, I will thoroughly explain the root causes of glass cracking in fusing, along with practical steps to prevent it. Let's build up the knowledge you need to finish your precious creations beautifully without cracking!
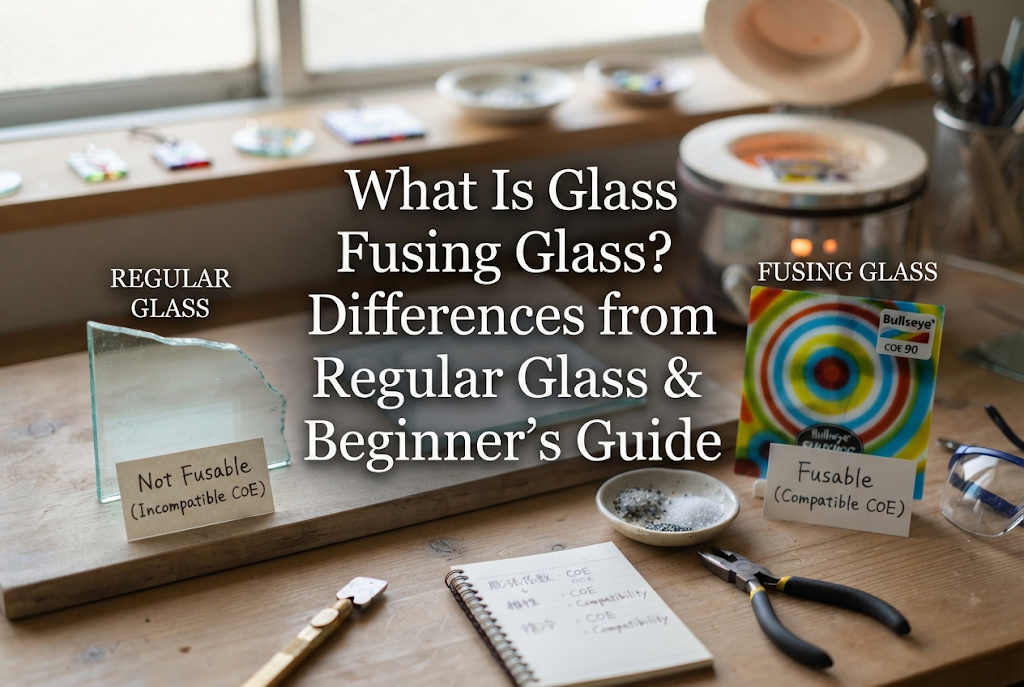
The single most common reason fused glass cracks is mixing glasses with different Coefficients of Expansion (COE) during firing. If you do not understand this concept, your glass will crack no matter how carefully you manage kiln temperatures.
Glass expands when heated and shrinks (contracts) when cooled. The Coefficient of Expansion (COE) is a numerical measurement of how much a specific glass expands and contracts in response to temperature changes.
For example, glass manufactured specifically for fusing often carries standards such as "COE 90" or "COE 96." The higher the number, the more the glass expands and contracts; the lower the number, the less it moves with heat.
Even if two pieces of clear glass look identical, their COE can differ significantly due to differences in chemical composition. Matching these numbers is an absolute rule in glass art.
When you layer two pieces of glass with different COEs and heat them, they may appear to fuse together perfectly while molten. The trouble begins during the cooling process.
Because the two glasses shrink at different speeds and by different amounts while joined together, intense pulling forces (internal stress/strain) develop along the boundary where they meet. The glass that shrinks more tries to forcibly pull and compress the glass that shrinks less.
While glass is relatively strong against compressive forces, it is extremely fragile when subjected to tensile (pulling) stress. The moment it can no longer withstand the tension, a crack shoots across the boundary line, causing a dramatic break.
The trickiest part about COE mismatches is that the piece might look completely fine when you first take it out of the kiln. It may appear finished and intact.
However, intense invisible stress remains trapped inside the glass. A piece sitting on a desk might suddenly shatter days later, or an accessory worn outdoors might disintegrate due to a slight temperature shift or minor bump.
If you experience a scenario where "it was fine yesterday, but cracked when I woke up this morning," a COE mismatch creating internal tension is almost always the cause.
A common pitfall for beginners is assuming that if two glasses are both labeled "COE 90," they can be mixed across different manufacturers.
Even if product catalogs list the same standard, raw material formulations, viscosity characteristics, and softening points vary slightly from brand to brand. Unless a manufacturer officially guarantees compatibility between specific products, you should avoid fusing different brands together.
In my own work, I make it a point to stick to a single manufacturer and series for everything—from the base glass to the accent millefiori and glass frits. Doing this simple step eliminates breakage caused by COE mismatches 100% of the time.
If your glass pieces are perfectly matched in material but still crack, the next area to investigate is your cooling schedule—specifically, insufficient annealing.
As glass transitions from a soft, molten state back down to room temperature, there is a specific temperature range where the internal temperature of the glass must be kept uniform to release internal stress. This process is called annealing.
Glass has low thermal conductivity, meaning it heats up and cools down slowly. Because of this, temperature differences easily develop between the outer surface and the inner core of a piece during heating and cooling.
If the temperature drops rapidly from high heat, the outer surface cools, shrinks, and hardens first, leaving the inner core hotter and expanded. As the core eventually cools and tries to shrink later, it exerts strong pulling tension against the rigid outer shell. If this internal strain is not relieved, the glass will crack under its own stress.
The temperature range where glass can release stress is known as the annealing range. For common soda-lime and fusing glasses, this range is typically around 480°C to 530°C (approx. 895°F to 985°F).
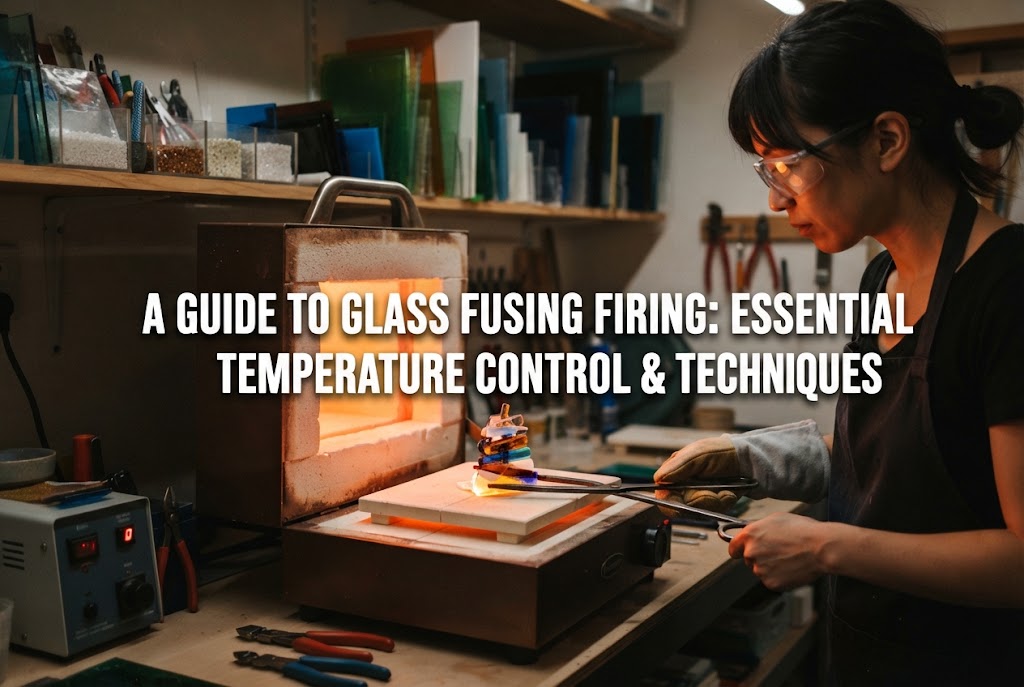
After raising the kiln to peak temperature (around 750°C to 820°C / 1380°F to 1500°F) to melt the glass, you must rapidly drop the temperature to this annealing range and hold (soak) it there for a specified time.
Soaking at the annealing temperature gives the surface and core of the glass time to reach the exact same temperature, allowing internal stress to dissipate completely. Skipping or shortening this soak time leaves thermal stress trapped inside, leading to cracks.
Even after completing the annealing soak, you cannot drop the temperature quickly just yet. The point where glass molecules become completely fixed and no new stress can be introduced is called the strain point, usually around 400°C to 430°C (approx. 750°F to 805°F).
From the annealing temperature down through the strain point, and further down to a safe range around 300°C (approx. 570°F), you must cool the kiln very slowly—often at a rate of just a few dozen degrees per hour.
If cooling occurs too quickly during this window, new stresses will be introduced right as the glass solidifies, undoing the benefits of your annealing soak. When adjusting your firing schedules, pay close attention to cooling rates, not just peak temperatures.
When glass experiences sudden temperature fluctuations, it cannot keep up with the rapid expansion or contraction, causing it to crack instantly. This phenomenon is known as thermal shock.
A classic beginner mistake is opening the kiln lid or door while the interior is still hot, driven by the eagerness to see the finished piece.
If you open the lid when the kiln thermometer still reads 200°C or 150°C (300°F–400°F), cool room air rushes inside. As cold air hits the surface of the hot glass, the exterior contracts instantly, shattering the glass from severe thermal shock.
Even peeking through a small crack is risky. A slight draft is more than enough to create localized temperature differences.
An absolute rule in glass fusing is: Do not open the kiln door until the interior temperature has cooled completely to room temperature (at least below 50°C / 120°F, comfortable to touch with bare hands). Suppressing the urge to check early and patiently waiting for the kiln to cool naturally will save your work.
Thermal shock occurs during heating as well as cooling. Exposing cold glass to rapid heat causes the outer layer to expand much faster than the core, leading to explosive cracking before the glass even begins to soften.
Pay extra attention to your ramp rate from room temperature up to around 500°C (930°F), where glass begins to soften. Larger sheet glass or thicker pieces take longer for heat to penetrate, requiring a slow initial heating rate.
When using microwave kiln kits with dedicated pots, the heating rate from microwave radiation is extremely fast, making thermal shock during heating a frequent issue. Adjusting microwave wattage and heating in stages is essential.
Even if your materials match in COE and your firing schedule is perfect, flaws in the physical design of your piece can still trigger cracks. Key culprits include uneven thickness and sharp internal angles.
Glass fusing involves a well-known physical principle known as the "6mm Rule." When flat glass is fully melted, the balance between surface tension and gravity causes it to naturally seek a uniform thickness of approximately 6mm (approx. 1/4 inch).
If a single project combines very thin areas (2mm or 3mm) with very thick areas (8mm or 10mm created by stacking multiple layers), a critical difference in cooling rates will occur.
Thin sections cool quickly, while thick sections hold heat much longer. This localized temperature imbalance creates severe internal stress, causing cracks along the border between thick and thin areas once the piece cools down.
When designing a project, calculate your glass layers to keep the overall thickness as uniform as possible across the piece.
Designs featuring sharp V-shaped cuts or 90-degree internal cutouts carry a high risk of cracking.
In physics, points where forces concentrate are called stress concentration points. As glass cools and contracts, pulling forces gather at sharp interior corners, creating a focal point where crack lines easily start.
When cutting glass, avoid sharp interior notches or use a glass grinder (router) to grind inner corners into smooth, rounded curves (radii). Rounding off corners redistributes tension evenly, making the glass much more resistant to breaking.
When you cut glass with a glass cutter, tiny micro-cracks or rough burrs can remain along the cut line.
In full fusing, where glass melts completely into a pool, surface tension smooths out the edges. However, in tack fusing (where shape details remain) or slumping (bending glass over a mold), those micro-cracks do not fully melt away.
Under the stress of heating and cooling, a tiny edge scratch can instantly expand into a full crack. Smoothing cut edges with a sharpening stone, diamond file, or glass grinder before putting pieces into the kiln is a reliable prep step to prevent failure.
Sometimes the cause of cracking lies not within the glass itself, but in the surrounding setup inside the kiln. Here are crucial environmental factors to review.
To prevent glass from sticking directly to ceramic kiln shelves, crafters apply shelf primer (kiln wash) or lay down fiber paper (shelf paper).
If kiln wash is applied too thinly, unevenly, or flaked off in spots, molten glass can fuse directly to the ceramic material of the shelf.
Ceramic shelves and glass have completely different expansion coefficients. Glass anchored firmly to a kiln shelf during cooling cannot shrink freely; pulled by the shelf, it shatters under tension.
Apply kiln wash uniformly in thin coats to the recommended thickness, ensuring it dries completely before use. If using single-use fusing paper, ensure the paper is large enough so glass does not overhang onto bare shelf areas.
When assembling small glass elements, temporary adhesives like specialized glass glue or craft PVA glue are often used to prevent pieces from shifting on the way to the kiln. However, improper glue use poses risks.
Applying too much glue or heating the kiln rapidly before the glue is fully dry causes moisture and organic compounds trapped between glass layers to burn and vaporize violently. The expanding gas pressure can burst or crack the glass.
Additionally, incomplete combustion of organic materials can leave soot or carbon deposits between layers, acting as foreign inclusions that cause thermal stress cracks during cooling.
When using adhesive, apply only tiny specks using the tip of a toothpick, and wait until the glue is completely dry before firing. Opening the kiln's vent hole up to around 300°C–400°C (570°F–750°F) allows burning organic gases and smoke to escape cleanly.
To help prevent cracking before you press start on your kiln, here is a practical checklist based on the factors covered above. Use this as a pre-firing routine!






For example, if you are looking for articles about mizuhiki, try searching for "mizuhiki"; if you are interested in tools, try keywords like "nippers" or "pliers."
