What Is Glass Fusing Glass? Differences from Regular Glass & Beginner’s Guide
yassy
Crafters!

Hello, everyone! I'm Yassy from Crafters! (・∀・)
Glass fusing is a wonderful technique that lets you combine colorful, translucent pieces of glass to create unique jewelry, home decor, and accessories. It's a craft that many handmade enthusiasts dream of trying at least once!
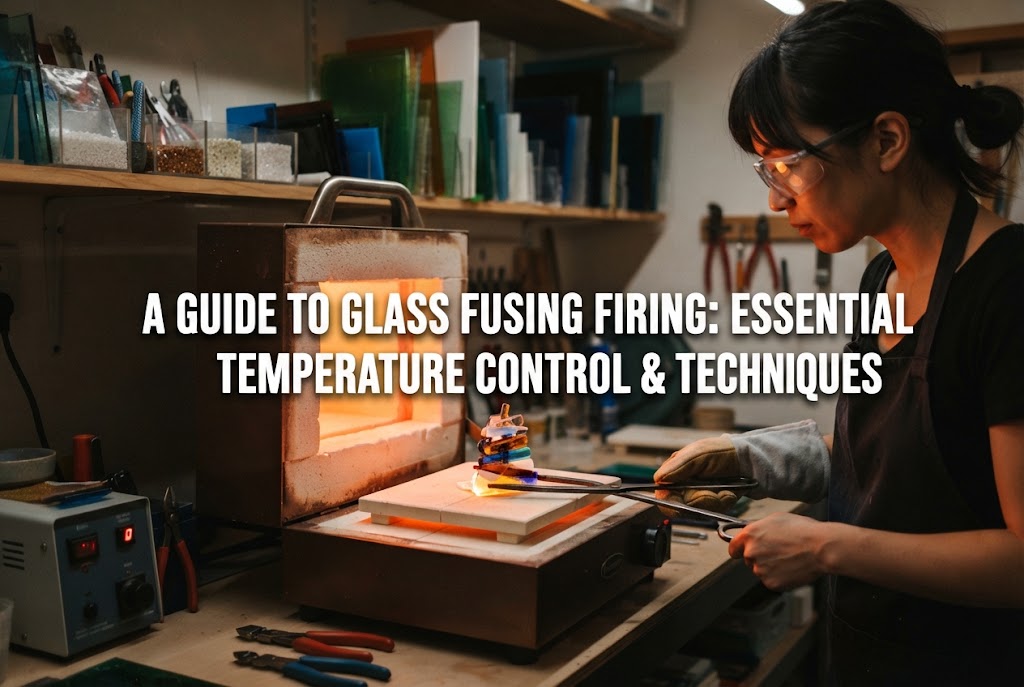
In the glass fusing process, the step that influences the final result the most is "firing." This is the moment where you layer your cut glass pieces, place them into a kiln or specialized oven, and apply high heat to melt and fuse them together—truly breathing life into your creation.
However, many beginners face questions and worries like: "At what temperature should I fire?" "Will the glass just fuse cleanly if I heat it up?" or "Is it true that glass will shatter if cooled incorrectly?"
In this article, I will explain the fundamental mechanism of firing in glass fusing, the different temperature ranges that control your finish, and the essential knowledge needed to prevent failures!
The word "fuse" in glass fusing literally means to melt or blend together. Just as the name implies, firing is the process of layering multiple glass pieces, placing them in a kiln, and heating them at high temperatures to integrate them into a single piece.
Unlike clay or pottery, where you shape the material directly with your hands, glass fusing relies on the physical properties of glass—becoming soft under heat and flowing into a unified form at higher temperatures—to achieve its shape.
Glass does not suddenly turn into a liquid at a specific temperature like metal does. Instead, as the temperature rises, glass gradually softens, passes through a sticky, pliable state (softening state), and eventually becomes a liquid-like state that spreads flat.
During firing, you intentionally control this temperature progression. Depending on whether you want to preserve sharp edges while bonding only the surface or fully melt the pieces into a flat glass sheet, you precisely adjust the heating temperature and hold time.
Firing glass requires equipment that can stably produce heat between 700°C and 850°C (approx. 1290°F–1560°F). Crafters generally use small, programmable tabletop electric glass kilns or microwave kilns, which allow you to fuse glass easily using a standard microwave.
Additionally, when glass melts at high temperatures, it will stick permanently to kiln shelves or molds if it comes into direct contact with them. To prevent this, a separator or mold release (such as ceramic paper, kiln paper, or liquid kiln wash) must always be applied to the shelf surface before firing.
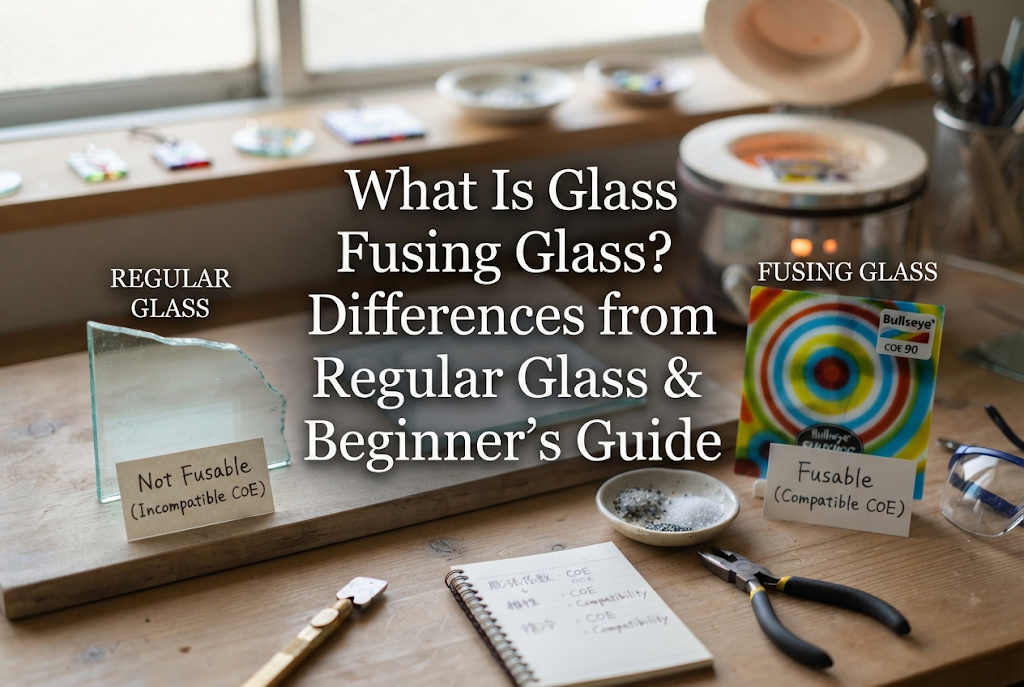
When discussing glass fusing firing, one term you cannot skip is COE, which stands for Coefficient of Expansion (thermal expansion coefficient). If you do not understand this concept, your piece may shatter into tiny pieces after cooling, no matter how skilled your firing technique was.
All materials expand when heated and contract when cooled. Glass is no exception, but the rate of expansion and contraction varies greatly depending on the brand and chemical composition of the glass.
If you layer and fire two types of glass with different COEs, they may look nicely joined while hot. However, during the cooling process, one glass will shrink significantly while the other shrinks much less. This causes intense pulling forces (internal strain) along the bond line.
As a result, your piece may suddenly crack with a sharp snap immediately after taking it out of the kiln, or even days to months later.
When creating glass fusing projects, always combine glass specifically made for fusing that shares the exact same COE rating from the same manufacturer (for example, COE 90 with COE 90, or COE 96 with COE 96).
Trying experiments like mixing household bottle glass with fusing glass will fail because their expansion coefficients do not match. Using designated, compatible fusing glass is an absolute requirement for safe and beautiful results.
In glass fusing, the peak temperature you target will dramatically change the appearance of your work. Firing styles are generally divided into three main temperature ranges depending on your desired design.
[Target Temperature: Approx. 700°C–740°C / 1290°F–1364°F]
Tack fusing (sometimes called contour fusing) is a lower-temperature firing method that fuses only the contact surfaces of glass pieces while preserving their sharp edges and three-dimensional texture.
When you fire small cut glass cabochons (nuggets) or glass stringers onto a base glass sheet, the components fuse with a raised, dimensional look. This range is ideal for jewelry components or pieces where you want to enjoy a textured surface.
[Target Temperature: Approx. 780°C–820°C / 1436°F–1508°F]
Full fusing is a high-temperature firing process where the glass melts completely. Surface tension rounds off all sharp edges, blending the pieces into a single, smooth, flat sheet of glass.
The boundaries between layered glass pieces vanish, creating a beautifully flat panel that looks as if it were manufactured with the pattern built-in from the start. Use this method for coasters, chopstick rests, flat pendant tops, or any piece requiring a smooth, glossy surface.
[Target Temperature: Approx. 650°C–700°C / 1202°F–1290°F]
Slumping is a technique where a flat fused glass sheet (previously made via full fusing) is placed over a heat-resistant mold (ceramic or metal). Under gentle heat, gravity causes the glass to bend and sag into the mold's shape.
Since strong melting between pieces is not required, the glass is heated slowly to a lower temperature where it softens and bends under its own weight. This step is essential for creating 3D tableware like small dishes, bowls, and trays.
Firing glass fusing projects is not as simple as heating the kiln up and letting it cool down. A digital programmable kiln manages temperature changes through four distinct stages.
From room temperature up to the point where glass begins to soften (around 500°C / 932°F), raise the temperature slowly and carefully.
Applying rapid heat to cold glass causes uneven expansion between the outer surface and inner core, leading to thermal shock that can instantly shatter the glass. Thicker or larger pieces require a slower ramp rate.
Once your kiln reaches the target firing temperature, hold (soak) that temperature for a specified time.
Holding the peak temperature allows heat to spread evenly throughout the entire piece, resulting in a clean, consistent melt. The soak duration ranges from a few minutes to several dozen minutes, depending on the size and desired finish of the piece.
It is no exaggeration to say that annealing is the single most critical stage in the firing schedule.
If hot glass is cooled too quickly, the exterior solidifies while the interior is still trying to contract, trapping intense pulling forces (residual strain) inside. Glass with trapped strain will easily break or shatter when exposed to minor bumps or temperature fluctuations.
To prevent this, the glass is cooled quickly down to its annealing temperature zone (typically around 480°C–520°C / 896°F–968°F), soaked at that temperature for a sufficient time, and then cooled down extremely slowly. This stress-relief stage relaxes molecular tension and establishes a durable glass structure.
Even after passing the annealing stage, do not rush the remaining cooling process. Opening the kiln door too early introduces cold air rapidly, causing thermal shock that can crack your finished pieces.
As a rule, keep the kiln door closed and allow it to cool naturally until the temperature drops completely to room temperature (at least below 100°C / 212°F, ideally cool enough to touch with bare hands).
Here are some common firing failures beginners encounter, along with practical ways to prevent or fix them.
[Cause] The peak temperature was too high, or the hold time at peak temperature was too long.
As glass absorbs heat, it continues to flow and spread into a rounded, flat shape. If carefully cut geometric shapes or fine glass lines melt out of shape, the glass was over-heated.
[Solution] Lower your peak temperature by 10°C to 20°C, or shorten the soak time at peak temperature. Kiln models and individual units vary slightly in actual internal heat, so learning your specific kiln's heat tendencies is key.
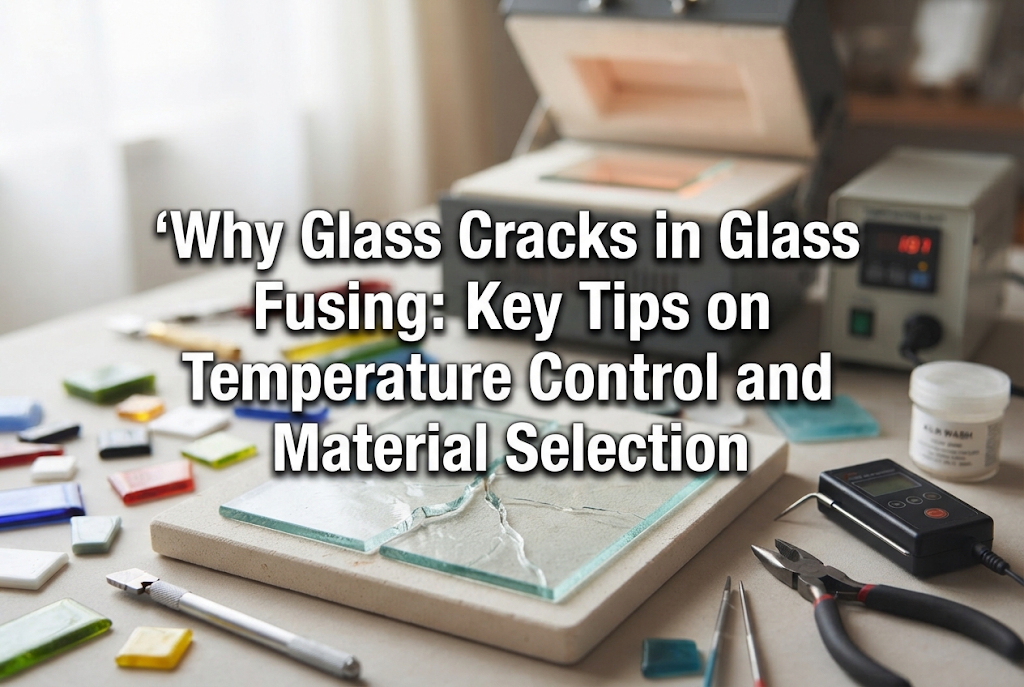
[Cause] Mixing glass with different COEs, or insufficient annealing time.
If a piece is cracked when you open the kiln or fractures shortly after removal, 90% of the time the cause is mismatched COE or inadequate annealing.
[Solution] Double-check the manufacturer and COE rating of all glass used in the project. Remember that thicker pieces require longer annealing times. Extend the soak time in the annealing zone (around 500°C) and reduce the cooling rate following the hold.
[Cause] Uneven application of separator, damaged kiln paper, or extreme over-firing.
When glass fuses directly to a kiln shelf, it ruins the artwork and damages expensive kiln furniture.
[Solution] If using kiln paper, ensure it extends comfortably past the edges of your glass and check for tears or wrinkles. If applying liquid kiln wash, paint multiple thin, cross-hatched coats and ensure it is completely dry before firing.
Glass fusing involves working with extreme heat between 700°C and 800°C. To ensure a safe and enjoyable crafting process, strictly follow these safety precautions:
Electric kilns and microwave kilns come with detailed operating instructions, rated voltage guidelines, and continuous usage limits specific to each manufacturer and model.
Relying on guesswork or unverified shortcuts can lead to equipment failure, fires, or severe burns. Always read your equipment manuals carefully and follow all recommended operating and safety guidelines.
Here are a few personal tips I use in my own workshop to reliably achieve my intended designs!
Factors like room temperature, local voltage stability, and how densely the kiln is loaded can cause subtle variations in firing results, even under the same program settings.
Because of this, I record the details of every firing in a logbook or smartphone app: glass types (manufacturer and COE), piece dimensions and thickness, ramp rates, peak temperature, soak times, annealing schedule, and a photo of the finished result.
As you build this data, you'll create custom recipes like: "For a piece of this thickness with nice rounded edges, 735°C with a 3-minute hold works best." Keeping data instead of relying on memory is the fastest route to improving your craft!
Before firing a large main project, always run a test piece using leftover scrap glass.
Testing small pieces helps you check color compatibility and verify whether your target temperature achieves the desired level of melt, drastically reducing costly mistakes with your primary glass supplies.
In glass fusing, firing is the most exciting step—a process where heat transforms separate glass pieces into a brand-new, beautiful creation.
By following the basic rules—always matching COEs, selecting the right temperature range, and relieving internal stress with proper annealing—beginners can create high-quality glass art with confidence.
Pay close attention to safety, consult your equipment manual, and dive into the fascinating world of glass fusing!
If you enjoyed this guide, sharing it with your crafting friends on social media or messaging apps would mean the world to me and keep me inspired!
That's all for now, see you in the next article! This was Yassy from Crafters!


For example, if you are looking for articles about mizuhiki, try searching for "mizuhiki"; if you are interested in tools, try keywords like "nippers" or "pliers."
