DIY Bath Bombs: The Ultimate Beginner’s Guide to Designs, Costs, and Crafting Secrets by Yassy
yassy
Crafters!
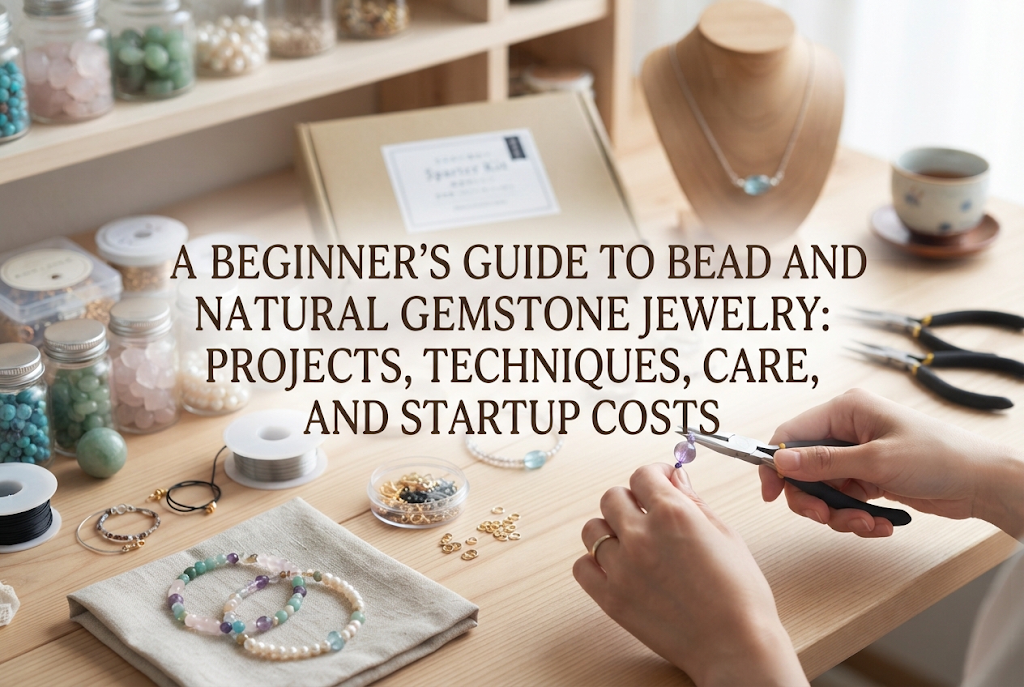

Hello, everyone! This is Yassy from Crafters! (・∀・)
Whether I'm making handmade items, browsing charming creations in shops or online, or shopping for my own collection, I simply love crafts. In particular, beads that catch the light and natural gemstones—each displaying its own unique texture and coloration—never fail to spark my excitement.
Many people find themselves thinking, "I'd love to make lovely accessories with beads and gemstones!" At the same time, it's completely natural to wonder: "Are natural stones difficult to handle?" "What tools do I need?" or "Can I pull this off if I'm not naturally dexterous?"
In this guide, I will walk you through the fundamentals of bead and gemstone jewelry crafting, including the types of pieces you can make, essential material care, skill levels, necessary workspace, and realistic startup costs. By the end of this article, you will have all the information you need to take that very first step with confidence.
Bead and natural gemstone jewelry refers to accessories crafted by combining glass beads, acrylic beads, or Czech glass beads with natural minerals, gemstones, and freshwater pearls formed by the earth over countless years. These components are assembled using needles, wire, nylon monofilament cord (tegusu), and metal findings.
The greatest charm of this craft lies in the boundless design possibilities that come from mixing and matching materials. Even with the exact same core design, swapping in a different gemstone variety or bead color completely alters the final piece's mood.
Furthermore, natural stones carry traditional meanings and birthstone associations. Choosing your materials based on personal intentions or birthstones adds a uniquely personal layer of enjoyment that sets this craft apart from many others.
Speaking for myself, I can spend hours just gazing at the sparkling stones and beads inside a craft supply shop. This craft truly offers a complete package: the joy of looking, the thrill of choosing, and the satisfaction of shaping those pieces with your own hands.
With beads and natural gemstones, you can create pieces suitable for everything from casual daily wear to formal occasions. Here are representative projects that even complete beginners can tackle with ease.
Earrings are the most popular starting point for beginners. They require very few parts and can be finished in a short amount of time.
You can create a wide spectrum of looks, from a minimalist drop earring featuring a single stone linked to a metal finding, to a lavish cluster design dripping with multiple beads. Making a pair also serves as great practice for creating balanced, symmetrical designs.
Bracelets are another staple that instantly brightens up your wrists. An elastic cord bracelet made simply by stringing gemstones onto stretchy polyurethane cord requires no metal findings at all, meaning total beginners can finish one in just a few minutes.
Alternatively, stringing beads onto jewelry wire or metal chain and finishing the ends with clasps—such as toggle clasps or lobster clasps—results in a polished, professional piece of jewelry indistinguishable from ready-to-wear items.
Necklaces allow you to fully explore the depth of beadwork. Options range from a delicate pendant drop on a chain to an eye-catching statement necklace displaying beads along the entire neckline.
Another clear advantage of handcrafting is total control over length. You can measure and customize the necklace so it sits perfectly against your favorite tops and necklines.
Delicate beaded rings made by weaving tiny seed beads and small gemstone chips with beading thread or fine wire are exceptionally popular. They add a subtle accent to your fingers and can be assembled using leftover beads and spare stones, meaning virtually no wasted materials.
Beyond personal jewelry, you can also craft practical everyday goods. Eyeglass chains, phone straps, and keychains make thoughtful, functional gifts that friends and family truly appreciate.
Beginners often worry that gemstones are fragile or tricky to maintain, but with basic knowledge, handling them is straightforward. Here are three critical points that newcomers often overlook, along with simple preventive measures.
Different gemstones have vastly different levels of mineral hardness (Mohs scale). While quartz and diamonds are quite hard, minerals like fluorite and rhodochrosite are comparatively soft and vulnerable to impact.
Moreover, natural stones typically contain internal inclusions and natural fissures (cracks). These inclusions give each stone its unique character, but impact along those fracture lines can cause a stone to crack. As a strict rule, avoid gripping stones too tightly with your metal pliers during assembly.
Not every gemstone can be washed with water. For instance, lapis lazuli, turquoise, rhodochrosite, and malachite are sensitive to water, perspiration, and acidic substances. When wearing jewelry made with these stones, gently wipe away sweat and oils with a soft, dry cloth after taking them off.
Additionally, stones like amethyst and rose quartz can gradually fade when exposed to prolonged, direct sunlight. Always store them away from sunny windows in a dark, shaded spot.
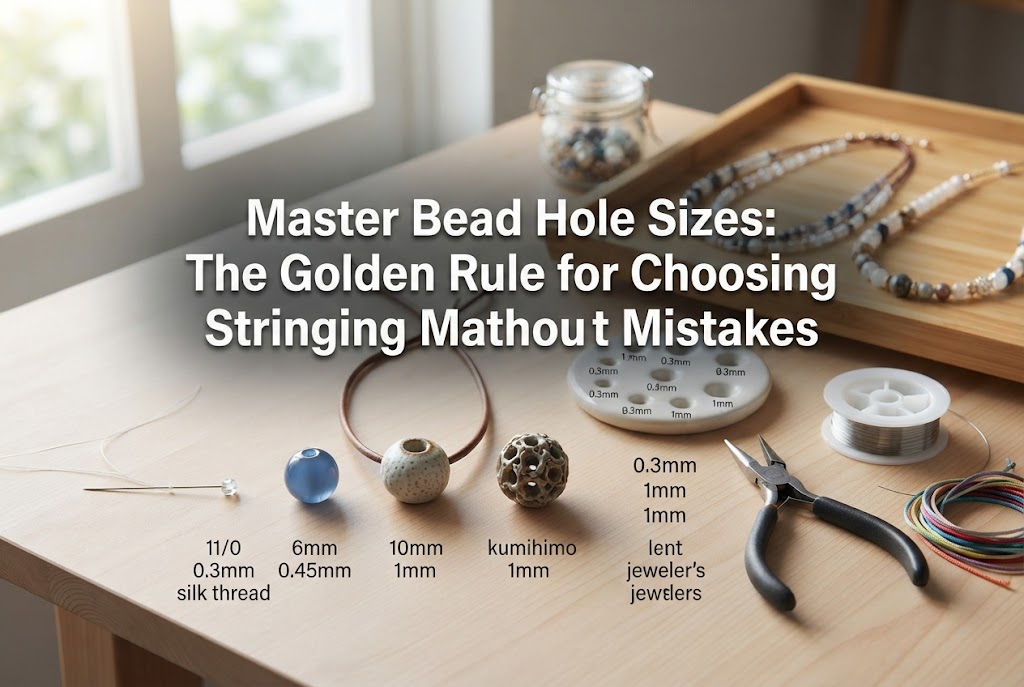
The most common beginner mishap is buying wire or pins that physically do not fit through the bead's hole. Because gemstones are drilled from natural rock, their hole diameters are often quite narrow—frequently between 0.5 mm and 0.8 mm.
Always verify the hole diameter before purchasing. Ensure the headpins, eye pins, or cord you intend to use have a gauge (wire diameter) thinner than the hole. Keeping pins with a wire diameter of 0.5 mm to 0.6 mm on hand will cover the vast majority of natural gemstone beads.
Bead and gemstone jewelry crafts break down cleanly into progressive technique levels. Starting at the right level ensures a smooth experience without unnecessary frustration.
This entry-level method involves stringing beads or stones onto elastic polyurethane cord or silicone stretch cord, then knotting the ends securely. Because it requires no metal findings or hand tools, anyone can finish a piece in minutes. It is the ideal starting point for anyone with zero prior crafting tools.
Here, you thread a bead onto a headpin or eye pin, bend the exposed pin tip into a circular loop using round-nose pliers, and connect it to other components via jump rings. This is the cornerstone technique of jewelry making; once you master it, you can create roughly 80% of standard earring designs. Getting a perfectly round loop takes a little practice, but once you find the rhythm, your loops will become clean and consistent.
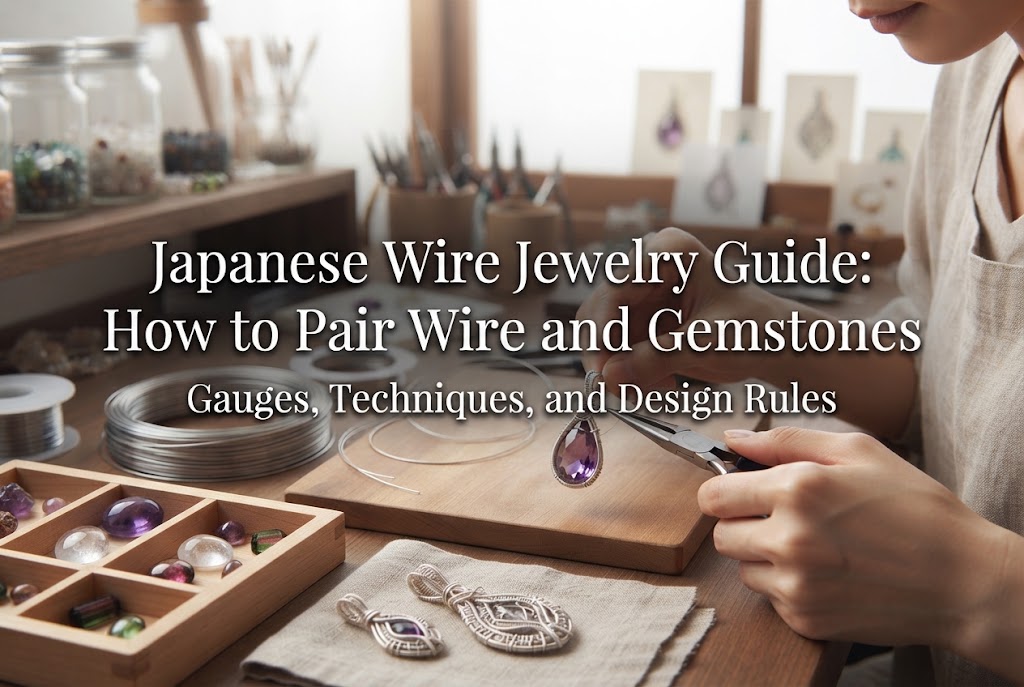
Using fine artistic craft wire, this technique secures stones with wrapped coils or reinforces loops with wire wraps (often referred to as megane-dome or wire-wrapped loops). This technique is essential for stones with tiny drill holes or top-drilled teardrop/briolette gems. It gives your jewelry a professional, high-end look and significantly increases structural durability.
Using specialized beading needles and thread, this technique weaves seed beads and stones one by one into intricate patterns or three-dimensional shapes. While it requires patience and the ability to follow detailed bead diagrams, it allows you to construct exquisite, museum-worthy wearable art.
People often hesitate to start a new craft because they worry about dedicating an entire room or table to it. Fortunately, bead and gemstone jewelry requires very little room.
You can begin as long as you have enough room to set down an A4-sized tray (roughly the size of standard letter paper). Because this craft does not use bulky machinery or large tools, a corner of your dining table or a compact folding desk provides all the room you need.
When you finish crafting for the day, you can tuck the entire tray into a shelf or closet, keeping your living space completely tidy. It is an ideal craft for apartment dwellers or anyone without a dedicated studio.
Cost is always a vital factor when evaluating a new hobby. Here is an overview of what you can expect to spend in Japan's crafting environment.
The three basic hand tools you will need are:
A beginner tool set containing all three pliers generally costs around ¥2,000 to ¥3,000 through online craft suppliers. While tools are sometimes sold at 100-yen discount shops, dedicated craft brands offer far better alignment, precision, and hand comfort. Investing in a proper ¥2,000 to ¥3,000 tool kit from a recognized craft manufacturer is the most practical choice for long-term enjoyment.
Material costs vary depending on the grade of beads and stones you choose:
A sensible path is to begin with affordable glass beads or accessible stones, then upgrade to premium gemstones and hypoallergenic metal findings as your skills improve.
In total, an initial budget of approximately ¥5,000 to ¥8,000 covers both your essential tools and your first batches of materials, making this an accessible, low-barrier hobby compared to many other crafts.
If I had to start over today with zero jewelry-making knowledge, here is the exact 3-step roadmap I would follow to avoid roadblocks and build confidence quickly:
Begin by ordering one or two jewelry kits containing all the necessary beads, findings, and step-by-step instructions. Sourcing loose supplies from scratch often leads beginners to buy mismatched wire gauges or forget essential findings. Following an illustrated kit recipe helps your hands memorize the core mechanics of opening jump rings and shaping wire loops correctly.
Once you are comfortable with basic pliers handling, buy a small pack of your favorite natural stone beads, a pair of earring hooks, and some headpins. Thread one stone onto each headpin, turn a loop at the top, and attach it to the earring hook. Making this clean single-stone design eliminates complexity while letting you experience the pure excitement of wearing genuine gemstone jewelry you made yourself.
After finishing simple single-drop earrings, start combining gemstones with glass accents or arranging subtle color gradations. Once you reach this stage, the creative fun multiplies exponentially!
Bead and gemstone jewelry is a rewarding creative medium that requires minimal space and a modest initial investment, all while yielding refined, boutique-quality pieces you can proudly wear.
There is no need to worry that gemstone handling or wire bending is overly technical. With the right tools and a clear step-by-step approach, anyone can craft beautiful, durable accessories.
Nothing matches the feeling of selecting your own one-of-a-kind natural stones and turning them into wearable treasures. Take that first step and explore the dazzling world of beads and gemstones!
If you enjoyed this guide, please share it with your craft-loving friends! See you in the next post—this was Yassy from Crafters!

For example, if you are looking for articles about mizuhiki, try searching for "mizuhiki"; if you are interested in tools, try keywords like "nippers" or "pliers."
