Essential Wirework Techniques: How to Bend Wire Smoothly Without Distortions or Tool Marks
yassy
Crafters!

Hello everyone, Yassy from Crafters here! (・∀・)
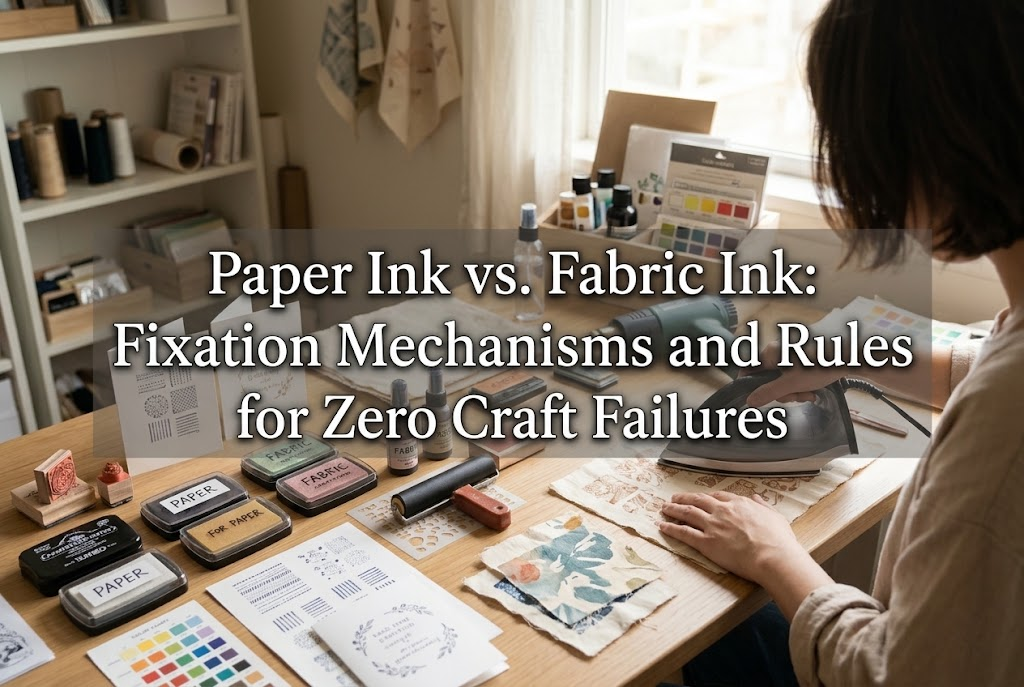
When enjoying stamping and coloring in handmade projects, almost everyone stumbles upon the same dilemma: choosing the right ink. On shop shelves, you will see a wide variety of ink pads labeled "For Paper," "For Fabric," or "Multi-Surface." Even if the pads look identical on the outside, their ingredients and fixation mechanisms are completely different.
Many crafters wonder, "Can I use paper ink on fabric?" or "What happens if I use fabric ink on paper?" To put it plainly: please refrain from interchanging them randomly. Using an ink that does not match your material can lead to heartbreak—your design might wash away in the laundry, or remain wet forever on paper, ruining your carefully crafted piece.
As a maker who regularly works with both paper crafts and textiles, I test and use a wide range of inks. In this guide, I will thoroughly explain the fundamental differences between paper and fabric inks, along with absolute rules for material selection so you never fail. Read through to the end, and you will never hesitate in front of the ink aisle again!
Underestimating ink selection can cause fatal damage to the quality and durability of your handmade items. While both paper and fabric are composed of fibers—whether natural or synthetic—their physical structure and how the finished items are used differ fundamentally.
Paper is usually smooth, kept flat, and rarely exposed to water. Fabric, on the other hand, is constantly folded, subjected to friction, and exposed to the harsh environment of laundering. To accommodate these contrasting conditions, manufacturers design completely different ink formulations for paper and fabric.
If you use inks without understanding their properties, you run a high risk of your sold or gifted creations washing out, leading to customer complaints. It also dramatically lowers your work efficiency. To maintain the beauty of your work over time and build trust as a maker, mastering ink selection is an essential step.
The primary difference between paper ink and fabric ink lies in the physical and chemical mechanisms of how they adhere to materials. Once you understand this, the necessity of specialized inks becomes crystal clear.
Most paper inks fixate through capillary action—where the liquid sinks into tiny microscopic gaps in the paper—and through solvent evaporation. Paper surfaces are generally smooth with tightly interwoven fibers. Consequently, paper easily absorbs liquid ink, holding the pigment inside once dried naturally.
Paper inks generally fall into two categories: dye inks and pigment inks.
In both cases, fixation relies primarily on the paper's absorbency and air drying. Without any special heat treatment, paper ink sets naturally over time.
Fabric ink must do more than simply stain a surface. Fabric fibers are thicker, flexible, and subject to frequent washing and rubbing; relying solely on liquid absorption leaves the bond far too weak. Therefore, fabric inks are formulated with a generous amount of resin (binder) to act as an adhesive.
When you stamp fabric ink, the binder penetrates deep into the fibers along with the pigment. When you apply heat (such as with a household iron), the resin melts, solidifies, and forms a tough, protective film. This process is known as heat-setting.
Once heat-treated, the fabric ink integrates with the fibers into a flexible, plastic-like film. This is why it will not peel or wash away, even after rigorous machine washing or stretching.
To answer the burning question—"What actually happens if I use the wrong ink?"—here are the results of swapping paper and fabric inks. In short, both swaps carry major drawbacks and are strongly discouraged.
When you stamp paper ink onto fabric, it may look crisp initially. However, over time or after laundering, fatal issues will occur:
Reversing the process might seem like a safe shortcut, but using fabric ink on paper creates distinct problems in paper crafting:
An ink's performance is determined by its balance of ingredients: colorants (pigments/dyes), liquid vehicles (solvents), and setting agents (resins). Here is a closer look at each formula.
Paper inks come in three main varieties based on craft requirements:
Most commercial fabric stamp pads combine water-based pigments with heat-curable acrylic resin binders.
Because the base is water-soluble, you can wash it off your hands or clean stamps with water before it dries. However, once exposed to heat between 130°C and 160°C (approx. 260°F–320°F), the acrylic resin undergoes a chemical cross-linking reaction, transforming into a durable, waterproof film resistant to detergent.
Fabric ink remains soft after curing so it does not stiffen the textile. It stretches with the garment, preventing cracking or flaking over time.
Craft stores frequently sell multi-surface ink pads advertised for paper, fabric, wood, plastic, metal, and leather. While convenient, beginners should keep a few trade-offs in mind.
The main advantage of a multi-surface ink pad is versatility and cost-efficiency. It is handy for craft workshops or quick, small-scale projects across various mediums.
However, multi-surface inks rarely perform at 100% efficiency on every single material. Compared to specialized paper inks, they may lack sharpness and take longer to dry. Compared to specialized fabric inks, they are less resistant to repeated laundering and can leave a slightly stiffer texture.
When stamping textiles with multi-surface ink, heat-setting with an iron is still mandatory. If you are creating fabric items professionally for sale, using a dedicated fabric ink yields superior durability and texture every time.
To unlock the full potential of fabric and multi-surface inks, you must follow the correct heat-setting protocol. Improper heat application results in poor fixation.
Refer to this quick guide to choose the right ink for your specific crafting project:
Always choose paper-specific inks. For planners and thin papers where bleed-through must be avoided, water-based pigment ink is ideal. It renders delicate lines sharply.
If you plan to perform heat embossing (applying embossing powder and melting it), use a slow-drying embossing ink or slow-drying pigment ink. Fast-drying paper inks dry before the powder can stick.
When stamping on cotton, linen, or synthetic fabrics, use a water-based pigment fabric ink. Fabric ink pads are designed with firmer sponges loaded with extra ink to fill uneven textile surfaces. Instead of pressing the stamp hard into the pad, pick up the ink pad and gently tap it evenly across the stamp surface.
For dark fabrics like black or navy, standard fabric inks may appear translucent. Use an opaque fabric ink specially formulated for dark textiles.
Handmade projects often incorporate unpainted wood or genuine leather.
Unpainted wood is highly absorbent. Water-based dye inks will bleed excessively into the grain. Use fabric ink or a quick-drying solvent/oil-based ink (such as StazOn). Heat-treating stamped wood with a hot air craft tool sets the resin beautifully into the grain.
For genuine leather, choose an oil-based pigment ink for leather/multi-surface. Water-based inks will be repelled by natural oils in the leather and will never dry.
Proper maintenance prolongs the life of your ink pads and protects your stamps from damage.
Ink pads are sensitive consumables. Leaving them uncapped can evaporate the solvent within days. Store your pads away from direct sunlight and air conditioning drafts. Close lids immediately after use, especially with fast-drying solvent inks.
Because fabric inks are viscous, the pad surface may dry slightly over extended storage. Applying a few drops of dedicated ink refresher (inker) will restore original color payoff and performance.
Cleaning techniques vary by ink type:
Understanding the distinction between paper and fabric inks transforms the quality and longevity of your handmade work. Let's review the key takeaways:
Choosing the correct ink designed for your material is the absolute key to professional results. Ditch the guesswork, match your ink to your medium, and enjoy crafting with confidence!
If you found this guide helpful, please feel free to share it with your craft friends on social media. Happy crafting, and see you in the next article! This was Yassy from Crafters!




For example, if you are looking for articles about mizuhiki, try searching for "mizuhiki"; if you are interested in tools, try keywords like "nippers" or "pliers."
