How to Choose and Use Japanese Craft Saws: Mini Saws, Fretsaws, and Fine-Cut Saws for Handcrafted Projects
yassy
Crafters!

Hello, this is Yassy from Crafters! (・∀・)
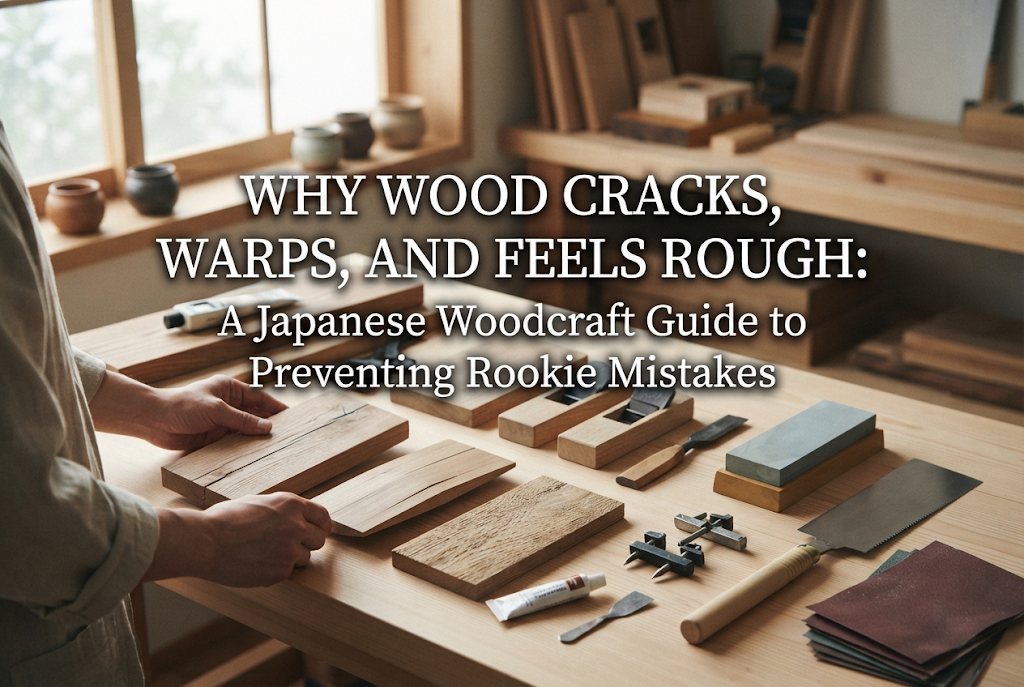
Have you ever spent hours carefully measuring, cutting, and assembling a piece of wood for a DIY project, only to find later that it has cracked right down the middle, bowed like an archery bow, or developed a scratchy, rough surface no matter how much you sand it?
Unlike industrial materials such as plastic or metal, wood is a "living material." Even after being cut down and crafted into furniture or small household accessories, it continuously breathes, absorbing and releasing moisture from the surrounding air. If you do not understand the natural properties and structural behavior of timber, issues like cracking, warping, and grain roughness are virtually inevitable—no matter how meticulously you work.
In this guide, I will thoroughly explain the root causes and scientific mechanisms behind why wood cracks, warps, and turns rough. Once you understand these principles, you can dramatically reduce these frustrating mishaps simply by adjusting your wood selection, preparation steps, and finishing techniques. Let us dive in so you can keep your wooden creations beautiful and durable for years to come!
Seeing a sudden hairline crack or a severe split running in from the edge of a finished board is one of the most heartbreaking experiences for beginner woodcrafters. Cracking is primarily driven by internal moisture movement and the uneven way wood shrinks as it dries.
Freshly cut green timber holds an enormous amount of moisture—often equal to or exceeding the dry weight of the wood itself. As timber dries, it first loses "free water" from inside its cell cavities, which causes little change in volume. However, once moisture drops below the Fiber Saturation Point (around 30% moisture content), the "bound water" within the cell walls begins to evaporate, and the wood starts to shrink in volume.
The critical issue is the difference in drying speed between the surface and the core. The outer face, exposed directly to air, loses moisture quickly and attempts to shrink rapidly. Meanwhile, the interior core remains wet and maintains its original volume.
This creates immense tensile stress: the shrinking outer skin pulls tight against the unyielding interior. When the wood fibers reach their mechanical limit, the surface tears open, resulting in drying checks and splits. Exposing lumber to heated rooms in winter, direct airflow from air conditioners, or direct sunlight accelerates surface evaporation and frequently causes severe splits.
Wood does not shrink uniformly in all directions. It behaves along three distinct axes, each with vastly different shrinkage rates:
Shrinkage along the growth rings can be several hundred times greater than shrinkage along the board's length. Because growth rings curve through any single piece of lumber, different sections shrink at conflicting rates, creating internal tension and distortion. When this internal stress exceeds the wood's structural strength, a crack opens up.
Cracks can also stem from improper structural design. If you fasten solid wood parts rigidly with screws or heavy-duty glue without allowing room for natural movement, trouble follows.
For instance, if you secure a wide, solid wood tabletop tightly to a rigid base frame with standard screw holes, the wood cannot shift as seasons change. When humidity drops and the board attempts to shrink, the rigid screws hold the edges in place, forcing the center of the board to pull apart and split wide open.
A classic mistake beginners make is purchasing lumber from a home center or online and immediately cutting and assembling it on the same day. Another frequent mistake is using a hot hairdryer to speed up paint or glue drying. Subjecting damp wood to rapid heat and airflow causes localized shrinkage and instant splitting.
Whenever I buy wood, I make sure to choose properly dried stock (kiln-dried timber with a moisture content managed under 15%). Furthermore, I never cut it right away. I let the boards rest in my workshop for several days to a full week. In Japan, this acclimatization period is known as yōjō (養生). Allowing the wood's moisture content to balance with the ambient temperature and humidity of the workroom before cutting drastically reduces unexpected cracking after assembly.
You lay a board on a flat workbench, only to notice that the corners lift or the entire board rocks like a cradle. Warping (cupping, bowing, and twisting) prevents joints from closing and turns square boxes into skewed trapezoids. Here is why it happens.
In Japanese woodworking, we pay close attention to the orientation of the board relative to the log. The surface facing the outside of the tree (toward the bark) is called ki-omote (木表), while the surface facing the center (near the pith) is called ki-ura (木裏). When looking at the end grain of a board, the curve of the growth rings looks different on each face.
As explained earlier, wood shrinks most along its annual rings (tangentially). Because the ki-omote (bark side) contains a greater proportion of tangential fiber alignment, it shrinks more than the ki-ura (pith side). Consequently, the bark side pulls tighter, causing the board to cup into a concave curve on the ki-omote side.
This is a fundamental rule for flat-sawn lumber (known in Japan as itame-zai / 板目材): as it dries, flat-sawn wood almost always cups toward the bark side (ki-omote). If you do not account for this natural tendency, your joinery will develop unsightly gaps over time.
When one face of a board dries or absorbs moisture faster than the other, warping occurs almost immediately. Common scenarios include:
Finishing only one side is an especially common trap. The coated side is sealed against humidity, but the raw back continues to breathe in and out. This moisture imbalance causes the unfinished side to swell or shrink independently, pulling the board into a dramatic bow toward the coated side.
Most inexpensive boards available at hardware stores are flat-sawn (itame-zai). While flat-sawn boards show prominent, beautiful flame-like cathedral grain patterns, their curved growth rings make them prone to cupping.
In contrast, quarter-sawn lumber (known in Japan as masame-zai / 柾目材) is cut radially from the log, so the annual rings run nearly perpendicular to the board's surface, appearing as straight, uniform vertical lines. Because there is virtually no shrinkage disparity between the top and bottom faces, quarter-sawn wood exhibits exceptional stability and resists cupping remarkably well.
Beginners often assume: "This board was laser-straight at the store, so it will never bend," or "Kiln-dried lumber never moves again." In truth, wood responds dynamically to humidity shifts for its entire lifespan.
To prevent warping, I follow three strict rules:
You cut and sand your timber, but when you run your hand across it, it feels prickly, dry, or rough. Or worse: it felt silky smooth before finishing, but the moment you applied paint or varnish, it suddenly turned sandpaper-rough! There are clear structural and procedural reasons behind this.
The number one cause of persistent surface roughness is improper sanding grit progression. Sandpaper is labeled with grit numbers: lower numbers are coarse, higher numbers are fine.
In a rush to achieve a smooth finish, crafters often jump directly from coarse 80-grit paper to ultra-fine 400-grit or 600-grit paper. This is known as "grit skipping." Fine papers only smooth out minute imperfections; they lack the cutting power to erase the deep scratches and torn fibers left behind by 80-grit paper. The deep gouges remain beneath the surface, leaving a scratchy texture.
Wood fibers run in a specific direction. Working along the natural flow of these fibers is called cutting "with the grain" (junmoku / 順目), while working against the grain is called cutting "against the grain" (sakame / 逆目).
If you cut or sand in the sakame direction—similar to rubbing a cat's fur backward—the cutting edge catches and tears the wood fibers out from their roots rather than slicing them cleanly. This produces micro-tears along the surface, making it impossible to achieve a smooth finish no matter how long you sand.
You sand a board to perfection, marvel at how smooth it feels, and then apply a water-based stain, clear coat, or oil. Suddenly, the surface turns fuzzy and prickly. This natural occurrence is called grain raising.
During sanding, wood fibers are crushed and bent flat, while fine wood dust fills the micro-pores. When a liquid finish (especially water-based coatings) penetrates the grain, these compressed, dry wood fibers absorb the liquid, swell up rapidly, and stand straight up like tiny bristles. The finish then cures around these upright fibers, locking in a rough, prickly texture.
Two frequent mistakes are stopping after a single pass of sanding, and failing to thoroughly clean off sanding dust before applying a finish. If dust remains, it mixes with your clear coat into gummy lumps that cure into rough bumps.
To guarantee a mirror-smooth finish, I use a traditional surface preparation technique called mizuhiki (水引き—water popping / intentional grain raising). After finishing your preliminary sanding, take a damp rag (wrung out tightly) and lightly wipe the entire wooden surface with water. This intentionally raises the dormant wood fibers.
Once the surface dries completely, gently shave off those raised whiskers using a fine sandpaper (around 320 to 400 grit), stroking lightly along the grain. Because you have already coaxed out and clipped the stubborn fibers, applying your final stain or topcoat will no longer cause the grain to pop up. The resulting finish is astoundingly smooth and lustrous.
Here is a quick summary checklist to keep in mind throughout your next woodworking project:
Wood cracking, cupping, and roughness may seem random and frustrating at first, but each issue is governed by consistent physical principles. By understanding how wood moves with moisture, how shrinkage varies across annual rings, and how to prepare surfaces with proper grit progression and mizuhiki, you can prevent these mishaps with confidence.
Wood is a generous material: the care and consideration you invest into respecting its natural traits will always show in the final piece, gaining warmth and character as time goes on. Use these foundational techniques to craft pieces that feel wonderful in the hand and stay beautiful for decades.
If you found this guide helpful, please share it with your fellow DIYers and craft friends on social media! It truly keeps me motivated.
Until next time, happy crafting! This was Yassy from Crafters!







For example, if you are looking for articles about mizuhiki, try searching for "mizuhiki"; if you are interested in tools, try keywords like "nippers" or "pliers."
