Japanese Craft Guide: What Is Beeswax Polish? Features, Application for Wood & Leather, and Foolproof Maintenance
yassy
Crafters!
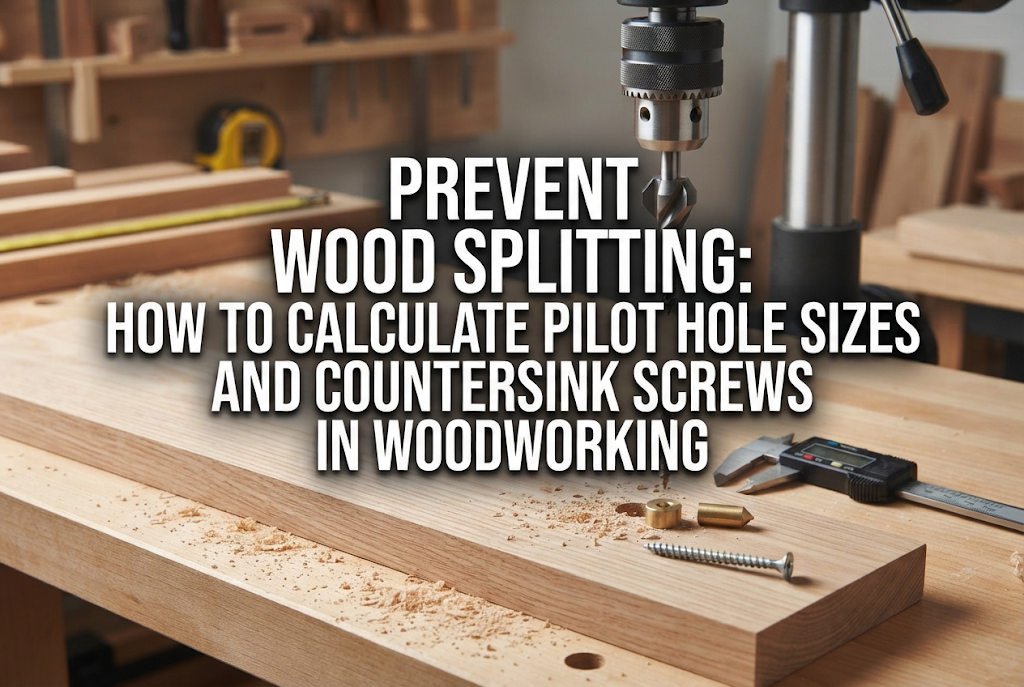

Hello, this is Yassy from Crafters! Have you ever experienced that heartbreaking "crack!" right at the final stage of assembling a woodworking project, just as you drove in a screw? Spending hours precisely cutting and fitting your pieces only to watch the wood split in a split second can be truly devastating.
To prevent splitting while ensuring both joint strength and a clean appearance, two preparation steps are absolutely essential: drilling an accurate pilot hole and countersinking (or counterboring) the screw head.
Beginners often ask questions like: "How do I choose the right drill bit size?", "Can I just drill a hole the same thickness as the screw?", or "Why is countersinking even necessary?" In this guide, I will break down the exact formulas to calculate pilot hole sizes for different wood types, explain how to choose the right drill bit, and walk through professional countersinking techniques.
Before calculating drill sizes, it helps to understand why wood splits when screws are driven in without preparation.
Natural timber consists of bundles of elongated plant cells (wood fibers) aligned along the grain. When you drive a metal screw into these fibers without a pre-drilled path, the solid mass of the screw forces the surrounding grain outward.
This creates a severe wedging effect. Much like an axe splitting firewood, driving a screw exerts intense lateral force that pries wood fibers apart along their weakest seams. When the internal tension exceeds the strength of the wood, it splits wide open.
Forcing a screw into solid wood without a pilot hole invites several frustrating failures beyond just visible cracks:
Skipping pilot holes not only ruins the visual finish of your piece, but it also severely compromises the structural integrity of the entire build.
A pilot hole must balance two tasks: relieve enough core pressure to stop splitting, while leaving enough solid wood for the screw threads to bite securely.
Understanding screw anatomy is key to sizing your drill bit:
The goal of a pilot hole is to clear room specifically for the screw's solid central core, while allowing the sharp outer threads to anchor deeply into the surrounding wood. As a general baseline, your drill bit diameter should match the screw's minor diameter, which typically works out to 70% to 80% of the major diameter.
Softwoods such as SPF (spruce/pine/fir), Japanese cedar (sugi), Japanese cypress (hinoki), and standard pine have relatively low density and flexible wood fibers.
Use this baseline formula for softwoods:
Pilot Hole Diameter = Screw Major Diameter × 0.70 to 0.75
Example: For a standard coarse-thread screw with a 3.8 mm major diameter:3.8 mm × 0.70 = 2.66 mm. In practice, select a 2.5 mm or 3.0 mm drill bit.
Because softwood fibers compress easily, a slightly snugger pilot hole allows the threads to bite aggressively, yielding excellent holding power.
Dense hardwoods such as oak, walnut, ash, and maple—along with manufactured boards like MDF and birch/shina plywood—lack the natural compliance of softwood. Forcing a screw into dense grain without adequate relief will snap the screw or split the wood almost instantly.
Use this formula for dense materials:
Pilot Hole Diameter = Screw Major Diameter × 0.80 to 0.90 (or equal to the minor core diameter)
Example: Driving a 3.8 mm major diameter screw into hardwood:3.8 mm × 0.85 = 3.23 mm. Choose a 3.2 mm or 3.5 mm drill bit.
With hardwoods, the hole must clear nearly the full diameter of the screw's central core.
Drill bit diameter is only half the battle; depth matters just as much. If your hole is too shallow, the screw tip will hit solid wood at the bottom and trigger a split anyway.
Set your drill depth to equal the screw length, or extend 2 mm to 3 mm deeper than the screw.
When joining two boards face-to-face, adopt the professional standard: drill a clearance hole in the outer (top) piece, and a pilot hole in the receiving (bottom) piece. A clearance hole matches the screw's full major diameter so the threads pass through freely without catching. This allows the screw head to draw the two pieces tightly together without holding the joint apart.
Many beginners press a woodcraft awl or traditional Japanese kiri a few millimeters into the wood and assume the pilot hole is finished. An awl merely marks a center punch point; it does not clear material. In fact, pressing a tapered tool deeply into wood wedges fibers apart and can actually initiate a split. Always use a proper drill bit that clears wood chips and flutes debris out of the channel.
Commercially available slim wood screws and anti-split trim screws feature notched cutting tips designed to minimize resistance, and their packaging often claims "no pre-drilling required." However, this only applies when driving into broad, flat areas of soft timber. When working near an edge, in thin stock, in hardwood, or in MDF, even slim screws will split the material without a pilot hole. Never skip pre-drilling near board ends.
Worrying that screws might slip loose, some crafters drill an excessively small hole—like using a 1.5 mm bit for a 3.8 mm screw. Excessive torque builds immediately, stripping the drive or snapping the screw shank inside the wood. Extracting a sheared screw is difficult and messy, so stick to calculated dimensions.
Driving fasteners within 10 mm of an edge leaves very little wood to resist expanding outward. As a rule of thumb, place screws at least 5 times the screw diameter away from any edge (around 20 mm for a 3.8 mm screw). If design constraints force you to screw closer, enlarge the pilot hole by roughly 0.5 mm and tighten the screw carefully with a manual hand driver.
Pairing your pilot holes with countersink preparation will instantly elevate the look and safety of your handmade woodwork.
Most common wood screws feature a flat head with a tapered, conical underside. If driven straight into a flat surface, that wedge-shaped head forces wood fibers apart, crushing or splintering the surface around the rim.
Countersinking involves carving a shallow conical bevel at the mouth of the pilot hole that precisely mirrors the angle of the screw head. This serves two functions:
Switching between a pilot drill bit and a separate countersink bit for every hole is slow and tedious. A combination countersink drill bit (stepped bit) streamlines the entire process.
These specialized bits feature a central pilot drill surrounded by an adjustable countersink cutter. In one straight plunge, your drill creates both the pilot channel and the beveled head recess simultaneously. Keeping a countersink bit matched to your preferred screw size (such as 3.0 mm or 3.5 mm) will save immense time in your workshop.
Depending on your countersink depth, you can choose between two clean finishes:
Here is the exact step-by-step workflow I rely on whenever I assemble woodworking and woodcraft pieces:
Whenever I crack open a new box of fasteners, I never rely solely on nominal packaging numbers. I grab my digital calipers and measure both the core diameter and the major thread diameter directly. Thread pitch and core dimensions vary noticeably between brands, and measuring ensures I select a drill bit that matches the actual fastener.
Never test your fastening setup on your final workpiece. I keep offcuts from the exact same board handy, drill my calculated pilot hole, and drive a test screw. This quick check tells me everything: Does the screw turn smoothly without binding? Does the head sit flush without tearing fibers? Does the joint clamp firmly? Taking two minutes for a scrap test prevents ruined builds.
When drilling pilot holes by hand, it is easy to punch through the back of a board or drill too shallow. I measure from the tip of my drill bit to my target depth (screw length plus 2 mm), and wrap a piece of colored masking tape tightly around the bit shank. The moment the tape edge kisses the wood surface, I stop. Every hole ends up uniform in depth.
When a design requires placing a screw near an edge, I never depend on the fastener alone. Instead, I coat the mating faces with woodworking glue and clamp the joint firmly until the adhesive cures completely. Wood glue creates a bond stronger than the surrounding wood fibers. Once cured, I drill my pilot hole and set the screw. This drastically lowers the chance of end-grain or edge splitting.
Mastering pilot hole sizing and countersinking makes the difference between cracked joints and heirloom-quality woodwork. Keep these key takeaways in mind for your next project:
Taking a few moments to calculate your hole dimensions and prepare the wood properly will reward you with rock-solid, beautiful results every time. Keep practicing these basics, and have fun in the workshop!
If you found this guide helpful, feel free to share it with fellow makers and woodworking friends. Until next time—happy crafting from Yassy!





For example, if you are looking for articles about mizuhiki, try searching for "mizuhiki"; if you are interested in tools, try keywords like "nippers" or "pliers."
