Best Fabrics for Tote Bags: A Beginner’s Guide to Choosing the Right Material
yassy
Crafters!

Hello, crafters! It's Yassy from Crafters! (・∀・)
Heading out with a favorite handmade fabric bag packed full of your daily essentials is one of the greatest joys of DIY sewing. From lesson tote bags and everyday shoppers to reusable grocery bags, cloth totes are accessible and hugely rewarding projects, even for sewing beginners.
However, have you ever experienced the heartbreaking moment when a bag you put so much love into starts unraveling at the base of the handles, or the fabric begins tearing under the weight of what's inside?
The handles carry the highest amount of physical stress of any part of a bag. Simply stitching them on with a single straight line often won't withstand heavy books, drink bottles, or daily gear. But as long as you understand the right prep work and stitching methods, you can make bags on your home sewing machine that are as strong, durable, and long-lasting as store-bought items.
In this guide, I will walk you through the essential foundations for attaching durable bag handles, from pro-level reinforcement stitches to prep techniques that prevent sewing mishaps. Make sure to read all the way through so you can craft bags you'll cherish for years to come!
Before jumping into reinforcement techniques, let's look at why handle attachments tend to fail. Once you understand the root causes, it becomes crystal clear where and how you need to reinforce.
When you pack a bag, its entire weight transfers through a few square centimeters where the handle meets the bag body. When you carry the bag by hand or on your shoulder while walking, the swinging motion adds dynamic shock, multiplying the load far beyond what the bag experiences while resting.
If the handle is secured with just one row of stitching or across too narrow an area, the load-bearing surface is too small, and the fabric fibers or threads will quickly fail.
Woven fabrics consist of intersecting warp and weft threads. When strong pulling forces are applied repeatedly to the handle, those weave intersections pull apart, creating gaps and causing the yarns to shift until the fabric eventually tears.
Whether you're using lightweight cotton, double gauze, or seemingly sturdy Oxford cloth or canvas, stitching handles directly without proper reinforcement can cause the base fabric itself to give way under strain.
When sandwiching handles into the bag's top opening, inserting them with too shallow of a seam allowance risks having the raw edges slip free over time with repeated use.
Similarly, if your backstitching at the seam ends is weak or incomplete, the shock of being lifted will pull those end stitches apart, and before you know it, the entire handle pops off.
Proper preparation and choosing the right tools before you ever start sewing are crucial to building rock-solid handles. Skipping these steps is where problems begin.
Always reinforce the wrong side of the main body fabric where the handles attach using fusible interfacing (iron-on interfacing). Interfacing stabilizes the fabric weave, preventing the fabric from stretching out of shape or tearing under heavy tension.
Even on bag designs where you don't interface the entire outer body, I strongly recommend applying medium-to-heavyweight non-woven or woven fusible interfacing at least around the attachment zones—such as behind the top opening facing or directly behind the handle base.
Match your needle and thread weight to the thickness of your fabric and handle materials. Using standard all-purpose thread and fine needles on heavy webbing or thick canvas can lead to skipped stitches, broken thread, or snapped needles.
When working with thicker threads (like #30 heavy-duty thread), be sure to balance both your upper needle tension and lower bobbin tension so your stitches don't pull loosely to the surface.
Handles can be made from store-bought acrylic webbing, cotton tape, or matching self-fabric straps sewn from the bag's main fabric.
If using acrylic webbing, carefully pass the cut ends near a lighter flame to melt and fuse the synthetic fibers, or apply fray-check sealant so the ends won't fray out inside the seam. If sewing handles from your own fabric, fold the strip in four with a layer of fusible interfacing inside, and topstitch along both long edges to prevent the strap from stretching out over time.
Now let's explore concrete sewing techniques on your machine. Choose the best method based on your bag's design and intended usage.
The cleanest and most fundamental way to attach handles is sandwiching them when sewing the bag's top three-fold hem or attaching an inner facing/lining.
When using this method, first baste the handles facing downward along the raw edge of the outer fabric and stitch them in place along the hem fold line. Then, fold the handles upward and secure them with the final topstitching along the top edge of the opening.
By doing this, the handle folds back in an "S" curve and gets stitched through twice, dramatically increasing tensile strength. Be sure to maintain a generous seam allowance of 1 cm to 1.5 cm (about 3/8 to 5/8 inch) during the basting step.
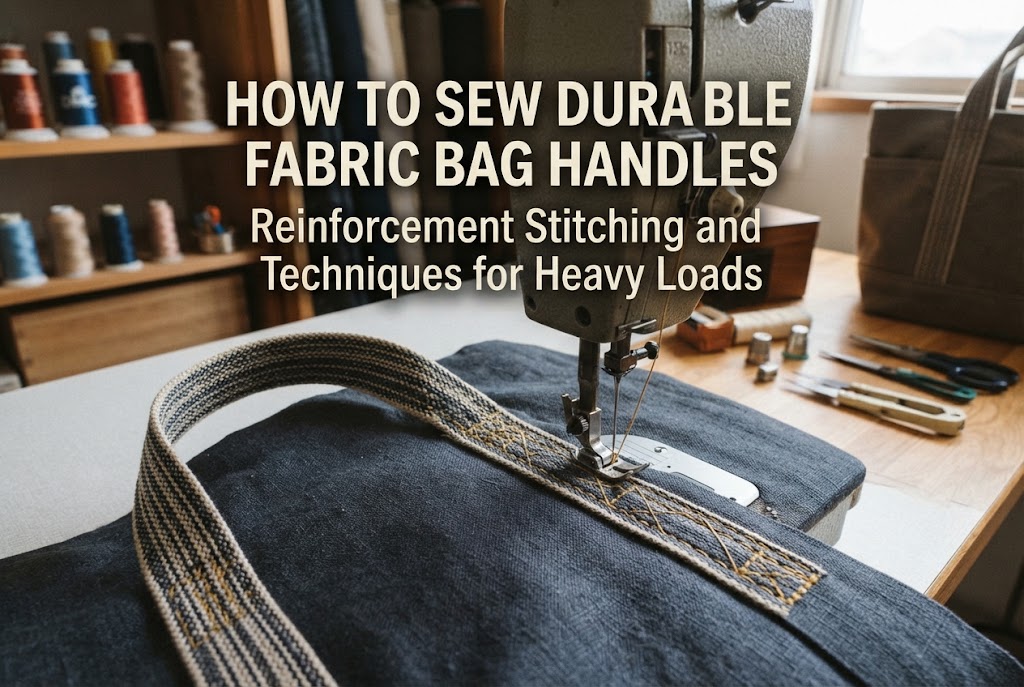
For tote bags carrying heavier loads, the box stitch with an inner cross (often called the Box-X stitch) is a must-know technique. You stitch a rectangle around the base of the handle and then sew an "X" diagonally across the center.
Because the central diagonal stitches distribute tension pulling from multiple angles, this design offers vastly superior durability compared to a simple square perimeter.
The secret to neat Box-X stitches is always stopping with the needle lowered down in the fabric at every corner, lifting the presser foot, and pivoting the fabric before continuing. This keeps your corners crisp and your "X" aligned.
If your handle attachment area is narrow or you want a cleaner look than a full box, a triangle stitch is another great option. You can form a triangle within the top half of the square or sew a mountain-shaped delta stitch across the width.
The top edge of the handle base (where it meets the top opening of the bag) bears the greatest upward pull when lifted. Adding a double row of horizontal straight stitching along this upper line effectively protects against thread snapping.
In an effort to make things extra sturdy, some crafters stitch back and forth across the exact same spot multiple times. Be careful—this can actually weaken your fabric!
Punching the machine needle into the exact same holes repeatedly cuts the fabric fibers, creating perforations that act like the tear-line on a sheet of postage stamps, making the fabric rip easily under stress.
A simple backstitch of 2 to 3 stitches at the start and end of a line is plenty. When you want extra strength, focus on increasing the stitched area—such as using a Box-X stitch—rather than packing more passes onto a single line.
By pairing smart stitching with physical reinforcement materials, you can create a bag that rivals high-end commercial durability.
If you're sewing a heavy-duty tote, adding a small piece of backing fabric—traditionally called chikara-nuno ("strength fabric") in Japanese sewing—on the wrong side of the bag and stitching through it along with the handle works wonders.
Use a small piece of sturdy cotton, twill tape, or leather scraps cut slightly larger than the handle width. When tension is applied to the handle, the force disperses into both the outer fabric and the backing patch. This dramatically relieves direct strain on the main fabric, preventing blowouts.
Another fantastic option is setting metal rivets (known as kashime in Japan) over your stitched handle bases. Because rivets pass completely through the handle and bag fabric to mechanically clamp them, they provide incredible holding strength that doesn't rely solely on thread.
Placing one or two rivets in the center of a Box-X stitch or on either side of the handle base adds rock-solid durability and creates a polished, professional design accent.
When using rivets, choose a post length matching the combined thickness of your layers, punch a clean hole using a rotary punch or hole punch tool, and secure them firmly with a rivet setter.
Working with handles often introduces bulk and alignment issues. Here are common problems beginners run into and how to fix them easily.
Where the handle and hem folds overlap, the fabric gets very thick. Attempting to stitch straight into this transition tilts the presser foot upward, causing skipped stitches, stalled feed dogs, or thread jams.
Solution: Place folded cardboard or use the leveling button (the black button on many standard presser feet) behind the foot to keep it level as you climb the bump. When entering the thickest sections, turn the handwheel manually to drop the needle slowly. Forcing through with the foot controller risks bending or snapping your needle.
Finishing a bag only to discover that the handle has a 360-degree twist in it is a classic sewing rite of passage.
Solution: Lay your bag completely flat on your work table when pinning the handles. Visually inspect each strap to ensure it forms a clean "U" shape without twisting. Slid your hand through the loop at the basting stage to test it before final stitching.
If your handle placement shifts to the left or right, the bag will hang off-balance when carried, placing uneven strain on one side and wearing it down prematurely.
Solution: Using a ruler and tailor's chalk, measure your placement outward from the bag's center crease. Measuring inward from the side seams can lead to discrepancies due to minor sewing variances, so measuring from the absolute center line out to each side is the professional standard for consistent balance.
Different bags demand different levels of durability depending on what they carry. When I make bags, I customize my reinforcement methods to match their everyday use:
For a lightweight drawstring bag holding children's change of clothes or a compact folding shopping bag, I simply sandwich the strap ends in the top hem and run two parallel lines of straight stitching. That alone provides plenty of durability for light daily items.
On the other hand, when crafting a tote meant for water bottles, heavy documents, or a laptop, I never cut corners. I iron heavy-duty fusible interfacing behind the opening, insert the handles at least 1.5 cm into the seam, and always topstitch with a Box-X stitch from the front. If the webbing is 3 cm wide or wider, I add a rivet right in the center for bulletproof security.
Visualizing what will go inside your bag and tuning the reinforcement level to match that weight is the true secret to elevating your handmade bags to professional quality.
Let's recap the core keys to attaching durable fabric bag handles:
Reinforcing your handles requires only a tiny bit of extra prep and care, but it transforms the lifespan of your work. When you know your creations won't break, your confidence in sewing will soar!
Try out these techniques on your next project and enjoy crafting sturdy, beautiful bags ready for every adventure.
If you found this guide helpful, I'd love it if you shared it with your sewing and crafting friends on social media!
Until next time, happy crafting! This has been Yassy from Crafters!



For example, if you are looking for articles about mizuhiki, try searching for "mizuhiki"; if you are interested in tools, try keywords like "nippers" or "pliers."
