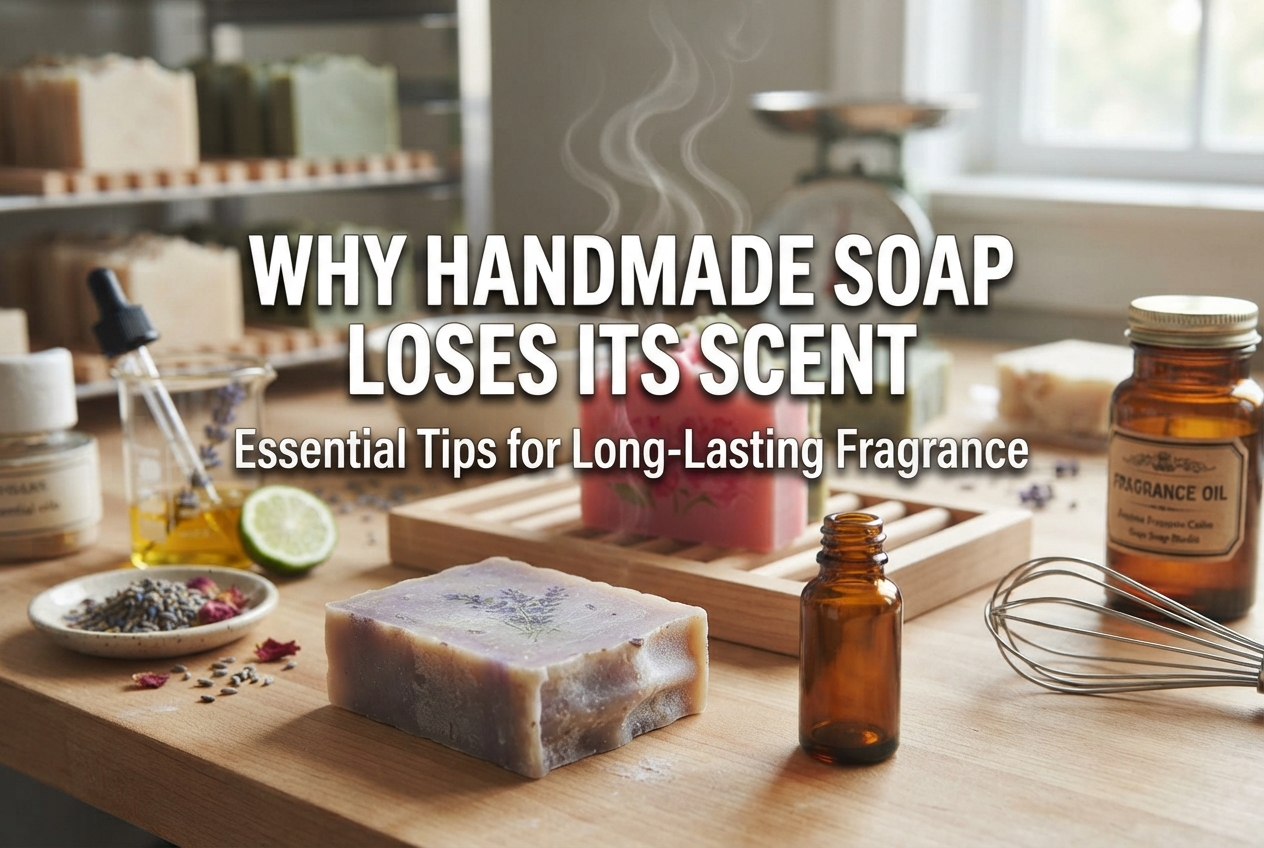
Why Handmade Soap Loses Its Scent: Essential Tips for Long-Lasting Fragrance
yassy
Crafters!

Hello, this is Yassy from Crafters! (・∀・)
Handmade soap brings a little extra joy to your daily handwashing and bath routines. It packs all the charm of crafting into one project: choosing your favorite scents, incorporating dried herbs, or adding beautiful colors. Soap you make yourself holds a special place in your heart, and it also makes a wonderful gift for friends and family.
Still, many beginners worry: "How do I actually make soap at home?" or "Isn't handling chemicals dangerous?"
In reality, handmade soap crafting is divided into two primary methods. They range from heat-free, safe methods perfect for absolute beginners to authentic, scratch-built techniques for those who want to customize every ingredient. In this article, I will explain the fundamental principles of soap making, recommend the best starter project, and share key tips to prevent common mistakes!
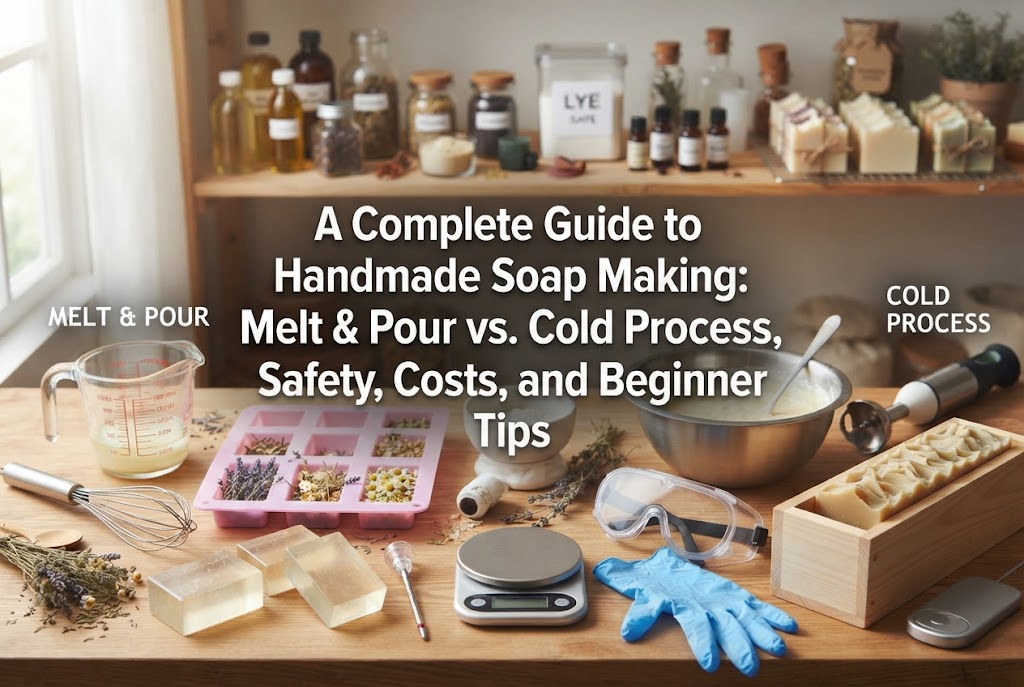
Before diving into soap crafting, it is essential to understand the difference between the two main methods: MP Soap (Melt & Pour) and CP Soap (Cold Process). Because their difficulty levels and required tools are completely different, let's look at how each one works.
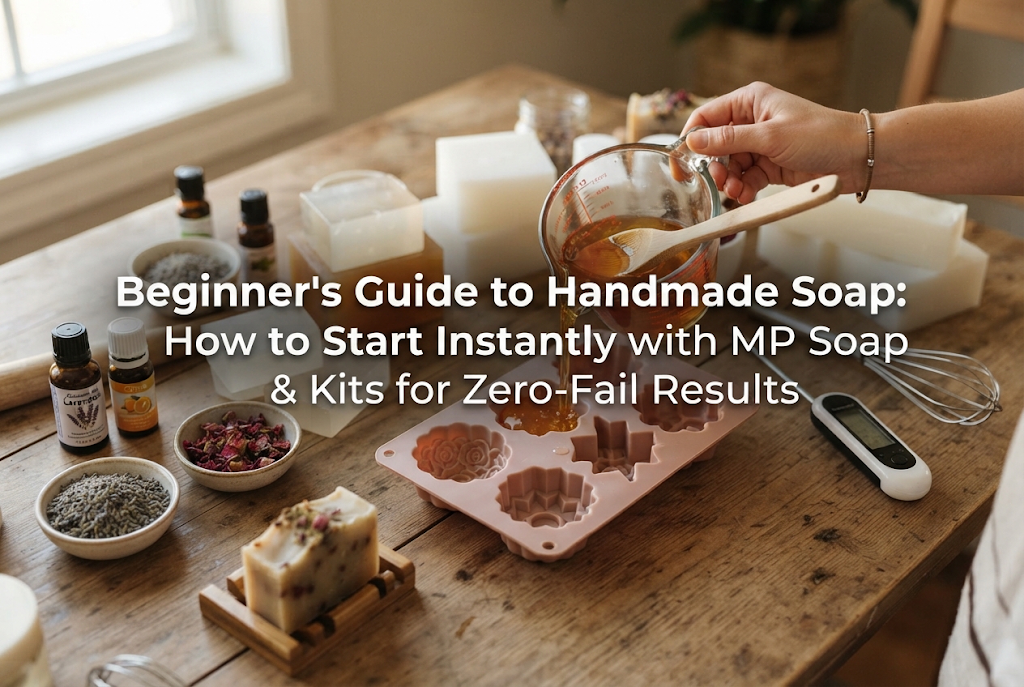
As the name suggests, Melt & Pour (MP) soap involves taking a pre-made glycerin soap base, melting it using a microwave or double boiler, adding desired colors or fragrances, and pouring it into molds.
Because it does not involve handling hazardous chemicals, it is ideal for craft beginners or family projects with children. Another major advantage is speed: once poured into a mold, it hardens within hours and is ready to use the very same day.
Cold Process (CP) soap is an authentic method built from scratch by reacting plant oils (such as olive oil or coconut oil) with lye (sodium hydroxide).
Since no external heat is applied during saponification—relying only on the chemical reaction's internal heat—the moisturizing properties and vitamins naturally present in the oils are preserved. This yields an exceptionally moisturizing, luxurious bar of soap. However, handling strong alkaline chemicals like lye requires strict safety precautions and a curing period of about one month.
If you are trying soap crafting for the first time, I strongly recommend starting with an Aroma & Herbal Soap or a Transparent Gemstone Soap using MP Soap!
Starting immediately with Cold Process soap, which requires handling lye, demands extensive preparation. Precise temperature control and exact measurements can easily overwhelm a beginner. By starting with MP soap, you can experience the pure joy of soap making—coloring, scenting, and molding—without the stress.
Using high-clarity glycerin soap base allows anyone to create boutique-quality decorative soaps right from the start.
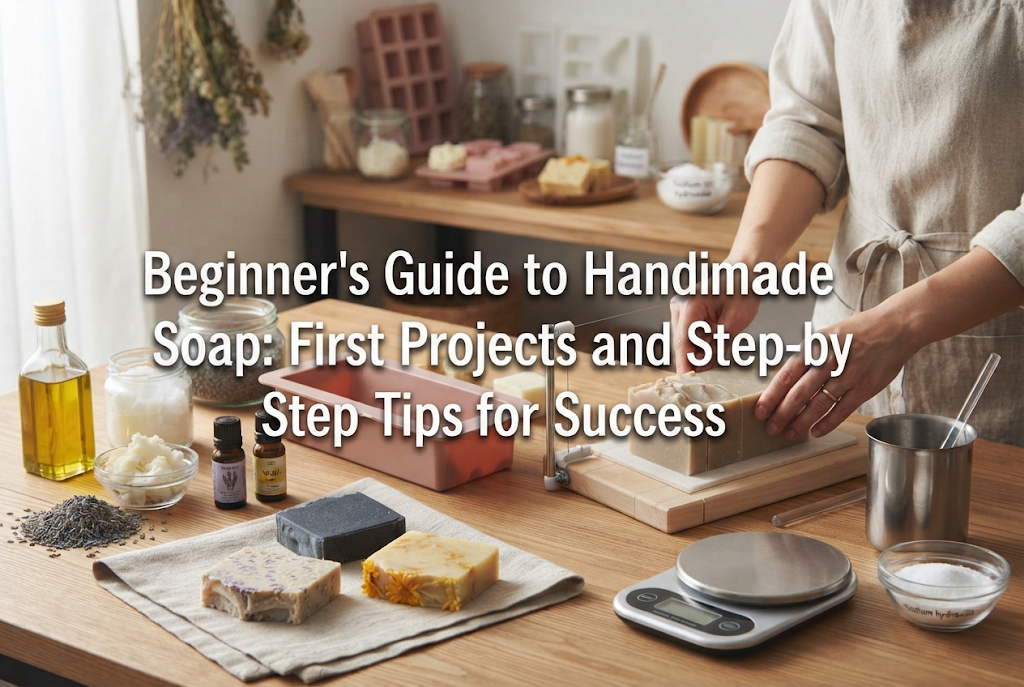
Here is a step-by-step guide to making a simple Herbal & Aroma Soap using Melt & Pour base. You can complete this project in about 15 minutes using simple tools and basic materials!
Step 1: Cut the MP Soap BaseCut the MP soap base with a kitchen knife into small 1cm (0.4-inch) cubes. Cutting the base evenly helps it melt smoothly and uniformly in the microwave.
Step 2: Gently Melt in the MicrowavePlace the soap cubes into a heat-resistant container and microwave at 500W–600W for about 20 to 30 seconds. Do not let the soap come to a rolling boil, as boiling creates unwanted air bubbles and destroys transparency. Stop when a few small pieces remain unmelted, and stir gently to let residual heat dissolve them completely.
Step 3: Add Color and FragranceAdd your chosen colorant and essential oils to the melted soap. Stir softly and slowly with a bamboo skewer. Avoid mixing vigorously, as fast stirring introduces tiny air bubbles into the liquid.
Step 4: Mix in Dried Herbs and PourAdd the dried herbs, stir gently, and slowly pour the liquid soap into your prepared silicone mold. If small bubbles float to the surface right after pouring, spritz the top once with rubbing alcohol. The bubbles will instantly disappear, leaving a smooth surface.
Step 5: Harden and UnmoldAllow the soap to cool and harden completely at room temperature for about 1 to 2 hours. If you are in a rush, placing it in the refrigerator for 20 minutes will speed up the process. Once fully set, gently pull back the sides of the silicone mold to pop out your finished bar!
While MP soap is beginner-friendly, keeping a few key tips in mind ensures professional-looking results.
First, avoid overheating. Boiling glycerin soap base evaporates its moisture content, which causes the soap to "sweat" (form sticky droplets on the surface) after hardening.
Second, pay attention to the temperature when adding essential oils. Adding essential oils while the soap base is piping hot will cause the delicate aromatic compounds to evaporate. After removing the melted base from the microwave, wait until it cools slightly (around 55°C–60°C / 130°F–140°F, just before a thin skin starts forming on top) before adding your oils to preserve their fragrance long-term.
Once you get comfortable with the soap-making workflow using MP soap, you can step up to authentic Cold Process (CP) soap crafting. CP soap allows you to customize oil blend ratios to suit your specific skin type, creating a truly custom bar.
When making CP soap, working with lye (sodium hydroxide) is unavoidable. Lye is a strong caustic chemical that can cause severe chemical burns on contact with skin and risks causing blindness if splashed into the eyes.
Because of this, always review safety guidelines thoroughly before handling lye, and wear the following protective gear without exception:
For your first CP soap batch, a 100% Olive Oil ("Pure Castile") recipe or a classic "Marseille" formulation (blending olive, coconut, and palm oils for improved lather and hardness) is ideal. Here is a standard Marseille soap recipe.
1. Prepare the Lye WaterIn a well-ventilated area, slowly add the measured lye into the heat-resistant container holding the purified water. Always add lye into water—never pour water onto lye, as doing so can trigger a violent exothermic reaction. The chemical reaction will cause temperatures to rise near 80°C (176°F). Place the container in an ice water bath to cool it down to 40°C–45°C (104°F–113°F).
2. Measure and Warm the OilsAccurately weigh the olive oil, coconut oil, and palm oil in a stainless steel bowl. Gently heat solid oils over a double boiler until melted, bringing the oil mixture's temperature to 40°C–45°C (104°F–113°F) to match the lye water.
3. Combine Oils and Lye WaterPour the lye water into the oil bowl through a fine mesh strainer. Immediately begin stirring with a whisk, mixing continuously without stopping for the first 20 minutes to initiate saponification.
4. Stir Until Reaching TraceContinue stirring until the batter thickens and reaches "trace"—the stage where soap drizzled from the whisk leaves a visible trail on the surface. An immersion blender can speed up this process. Once trace is achieved, stir in any essential oils if desired.
5. Pour into Mold and InsulateUse a rubber spatula to pour the soap batter into your mold. Cover with plastic wrap and place inside an insulated styrofoam box for 24 to 48 hours to maintain warmth while saponification progresses.
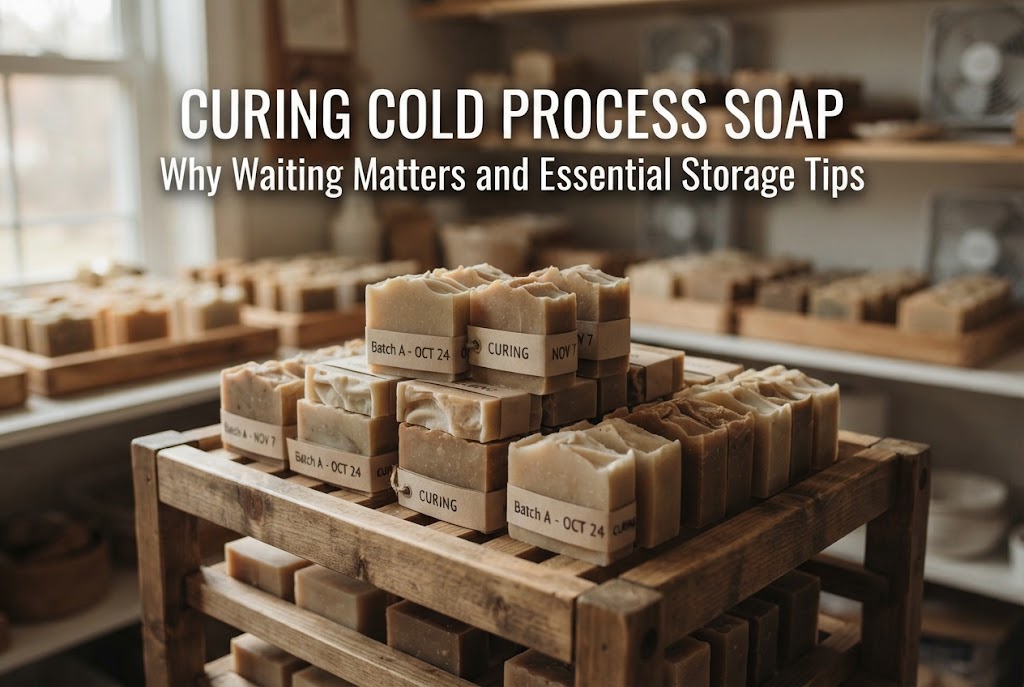
6. Unmold, Cut, and Cure (4 Weeks)Once set, remove the block from the mold and slice into individual bars using a soap cutter or knife. Store the bars in a well-ventilated area away from direct sunlight for about 4 weeks. During this curing period, excess water evaporates and the pH drops, resulting in a gentle, skin-friendly soap.
Here are common issues beginners encounter during soap making, along with their causes and quick fixes.
Cause & Solution: Glycerin naturally draws moisture from the air (hygroscopic quality). Leaving soap exposed in a high-humidity room or overheating it in the microwave causes this sweating effect. To prevent this, wrap finished bars tightly in plastic film as soon as they harden.
Cause & Solution: This usually happens when the oils and lye solution were combined at too low a temperature, or if the mixture was poured into the mold before reaching full trace. Measuring errors with lye or water can also cause separation. Always use a 0.1g digital scale and combine both liquids precisely when both reach 40°C–45°C (104°F–113°F).
Cause & Solution: Soda ash forms when unsaponified lye on top of fresh soap reacts with carbon dioxide in the air, or when insulation temperatures drop too low. While harmless to use, you can prevent it by laying plastic wrap directly onto the soap surface immediately after pouring, keeping insulation temperatures around 25°C–30°C (77°F–86°F).
If you are trying soap crafting for the first time, my personal advice is to pick up inexpensive silicone baking molds from a home center or crafting store and start with MP soap!
Because silicone molds are flexible, hardened soaps pop out cleanly without damage or sticking. Using flower- or heart-shaped molds produces beautiful, professional-looking results without requiring advanced crafting skills.
Furthermore, you can chop transparent MP soap into random geometric shapes, place them into a mold, and pour a contrasting soap base over them to make stunning "Gemstone / Jewel Soaps." MP soap offers endless design possibilities without needing advanced chemistry or handling caustic lye!
Handmade soap crafting offers two fantastic paths: beginner-accessible MP Soap and oil-customizable CP Soap.
Starting with safe, hassle-free MP soap lets you get comfortable with coloring, scenting, and mold handling. Once confident, advancing to CP soap is a smooth, enjoyable progression. As long as safety rules and measurements are followed, anyone can craft luxurious, custom soap bars at home.
Washing with soap you crafted yourself turns everyday routines into relaxing self-care moments. Pick your favorite scents and colors, and enjoy making your very first batch!
If you found this guide helpful, sharing it on social media or with crafting friends would mean the world to me!
See you in the next article! This was Yassy from Crafters!



For example, if you are looking for articles about mizuhiki, try searching for "mizuhiki"; if you are interested in tools, try keywords like "nippers" or "pliers."
