Why Handmade Soap Loses Its Scent: Essential Tips for Long-Lasting Fragrance
yassy
Crafters!

Hello, this is Yassy from Crafters! (・∀・)
When making cold process (CP) soap without external heat, there is one crucial step you cannot skip: drying and curing. Unmolding and cutting your soap loaf into beautiful bars is an exciting moment, but the soap is not ready to use right away.
Freshly cut soap contains high amounts of water, making it soft and delicate. More importantly, it is still strongly alkaline. Using it on your skin immediately can cause intense irritation or skin trouble.
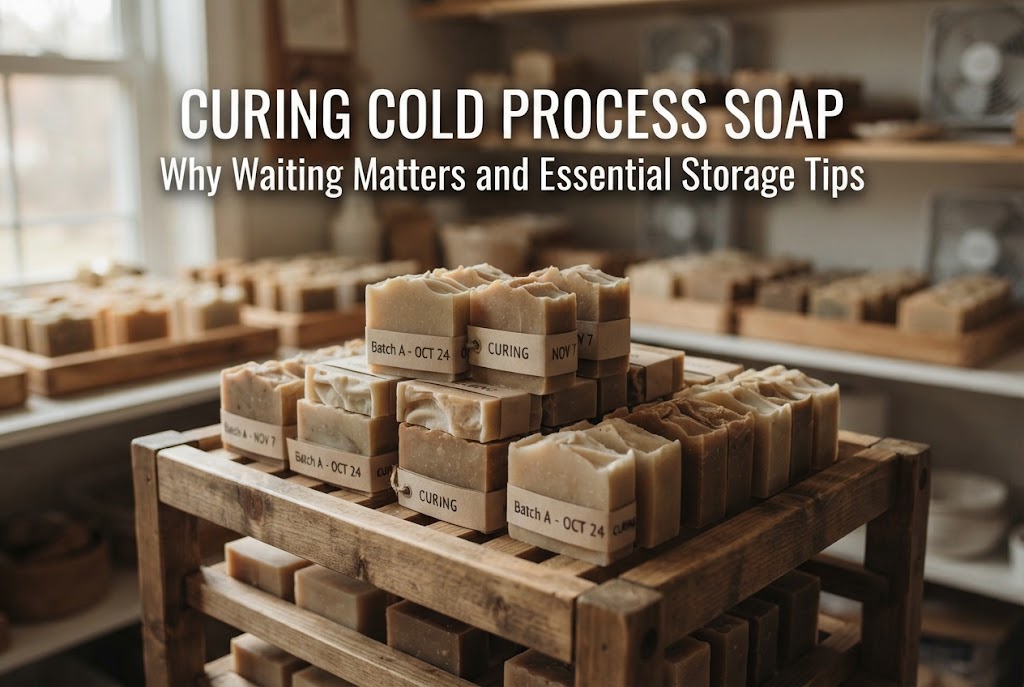
Curing is the process of letting soap rest in a well-ventilated, safe location over time. This allows excess water to evaporate and completes the chemical transformation. Below, we explore why this curing stage is scientifically necessary, how long it takes, how to set up an ideal curing environment, and how to handle common troubleshooting scenarios.
Resting your cut soap bars for several weeks to months serves three critical purposes. Understanding these will help you accurately evaluate your soap throughout the curing phase.
Soap making is a chemical reaction called saponification, where fats/oils react with a strong alkaline substance (sodium hydroxide / lye) to produce soap and glycerin.
While most saponification takes place between pouring the batter into the mold and unmolding it, trace amounts of unreacted lye remain inside the freshly cut bars. At this stage, the soap usually has a high pH of 10 to 11 or higher, which is too harsh for skin.
During the cure period, residual lye fully reacts with the remaining oils. In addition, exposure to carbon dioxide in the air neutralizes free alkali, gradually bringing the pH down to a mild, skin-safe alkaline range of about 8.5 to 10.0.
Water (such as distilled water) is necessary to dissolve the lye when mixing soap batter. Freshly unmolded soap still holds a substantial amount of this moisture, leaving it soft, pliable, and easily deformed.
If you were to use the soap immediately with warm or cold water, it would quickly dissolve into mush and lose its shape.
Slowly curing the soap allows water inside the bar to evaporate into the air. As the moisture leaves, the soap's crystalline structure tightens and hardens, resulting in a durable, long-lasting bar that resists melting away in the shower or at the sink.
A freshly made bar and a properly cured bar feel completely different on the skin. Curing allows the soap molecules and natural glycerin (a byproduct of saponification) to settle and harmonize, yielding denser, finer lather. Harshness is minimized, leaving you with a gentle, moisturizing cleanser that only handmade craft soap can provide.
The time required for drying and curing varies depending on your recipe's oils, seasonal humidity, and indoor environment.
For standard, balanced recipes using common oils like olive oil, coconut oil, and palm oil, the minimum recommended cure time is 4 weeks.
Count the day you cut the soap as Day 1, and let the bars rest in a well-ventilated spot for a full 4 weeks. Beginners are often tempted to use their soap after just 2 weeks, but observing the full 4-week window is essential for skin safety.
Different oils require different curing periods. Check how your recipe compares:
Just because 4 weeks have passed on the calendar does not automatically mean your soap is finished. Here are three reliable tests to verify readiness:
The safest, most objective test is checking the pH level. Wet the surface of the soap with a few drops of distilled water, press a pH test strip against it, and compare the color change to the chart.
If the pH falls between 8.5 and 10.0, the free alkali has neutralized and the soap is safe to use. If the pH reads above 10.5 (showing a strong blue-purple or dark green reaction), cure the soap for another 1 to 2 weeks.
Weighing your soap on a digital kitchen scale is the most accurate way to verify water loss. Weigh each bar on the day it is cut and record the initial weight. Re-weigh the bar once every week.
During the first 2 to 3 weeks, the bar will lose a few grams each week as water evaporates. By week 4, the weight should stabilize. When the weight stops decreasing, moisture evaporation is complete.
Press the side of the bar firmly with the pad of your thumb. While freshly cut soap easily indents, fully cured soap is solid, rigid, and will not leave a fingerprint. The surface will also feel dry and smooth rather than damp or sticky.
Simply leaving soap in a random corner of your room can result in uneven drying, oxidation, or mold. Here is how to create an optimal setup:
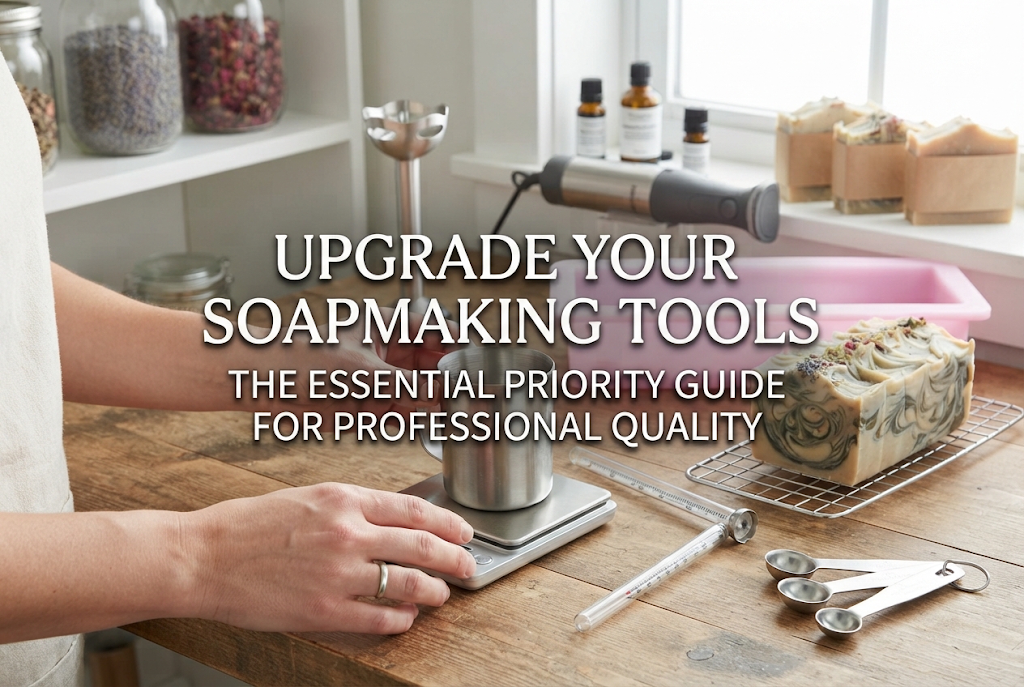
Place soap bars on a stainless steel cooling rack, bamboo tray, or wooden slat board. Racks and slatted trays allow air to circulate beneath the bars, ensuring even drying from top to bottom.
Important Note on Metal: If using a metal cooling rack, never let the soap touch the metal directly, as direct contact can trigger chemical reactions leading to discoloration and rancidity. Always line the rack with parchment paper or paper towels first.
Leave a 1 to 2 cm gap between each bar. If bars touch, airflow is blocked at the contact points, leading to uneven moisture loss.
Yassy's Setup: I use small wooden sunoko (slatted wooden mats often found in Japanese 100-yen shops) lined with parchment paper. I place the bars spaced apart on the mat and store them on a shaded shelf. During humid seasons with low airflow, I run a small fan or circulator on low speed in the room (avoiding blowing air directly onto the bars) to keep indoor air moving. This simple adjustment prevents mold and oxidation issues completely.
If your soap changes appearance during the cure, do not panic. Most common issues have straightforward solutions.
Cause: Residual sodium hydroxide on the surface reacts with carbon dioxide in the air, creating a harmless coating of sodium carbonate crystals (soda ash).
Fix: Soda ash is purely cosmetic and completely safe for skin. If you prefer a clean look, gently rinse the surface with lukewarm water once curing is complete and let it dry, or shave the powdery layer off with a vegetable peeler.
Cause: High room humidity, especially during rainy or hot seasons. The natural glycerin in handmade soap attracts moisture from the air, forming droplets on the surface.
Fix: Gently dab away moisture with a clean paper towel. If left unattended, the soap can turn soft and mushy. Run a dehumidifier or air conditioner in dry mode to lower room humidity.
Cause: The fats and oils in the soap have oxidized due to light, heat, or exposure to air. This happens more frequently when using high ratios of oxidation-prone oils (such as rice bran oil, soybean oil, sunflower oil, or canola oil).
Fix: Oxidation cannot be reversed. If the spots are small, carve them away generously with a knife and use the soap quickly. If the entire bar turns brownish and develops a strong, unpleasant stale-oil smell, do not use it on your face or body. Repurpose it for household cleaning or shoe washing instead.
Cause: Uneven airflow where only one side dries rapidly, causing differential shrinkage that bends the bar.
Fix: Flip your bars once or twice a week during the curing period. Turning them ensures even moisture loss on both sides, keeping your bars flat and straight.
When you make several batches, it is easy to forget when a specific batch was cut or when it is ready. Two simple habits will keep everything organized:
When cutting your soap, write the following details on a strip of masking tape and affix it to the edge of the curing tray or parchment paper:
A craft soap maker's skill improves dramatically by keeping records. In a dedicated notebook or digital note, record your oil blend, essential oils used, room temperature/humidity during cure, final cured weight, pH value, and lather quality upon use.
Over time, these notes form your own customized formulation guide—such as knowing a specific olive oil recipe performs best with 5 weeks of cure, or that summer batches need extra dehumidification.
Once your soap has cured for 4 or more weeks and passed your safety checks, store excess bars carefully to maintain peak quality.
Leaving cured soap exposed invites dust and accelerates oxidation. Wrap each bar individually in parchment paper, breathable Japanese washi paper, or wax paper. Breathable paper prevents moisture buildup better than airtight plastic wrap.
Place the wrapped bars inside an airtight container or zip-top bag alongside a silica gel desiccant packet. The desiccant absorbs ambient humidity, keeping the bars dry and preventing mold or sweating during long-term storage.
Store your container in a dark drawer or closet shelf away from heat and light. Properly stored handmade soap lasts approximately 1 to 1.5 years. Because handmade cold process soaps contain no synthetic preservatives, using them within one year offers the freshest, most enjoyable experience.
Curing handmade soap is not just about letting it dry and harden—it is a quiet, transformative chemical process that turns strong lye and rich oils into a gentle, skin-nourishing cleanser.
Placing freshly cut bars on slatted racks in the shade, flipping them weekly, and watching them firm up while developing a mellow aroma is one of the most rewarding parts of soap crafting. Enjoy the waiting period, practice proper storage, and celebrate the moment you finally lather up your finished bar!
Until next time, happy crafting from Yassy!



For example, if you are looking for articles about mizuhiki, try searching for "mizuhiki"; if you are interested in tools, try keywords like "nippers" or "pliers."
