DIY Bath Bombs: The Ultimate Beginner’s Guide to Designs, Costs, and Crafting Secrets by Yassy
yassy
Crafters!

Hello, crafters! It’s Yassy from Crafters! (・∀・)
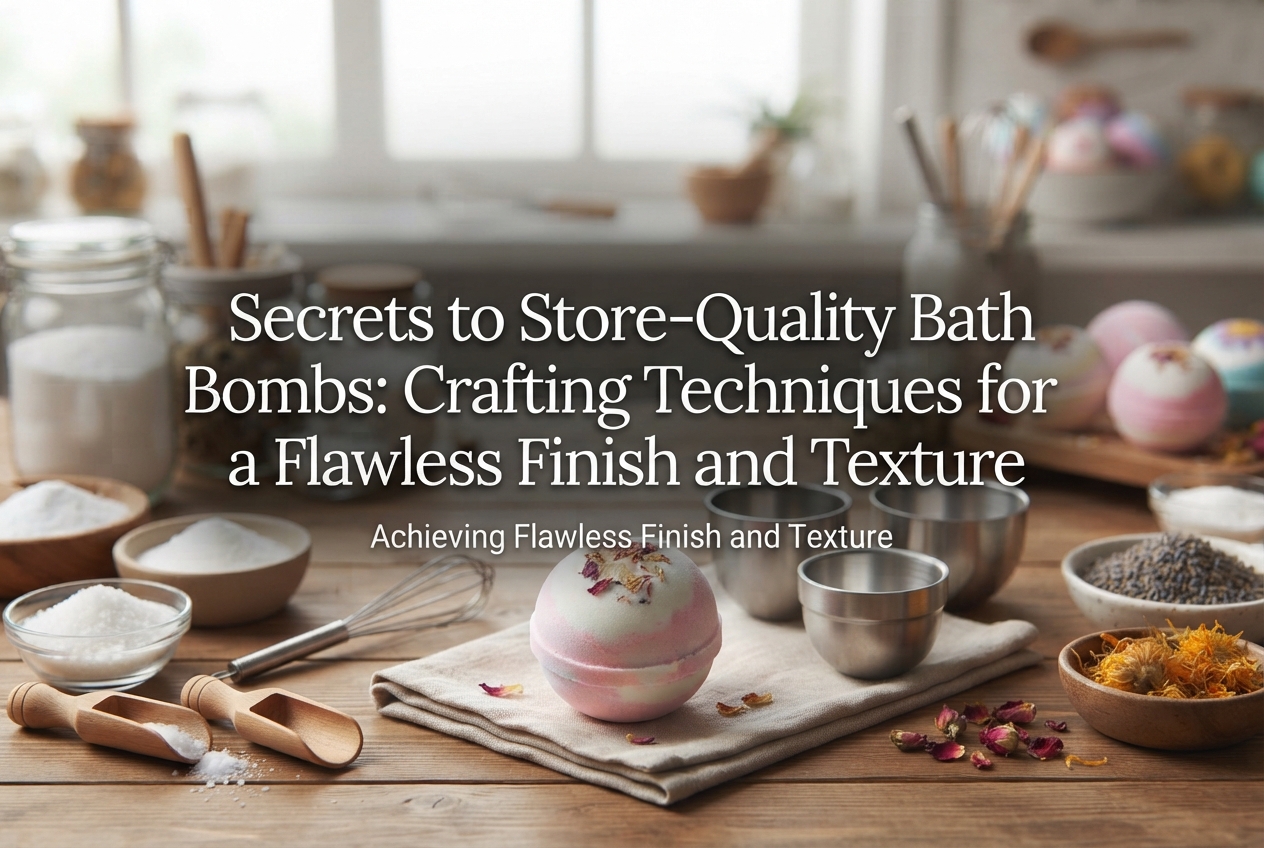
Once you get comfortable with the basics of bath bomb crafting, it’s only natural to want to create smoother, more polished, and truly professional-looking pieces. I love making, admiring, and buying all kinds of handmade crafts, and I am convinced that bath bombs are one craft where the quality of your tools directly dictates the quality of your finished project.
Starting out with basic beginner kits, household kitchen utensils, or 100-yen shop molds is a fantastic first step. However, as you gain experience, you inevitably run into familiar frustrations: bath bombs crumbling easily, bumpy or uneven surfaces, weak fizz once dropped into the tub, or bombs expanding and cracking while in storage.
These issues don't happen because of a lack of skill on your part. They stem from the physical limitations of beginner tools. Beginner kits are designed simply to let you enjoy the introductory experience; they are not engineered to produce shop-worthy, top-tier results.
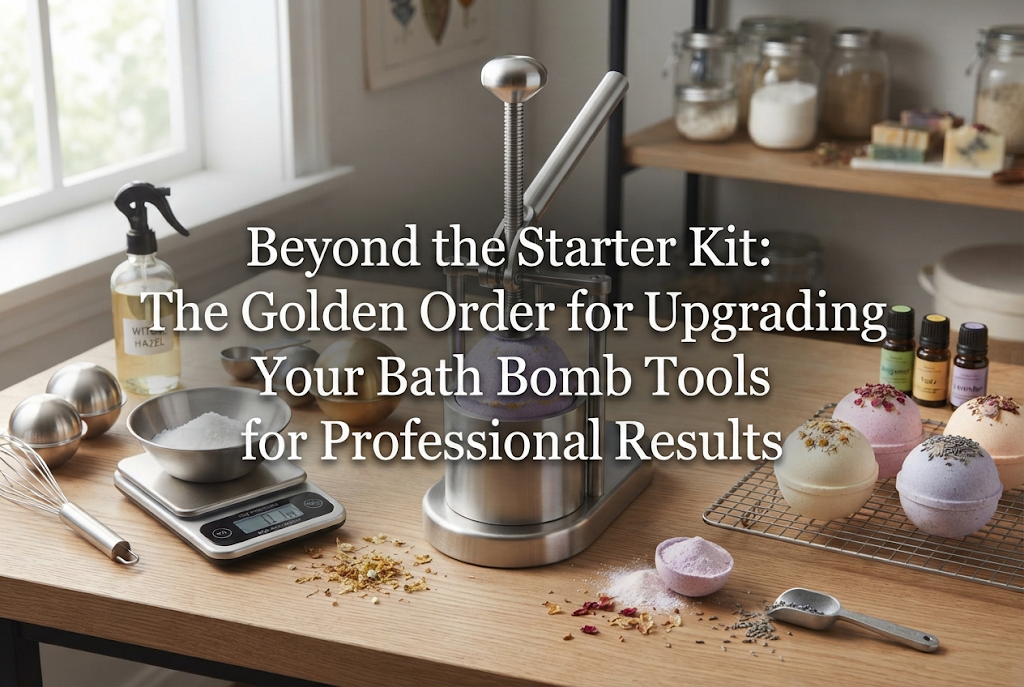
For those ready to move past the starter kit and achieve professional-grade bath bombs, this guide breaks down the essential "golden order" for upgrading your tools. I’ll explain exactly which tools deserve your investment first, along with practical selection criteria to ensure you never make an expensive mistake.
In bath bomb making, there is a clear moment when you know it is time to upgrade: when you follow your recipe to the letter, yet your results keep fluctuating.
When relying on plastic molds, bath bomb spheres from budget shops, household mixing bowls, or regular spray bottles, you inevitably hit three structural walls. Understanding these limitations is the first step toward overcoming them.
The first wall is insufficient compression. To make a bath bomb rock-hard and durable, you need intense, even pressure to pack the fine powders together without leaving interior gaps. Flexible plastic or silicone molds bend and deform outward when you press firmly. As a result, the powder receives uneven, inadequate pressure, leading to fragile bath bombs that easily crack after drying.
The second wall is premature fizzing. When adding moisture to your mixture before packing, standard spray bottles release water droplets that are simply too large. Wherever a heavy droplet hits, a localized chemical reaction begins right in the bowl—wasting that satisfying fizz long before the bath bomb ever reaches the tub. This premature fizzing is the primary culprit behind surface lumps and craters.
The third wall is micro-measurement variance. Kitchen scales measuring in 1-gram increments cannot handle fine-tuned adjustments for carrier oils, essential oils, or binders. Bath bomb formulation is so delicate that a fraction of a gram of liquid can mean the difference between a pristine unmolding and a collapsed mess. With approximate measurements, consistent success is impossible to reproduce.
To overcome these hurdles and craft bath bombs with silky-smooth surfaces and long-lasting fizz, you need to systematically upgrade your equipment. Here is the prioritization strategy I have verified and swear by through my own crafting experience.
Budgets are finite, so there is no need to purchase everything all at once. The smartest approach is investing in the tools that offer the highest impact on quality and failure prevention first.
Here is my recommended upgrade sequence:
There is a solid rationale behind this exact sequence. No matter how precise your measurements are, a weak mold will yield a fragile bath bomb. No matter how thoroughly you stir, a coarse water spray will trigger the reaction inside the bowl. Therefore, the absolute priority is upgrading the physical tools that determine structural hardness and surface finish.
The single most impactful upgrade you can make is your mold. If you want to graduate from beginner kits, retire your plastic molds first and switch to metal.
The major advantage of metal (such as stainless steel or thick aluminum alloy) is that no matter how much body weight or palm force you apply, the mold will not flex even a single millimeter.
A bath bomb's structural density correlates directly to the amount of compressive force applied during molding. By using rigid metal molds, the powder particles lock tightly together without air pockets. This yields a smooth, satiny surface and a bath bomb so sturdy it won't shatter easily even if dropped.
Metal molds are readily available online via platforms like Amazon or Rakuten in Japan. When picking yours, keep two vital criteria in mind:
For classic spherical bath bombs, I rely on a heavy-duty two-piece stainless steel mold. Simply switching to metal makes achieving perfectly seamless spheres shockingly easy compared to struggling with plastic shells.
Once your mold is sorted, your next upgrade should be your liquid sprayer. Many beginners grab an inexpensive cleaning spray bottle or gardening mister, but this is a major misstep.
The biggest threat in bath bomb making is uneven, heavy moisture. Baking soda and citric acid react instantly upon contact with water droplets. Standard spray bottles produce droplets that are far too large, triggering fizzing right inside your mixing bowl.
Powder that reacts inside the bowl loses its effervescence for the tub, turns sticky, and forms stubborn lumps. To prevent this, an ultra-fine continuous mist sprayer is indispensable.
Look for continuous fine-mist bottles originally designed for cosmetic toners or hairstyling. When pressed, these sprayers produce an ultra-fine, aerosol-like plume of mist without pressurized propellants.
Instead of spraying liquid drops, they create an ambient cloud of humidity that coats the powders evenly. This lets you hydrate the mixture uniformly while minimizing premature chemical activation.
For a modest investment, this simple tool eliminates an immense amount of crafting frustration. Combined with a metal mold, it is a true game-changer.
Third on the list is your sifter. If you are using a loose kitchen colander or a small tea strainer from a starter kit, replace it with a professional pastry-grade or craft-grade extra-fine stainless steel sifter.
Baking soda, citric acid, and cornstarch readily pull ambient humidity from the air, creating small clumps inside their packaging. Simply rubbing them by hand leaves countless micro-lumps behind.
If you press a mixture containing un-sifted lumps, you will end up with pitted surfaces and speckles of concentrated colorant (micas or dyes), ruining an even color blend.
Coarse kitchen strainers allow small clumps to fall straight through. Using a fine stainless steel sifter with a mesh rating of around 40 to 60 mesh breaks up particles thoroughly, aerating the mixture into a silk-like powder.
An extra-fine sifter delivers two noticeable benefits:
First, colorants and essential oils disperse seamlessly throughout the dry base. This creates uniform, vivid tones and smooth color transitions that look professionally manufactured.
Second, uniform particle size increases packing density inside the mold. The particles settle neatly with fewer voids, resulting in a tighter, smoother, and more tactile finish.
The fourth priority is measurement precision. If your kitchen scale only measures down to 1 gram, upgrade to a precision digital scale measuring in 0.1-gram (or even 0.01-gram) increments.
A single gram might sound negligible, but in bath bomb crafting, that margin of error can ruin a batch. This is particularly true for:
Choose a scale with a readability of 0.1g (or 0.01g) and a maximum capacity of at least 2kg to 3kg, complete with a tare function. Because glass or metal mixing bowls carry significant weight, you need a scale capable of supporting a heavy bowl while still accurately registering micro-additions of liquids or powders.
To guarantee reliable hardness, scent, and fizz every time, guesswork must be replaced by hard numbers. A precision scale turns intuition into an exact, reproducible formula, allowing you to fine-tune recipes across changing seasonal humidity levels.
The final upgrade covers post-molding curing and storage. No matter how flawlessly you pack a mold, careless drying can undo all your hard work.
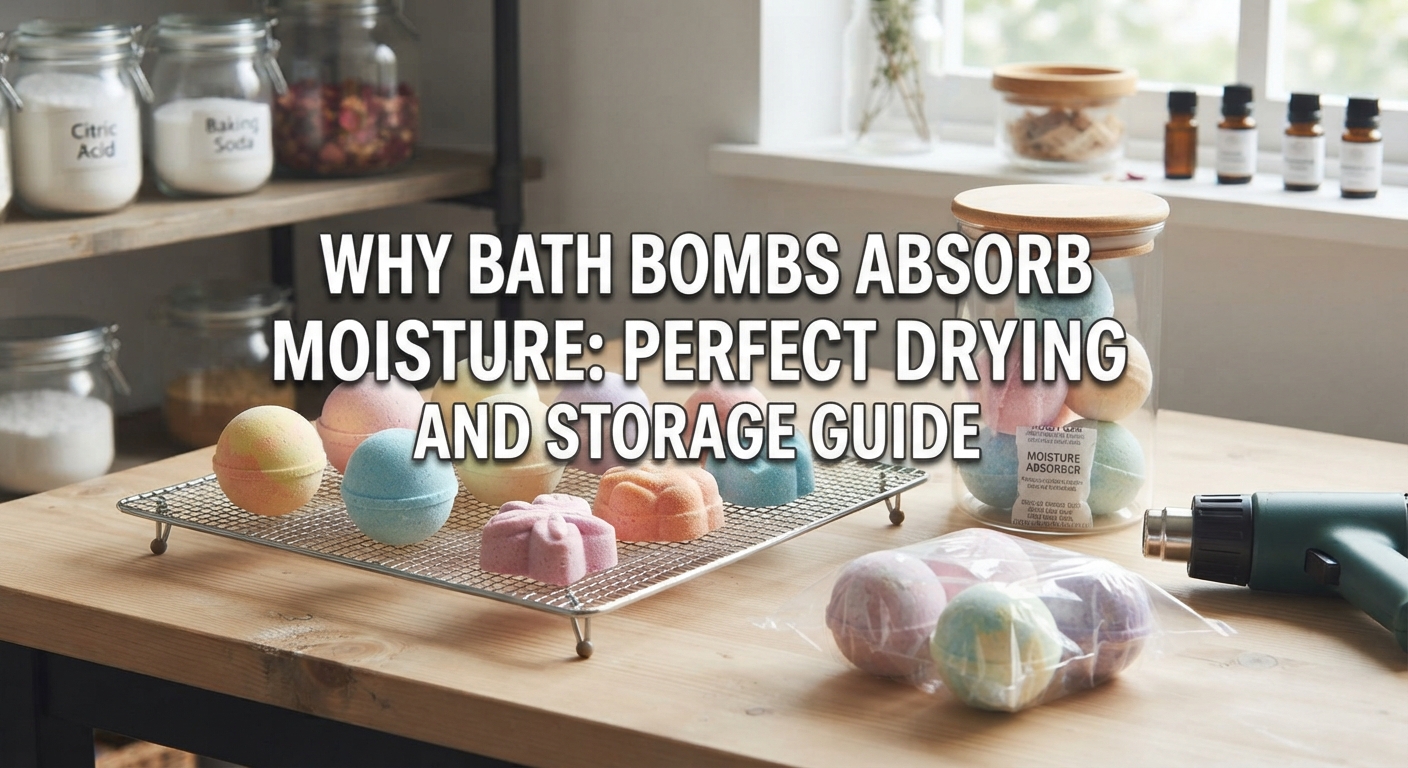
Japan, for instance, experiences high humidity throughout much of the year, and bath bombs begin pulling moisture from the ambient air the second they leave the mold. When exposed to ambient moisture, stored bath bombs slowly react from the inside out, causing surfaces to puff up, warp, and crack. Carbon dioxide escapes prematurely, leaving you with an underperforming fizz when finally placed in water.
To protect your creations from moisture, you need a dedicated, low-humidity curing and storage setup.
Thin food containers or standard zipper bags often permit micro-leaks of air. I strongly recommend upgrading to heavy-duty, gasket-sealed airtight containers—similar to dry boxes used for cameras or medical storage.
Line the base of the container with high-grade industrial silica gel (such as Type-A silica gel) rather than flimsy household sachets. Placing freshly unmolded bath bombs into this controlled, dry environment for 24 to 48 hours pulls out residual interior moisture, allowing the structure to fully set.
Bath bombs cured in this dry setup form a firm, crystalline shell that resists humidity-induced swelling, preserving explosive fizz until the moment of use. If you plan to give your bath bombs as gifts or sell them, this step is non-negotiable.
Having great tools only matters if your technique matches their capabilities. Here is my practical, professional-level workflow to get the most out of your upgraded equipment:
Using your 0.1g digital scale, weigh your baking soda, citric acid, and cornstarch (or Epsom salt) with zero margin for error using the tare function. Measure carrier oils and fragrance oils in separate small vessels down to the tenth of a gram.
Pass all dry powders through your extra-fine stainless steel sifter into your mixing bowl. Use the back of a spoon to press any remaining clumps through the mesh until the powder sits light and fluffy like powdered sugar.
Add your liquid oils, colorants, and essential oils to the dry base. Wearing protective gloves, rub the mixture firmly between your palms to evenly coat the powder grains. Continue until all streaks, specks, and clumps disappear into a uniform tone.
This is the most critical stage. Hold your fine-mist sprayer a short distance above the bowl and apply light, even bursts. Do not soak the mixture; spray once or twice, then immediately toss and blend the powder thoroughly with your hands.
Your target consistency is damp sand: when squeezed tightly in your palm, it should form a solid clump that breaks cleanly with a gentle poke of your finger. The ultra-fine mister allows you to hit this exact hydration sweet spot without triggering a reaction.
Heap the mixture generously into both halves of your metal mold. Bring the two halves directly together and apply firm, direct pressure along the central axis.
Do not twist the mold halves. Press straight down, using your upper body weight to compact the powder tightly. Because the mold is rigid metal, you can apply full pressure without fear of distortion. Brush away excess powder from the seams, tap the outside of the mold lightly with a spoon or your knuckles to release the seal, and slide the mold off smoothly.
Do not leave your newly unmolded bath bombs exposed to open air. Transfer them immediately into your gasket-sealed container lined with silica gel. Seal the lid tightly and let them cure undisturbed for at least 24 hours. The result is a rock-hard, beautifully finished bath bomb ready for packaging.
Here are answers to common misconceptions beginners encounter when upgrading their bath bomb tools:
Honestly speaking, no. No amount of patience or technique can overcome the physical limits of a flexing plastic mold or heavy water droplets from a standard spray bottle. Struggling against low-grade tools wastes both time and costly raw ingredients. Upgrading your key tools is genuinely the fastest, most cost-effective path to better quality.
Silicone molds are great for intricate shapes or novelty character designs, but they fall short when your goal is a rock-hard, durable bath bomb. Because silicone is elastic, it stretches outward under pressure, preventing tight powder compaction. If hardness, durability, and a smooth finish are your priorities, rigid metal press molds are far superior.
Rubbing alcohol (isopropyl alcohol or anhydrous ethanol) is less prone to activating baking soda and citric acid than water, making it a popular binder. However, a coarse spray bottle will still deposit uneven wet patches, leading to patchy oil dispersion and irregular drying. An ultra-fine continuous mister ensures an even mist regardless of the liquid used.
Graduating from starter kits and systematically upgrading your equipment is the secret to elevating your bath bomb creations from homemade experiments to professional-grade art.
Here is a quick recap of the upgrade order:
In the world of craft, quality tools are more than practical equipment—they are reliable partners that turn your creative vision into reality. Upgrading in this specific order will eliminate crafting hurdles, boost your confidence, and make the process vastly more enjoyable.
A quick note for aspiring sellers: Depending on your country or region, selling bath products may be regulated under cosmetics and pharmaceutical safety laws. Be sure to check your local regulations thoroughly before offering bath bombs for sale!
Take that next step in your crafting journey and enjoy the thrill of producing flawless, vibrant bath bombs! If you found this guide helpful, please share it with your fellow makers. Until next time, this is Yassy from Crafters!


For example, if you are looking for articles about mizuhiki, try searching for "mizuhiki"; if you are interested in tools, try keywords like "nippers" or "pliers."
