A Crafter’s Guide to Japanese Pottery Wheels: Types and How to Choose the Right One for You
yassy
Crafters!

Hello everyone, Yassy from Crafters here! (・∀・)
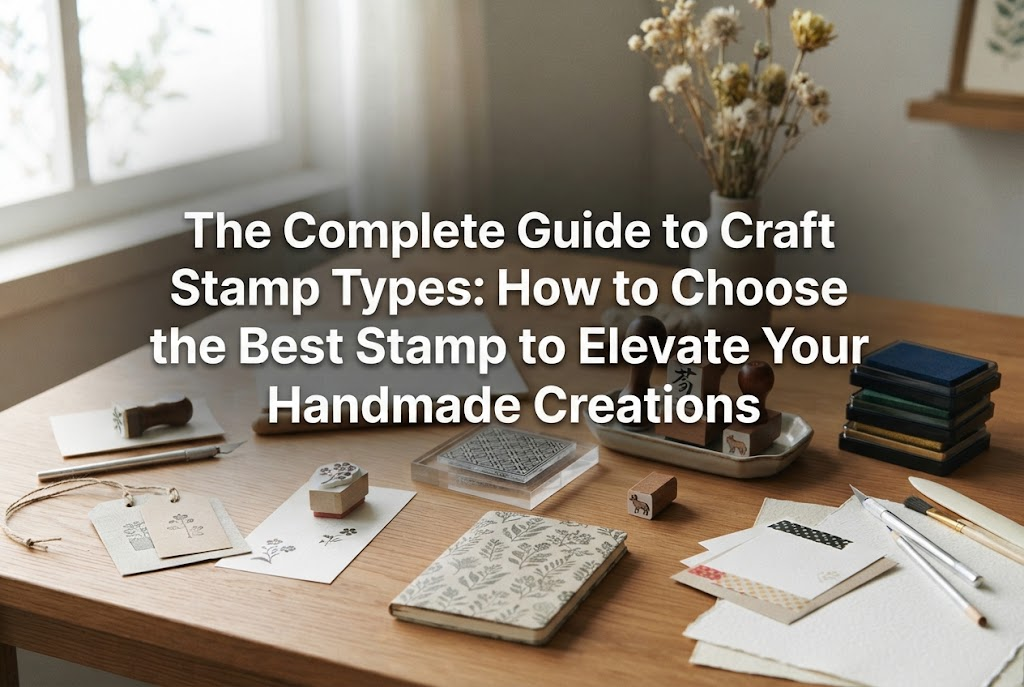
Stamps are an indispensable, multi-talented tool in the handmade world. From adding a simple accent to a piece, to crafting shop cards, customized packaging, tag making for fabric goods, and even texturing clay creations—I find myself reaching for different stamps almost every day in my own workshop. Whenever I spot cute stamps at craft stores or online shops, I cannot resist adding them to my collection!
However, when you start browsing shops or online stores to buy a stamp for your own creations, you quickly discover an overwhelming variety: traditional wooden-handled stamps, flexible clear sheets, soft foam blocks, and more. Many beginners naturally wonder, "Which stamp is best suited for my specific project?" or "How does the stamping feel and usability differ between types?"
Each type of stamp differs completely in structure, material, and ideal application. If you choose a stamp that doesn't match your project goal or target material, you might face common frustrations: misaligned placement, uneven ink coverage, or smudged fine lines. Conversely, once you understand the unique characteristics of each stamp type, the quality of your handmade work will improve dramatically!
In this article, I will break down the primary stamp types used in handmade crafts—covering their construction, pros, cons, and ideal craft scenarios based on my experience and expertise. Beyond just introducing the types, I will also share common beginner pitfalls and actionable tips for integrating stamps into your work. By the end of this guide, you will know exactly which stamp you need. Let's dive in!
Before we explore the specific types, let's look at why stamps are so highly valued in handmade production. The greatest benefit of using stamps is the ability to easily replicate consistent, professional-quality designs as many times as you like.
Delicate illustrations or elegant typography that are difficult to render consistently by hand can be printed in a second if you have the right stamp. Stamps help establish a cohesive brand identity while retaining a warm, hand-crafted aesthetic.
Here are the primary handmade applications where stamps shine:
As you can see, stamps go far beyond simple paper projects. However, depending on the surface material and required design precision, the ideal stamp type changes completely. Let's dissect the main stamp types one by one.
Rubber stamps are the most traditional and widely used stamp type in the craft world. The impression face is made of natural or synthetic rubber mounted onto a wooden or acrylic block handle.
The image surface of a rubber stamp typically uses red rubber (natural rubber) or black rubber (oil-resistant synthetic rubber). Rubber offers high elasticity and durability, holding ink exceptionally well and transferring it evenly onto surfaces.
In many designs, a cushion foam layer is sandwiched between the wooden handle and the rubber die. This cushion evenly distributes stamping pressure, allowing almost anyone to achieve a crisp, clean impression.
I reach for rubber stamps when creating brand logos or main decorative accents on shop cards! Whenever extreme sub-millimeter precision isn't strictly necessary, but I want a rich, flawless impression with a classic feel, rubber stamps are my top choice.
They are also fantastic for stamping onto leather tags or wooden pieces using solvent inks (such as StazOn), where the toughness of rubber really shines. Plus, seeing a row of neatly organized wooden stamp handles in the studio always brings a smile!
In recent years, clear stamps have enjoyed immense popularity among paper crafters, journal enthusiasts, and handmade creators. They are thin, flexible sheets made from transparent silicone or photopolymer resin.
Clear stamps are entirely transparent and naturally tacky on the back. They are not used alone; instead, you peel an individual stamp from its storage sheet, stick it onto a reusable clear acrylic block, apply ink, stamp your surface, and then peel it off to return to storage.
If the stamp loses its stickiness over time, simply washing it with mild soap and water restores its natural cling.
Whenever exact positioning is crucial, clear stamps are an absolute necessity! For example, if I need to fit text neatly inside a pre-printed decorative frame, or layer flower petals and leaves precisely using different ink colors, clear stamps make the process effortless.
If you find yourself constantly struggling with crooked impressions or missed placement, switching to clear stamps will transform your workflow immediately.
When working on fabric projects, large paper goods, or home decor DIYs, foam stamps offer a distinct advantage. They are constructed from high-density EVA foam cut into bold shapes and patterns.
Made from soft, dense foam, the entire stamp body acts as a flexible cushion. Designs tend to be larger, featuring Nordic-inspired geometric motifs, botanical silhouettes, or graphic shapes. The handle is often integrated directly from the foam body, making the stamp light and easy to maneuver.
I love using foam stamps to create custom printed textiles for plain tote bags or drawstring pouches! By dabbing fabric paint onto a foam stamp and stamping repeating motifs across plain fabric, you can easily produce trendy, custom fabric that looks like designer textile yardage.
When adding vintage flair, manufacturing dates, or sequential numbering to your creations, rotary and roller stamps are fantastic tools.
A rotary stamp features a metal or plastic frame with internal rubber band wheels that can be turned manually to change numbers, letters, or preset phrases (like "THANK YOU" or "HANDMADE").
A roller stamp, on the other hand, features a continuous rubber cylinder that rolls across paper or fabric to print seamless, repeating border patterns without breaks.
I frequently use rotary stamps when making product tags, certificates of authenticity, or batch cards! Dialing in a completion date or serial number with a rotary stamp instantly adds an official, elevated feel to handmade items.
For high-volume stamping without the hassle of re-inking on an separate ink pad every time, pre-inked stamps (self-inking stamps) are unmatched efficiency boosters.
Pre-inked stamps feature an internal ink reservoir or micro-porous rubber soaked in ink. Each press automatically releases a controlled amount of ink directly through the stamp face onto paper.
In the handmade community, creators often order custom pre-inked stamps containing their shop logo, return address, or custom thank-you message.
When prepping hundreds of thank-you cards or care instruction sheets after a busy shop update, a pre-inked stamp is a true lifesaver! Instead of spending hours inking and stamping individual cards, you can finish the job in just a few efficient minutes, preserving your time and energy for actual crafting.
Rather than applying ink onto flat surfaces, texture stamps (or mold stamps) are designed to physically emboss or deboss three-dimensional patterns into soft moldable materials.
These stamps are crafted from rigid acrylic resin, deeply carved vulcanized rubber, or firm silicone. The relief patterns are carved much deeper than standard ink stamps, intended to press directly into soft media without ink.
They are widely used with polymer clay, air-dry clay, stone clay, Jesmonite, plaster, and pottery clay.
When crafting clay coasters, trinket dishes, or jewelry pendants, try pressing a detailed lace or botanical texture stamp firmly into the uncured surface. Once the clay is cured, wash a darker acrylic paint into the impressions and wipe the raised surfaces clean. The resulting contrast instantly elevates simple clay into a sophisticated, artisan-quality piece!
Here is a quick overview summarizing the strengths and ideal uses for each stamp type:
To ensure you never waste money on a stamp that doesn't fit your workflow, keep these four essential guidelines in mind when shopping:
Prioritize material compatibility over visual design alone:
If you need to fit text into exact boxes or align repeating motifs perfectly, start with clear stamps. Reducing the frustration of misaligned impressions is key to enjoying your crafting process!
If you have limited desk space, collecting clear stamp sheets that slip neatly into a single binder is the smartest choice. If you have dedicated studio shelving and enjoy displaying tools, classic wooden rubber stamps make a wonderful visual feature.
Ensure your chosen stamp plays well with your favorite inks. Strong solvent inks (like StazOn) work best with resilient rubber stamps, whereas water-based dye or pigment inks pair wonderfully with clear stamps.
Here are three simple yet transformative techniques to try with your stamps:
Instead of pressing your stamp directly onto an ink pad, dab different ink colors onto a small makeup sponge and gently tap the ink onto separate areas of the stamp face. This creates a soft, breathtaking color gradient across a single impression!
If you love an illustration on a stamp but want to leave out an attached text element, cover the unwanted area with masking tape before inking. Inking the whole stamp, peel off the tape, and stamp onto your surface—only the illustration transfers clean!
Immediately after stamping with slow-drying pigment ink, sprinkle clear or metallic embossing powder over the wet impression, tap off the excess, and melt the powder using a heat tool. The design cures into a raised, glossy enamel finish that rivals high-end stationery printing!
Stamps are incredibly versatile allies in the handmade journey. Whether you choose timeless rubber stamps, hyper-precise clear stamps, versatile foam stamps, functional rotary options, high-speed pre-inked models, or dimensional texture stamps—each brings unique strengths to your creative studio.
Focus on matching the stamp type to your target surface and project goals, and you will achieve beautiful, consistent results every time. Start with a small clear stamp set or a favorite rubber stamp, and enjoy the magical moment when your design transfers crisply onto your creation!
If you found this guide helpful, please feel free to share it with your fellow crafting friends. See you in the next article! Happy crafting from Yassy!

For example, if you are looking for articles about mizuhiki, try searching for "mizuhiki"; if you are interested in tools, try keywords like "nippers" or "pliers."
