Japanese Crafter’s Guide to Tatting Lace Thread: How to Choose the Right Size, Fiber, and Twist
yassy
Crafters!

Hello, I'm Yassy from Crafters! (・∀・)
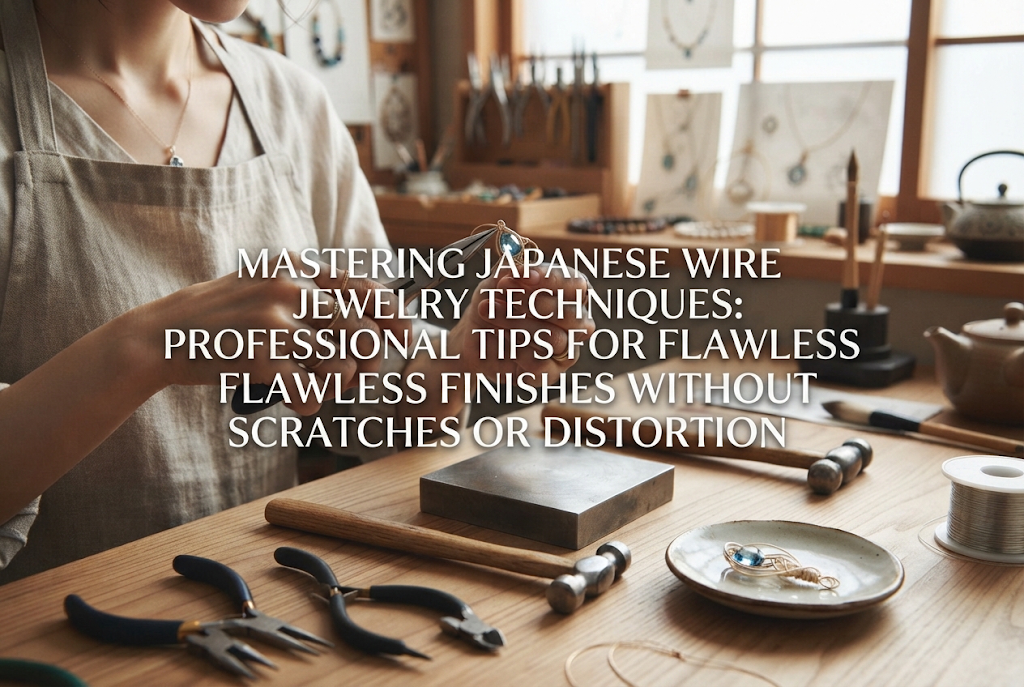
When looking at handmade jewelry, it's hard not to be captivated by pieces featuring beautifully curved wirework or delicate natural stones wrapped in intricate wire frameworks. I absolutely love making wire jewelry myself, and whenever I spot a gorgeous wirework piece at craft shops or artisan markets, I can't help but pick it up!
However, when beginners decide to create their own wire jewelry and head to a craft store or browse online suppliers, they immediately hit a major wall: "There are far too many types of wire, and I have no idea which one to choose!"
Craft shops carry endless rows of wire in different colors, thicknesses, materials, and levels of hardness. If you pick one at random, you risk running into frustrating problems: the wire is too hard to bend with pliers, too soft so the piece loses its shape instantly, too thick to fit through bead holes, or tarnish and flake off after just a few days of wear.
Choosing the right wire doesn't require luck or guesswork. In jewelry making, there are clear, reliable rules for selecting the perfect wire. Once you understand these core rules, even a complete beginner can create stunning pieces exactly as imagined without trial-and-error failures.
In this guide, I will share my full knowledge and practical techniques on wire materials, gauges (thickness), and tempers (hardness), along with specific selection recipes for different types of jewelry. Let's choose the right wire and dramatically elevate the quality of your handcrafted creations!
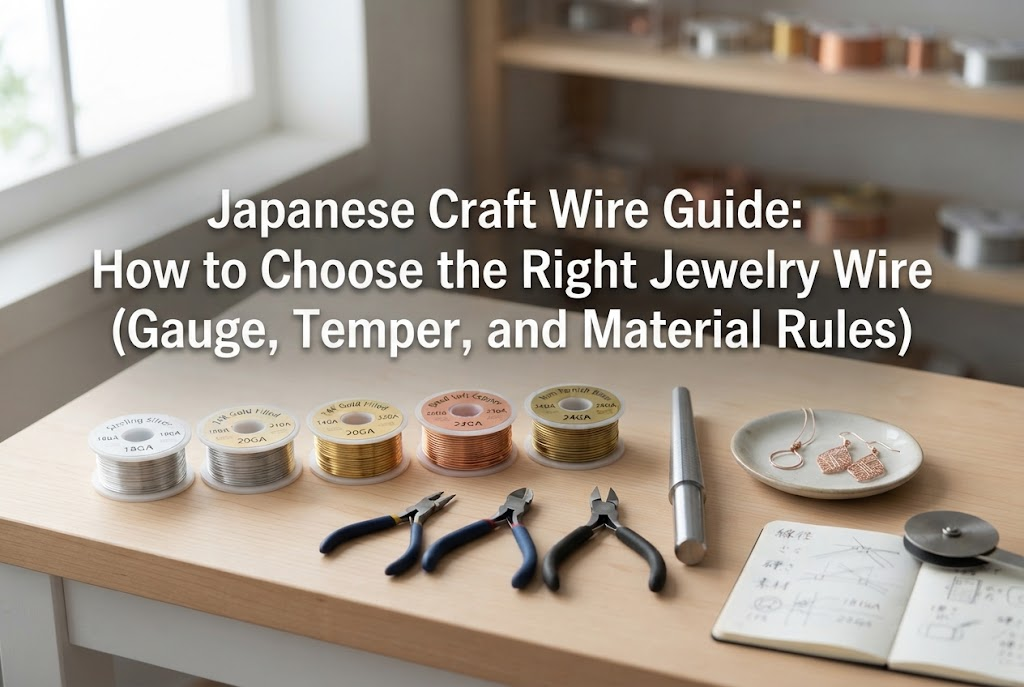
Before buying wire, there is a fundamental structure you need to know. Craft wire for jewelry is defined by a combination of just three core specifications: Material (plating structure), Thickness (gauge/mm), and Hardness (temper). Whenever you buy wire online or at a shop, always verify these three specs.
Many beginners make the mistake of picking wire based solely on color or price. However, no matter how lovely the color or how affordable the spool is, if the thickness and hardness don't match your project, the wire won't function properly as jewelry.
The finished wire jewelry pieces we admire are carefully calculated using these three elements. Let's dive deeper into why this combination matters so much.
Wire serves as both the structural skeleton and the main visual design element of wire jewelry. It plays as central a role as fabric does in sewing, or resin fluid in resin crafts.
When you use the appropriate wire, curves bent with pliers remain smooth, components connect securely, and the finished piece resists deformation even with long-term use. The wire feels smooth to the touch and comfortable against the skin.
On the other hand, using unsuitable wire leads to visible tool marks from pliers, distorted shapes, and ear wires or jump rings that stretch and lose their form over time. Because wire selection directly impacts aesthetics, durability, and safety, compromising on materials is never an option.
The most common misconception among beginners is assuming that "thick wire equals hard wire" and "thin wire equals soft wire." This is a complete myth.
Wire hardness is determined independently of thickness by the metal's heat treatment (annealing state). Even among wires of the exact same 0.6 mm thickness, you can find dead soft wire that bends effortlessly and full hard wire that cannot be bent easily by hand.
If you purchase a thick soft wire assuming it will be sturdy, it may bend out of shape at the slightest pressure. Conversely, if you purchase a thin hard wire assuming it will be easy to handle, it may snap easily and prove very difficult to manipulate. Always treat thickness and hardness as two separate criteria.
The material of your wire determines durability, hypoallergenic properties, and the overall luxurious feel of your finished piece. Here is a breakdown of the primary wire materials used in jewelry crafting, along with their pros and cons.
In wire jewelry craft, the undisputed staple and my top recommendation is Artistic Wire. This high-quality wire features a copper core plated with silver or color coats, sealed with a baked-on clear polyurethane coating (non-tarnish finish).
Its greatest benefit is the perfect balance between tarnish resistance and workability. The polyurethane layer shields the metal from air and skin oils, maintaining its brilliant shine over long periods.
Because the core is supple copper, bending it with pliers is smooth and effortless. It comes in a wide range of colors, including gold, silver, gunmetal, rose gold, and vibrant hues. For beginners, Artistic Wire is the best first choice to stock in your toolkit.
Plain brass or basic copper wire sold cheaply at hardware stores or budget shops is generally not recommended for jewelry making.
Without a specialized non-tarnish coating, these wires oxidize rapidly upon exposure to air. Even if the finished piece looks bright at first, it will darken or develop green patina (verdigris) within weeks or months, ruining the artwork.
Furthermore, simple plating easily rubs or peels off when gripped with pliers, exposing the base metal beneath. Unless you are using it purely for rough practice, avoid raw or non-coated wire for pieces intended for sale or gifting.
Stainless steel wire is extremely tough and rust-resistant. However, because it is so rigid, it is ill-suited for delicate shaping with hand tools. It is primarily used for structural components where high strength is required.
On the other hand, nylon-coated wire consists of several thin stainless steel strands twisted together and coated in smooth nylon resin. This type is not meant to be shaped with pliers; rather, it functions as an ultra-strong thread for stringing beads.
When making necklaces or bracelets with heavy natural stones or large bead sequences, using nylon-coated wire secured with crimp beads is the standard practice. Keep in mind that stringing wire serves a completely different purpose from shaping wire.
When you want to step up to fine jewelry crafting, precious metal wires such as 14K Gold-Filled (14KGF) and Sterling Silver (SV925) are the ideal choices.
14KGF wire features a solid layer of 14K gold (at least 1/20th of the total weight) mechanically bonded to a brass core under heat and pressure. Unlike standard gold flash plating, this layer is significantly thicker, meaning it won't rub off easily and is far less likely to trigger metal allergies.
The texture and radiance match genuine gold and silver, making it essential when creating high-end natural stone jewelry. However, given its higher price point, it is best introduced once you feel confident in your wire-handling skills to avoid costly mistakes.
Aluminum wire is exceptionally light and soft, making even thicker diameters easy to bend by hand. However, it lacks the structural integrity needed for fine jewelry.
Because it deforms easily under light pressure, it should never be used for ear wires, rings, or load-bearing connection points. Reserve aluminum wire for large decorative sculptures, hairpiece bases, or projects where no direct weight or tension is applied.
One of the biggest hurdles for beginners is wire thickness notation. Depending on the manufacturer or supplier, wire sizes are listed in millimeters (mm), Gauge (GA), or AWG (American Wire Gauge).
Understanding these notations and converting between them easily is your first real step toward mastering wire craft.
Gauge (GA / AWG) is the standard wire measurement widely used in North America and internationally. There is one crucial rule you must memorize:
The larger the Gauge (GA) number, the thinner the wire.
While millimeter measurements increase as the wire gets thicker, gauge numbers work in reverse. Confusing this rule might lead you to order ultra-thin wire when you actually needed a sturdy, thick strand!
Here is a reference list of common wire gauges used in jewelry making:
Each thickness range has specific strengths and applications where it excels—and places where it should never be used. Here are the practical selection criteria I use in my own workshop:
Once you've chosen the material and thickness, you need to select the right hardness (temper). Overseas suppliers and specialized craft stores label temper in English terms. Getting this wrong can make crafting surprisingly difficult!
Soft or "Dead Soft" wire has been fully annealed, making it pliable and easy to bend with fingers or hand tools.
Because it bends smoothly without requiring heavy force, soft wire is perfect for intricate wire wrapping, detailed weaving, and overlapping designs.
However, extreme flexibility also means it deforms under pressure. If you make ear wires or ring bands entirely from soft wire, they will bend out of shape with a light squeeze. Always use soft wire in supported structures or strictly for wrapping work.
If there is one temper I recommend above all others—and use in over 80% of my own work—it is Half Hard wire.
It retains enough flexibility to be shaped cleanly, yet possesses a spring-like resilience that holds its form firmly once bent into shape with pliers.
For ear wires, ear cuffs, custom jump rings, wrapped loop hooks, and ring shanks—any part that must resist bending during wear—Half Hard is the definitive choice. If a beginner feels their finished pieces look flimsy or cheap, 90% of the time it's because they used soft wire instead of half hard. Switching to half hard instantly upgrades structural durability.
Full Hard (or Hard) wire offers maximum structural rigidity with zero spring or stretch.
It is extremely tough, making it almost impossible to bend with finger pressure alone; robust tools and firm hand pressure are required. While difficult to manipulate, the resulting components are exceptionally sturdy.
Hard wire is used for straight brooch pins, large rigid bangles, or heavy-duty main frames supporting heavy charms. Because it requires advanced tool handling, beginners should master Half Hard wire before moving on to Full Hard.
To put all this knowledge into practice, here are specific, proven "wire recipes" for popular jewelry projects. Follow these recipes when ordering your supplies!
The go-to setup for connecting beads or natural stones into dangles, necklaces, and earrings.
This setup produces clean, symmetrical wire loops that won't distort when pulled against neighboring components. When making custom headpins or eyepins, using 0.6 mm Half Hard wire yields findings stronger than many commercial off-the-shelf options.
The definitive formula for securing non-drilled cabochons or tumbled stones into pendant tops.
In wire wrapping, combining two different gauges and tempers is standard practice among experienced artisans. You build a strong outer frame using thick, sturdy 0.8 mm Half Hard wire, then bind the frame and stone together using thin, pliable 0.3 mm Soft wire. Trying to make the entire piece with a single wire spec usually results in either a loose stone or a clumsy design.
The ideal setup for functional findings that touch the skin and face constant wear-and-tear.
Never use soft wire for structural findings! Using 0.8 mm Half Hard wire ensures comfortable insertion while offering enough spring resistance to prevent distortion during daily wear. Always use a wire rounder or cup burr to smooth the wire tips so they don't scratch the skin.
The formula for stitching or crocheting wire with a hook like thread.
Weaving techniques require wire that flexes without kinking or fatigue. Ultra-thin soft wire glides over crochet hooks just like textile thread. Attempting wire crochet with thicker or harder wire will create harsh, angular stitches and strain both your hands and tools.
Even with the best materials, poor handling technique can ruin a piece. Here are professional tool and maintenance tips to keep your wire pristine.
When working with coated wires like Artistic Wire, your biggest enemy is scratch marks from pliers. If you grip the wire tightly with bare metal tool jaws, you risk tearing the polyurethane coat and peeling the underlying finish.
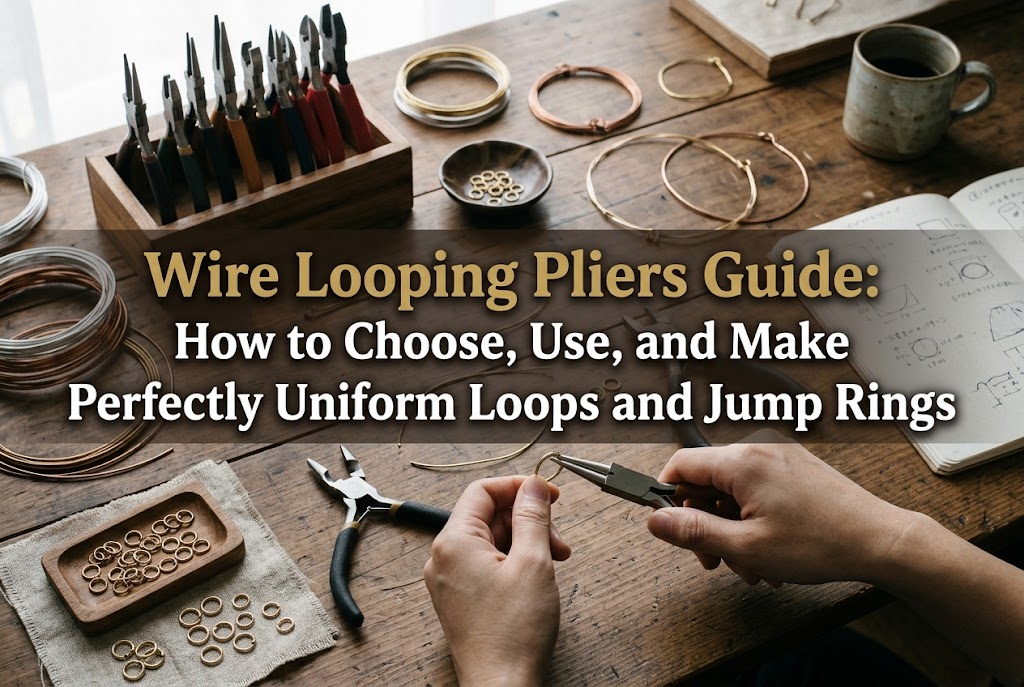
The golden rule is to use smooth-jaw flat-nose and round-nose pliers without serrations (teeth).
Standard household pliers from a general hardware store have serrated jaws designed for grip, which will mar craft wire instantly. Always choose jewelry-specific pliers with smooth, flat inner surfaces.
For extra protection, wrap masking tape around the plier tips, or use nylon-jaw pliers equipped with replaceable nylon covers. This ensures zero scratches on your coated wire.
The quality of your wire cutters (nippers) matters greatly. Cutting thick wire with dull blades crushes the wire tip into a flared wedge shape that won't pass through bead holes easily.
Always use flush cutters or micro-shear cutters designed for jewelry making, which produce flat, straight end cuts.
When cutting, face the flat back side of the flush cutter toward the wire segment you intend to keep. This simple habit produces a flush, flat wire tip that butt-joins flush against other components without unsightly gaps.
No matter how high the quality of a non-tarnish coating is, poor storage will shorten its lifespan. Wire's primary enemies are moisture, skin oils, and direct sunlight.
Avoid leaving wire spools sitting out uncovered on your workbench. Store them inside airtight ziplock bags containing silica gel desiccant packs.
Additionally, during fabrication, oils and sweat from your hands transfer onto the wire surface. Once a piece is finished, wipe it down gently with a soft micro-fiber cloth (like an eyeglass cleaning cloth) before wearing or packaging. This simple routine preserves the wire's brilliance for years to come.
We've covered the complete rulebook for selecting craft wire for jewelry making!
Whenever you feel unsure, start with Artistic Wire, and pair the thickness (gauge) and temper (hardness) to your specific project needs. As long as you follow these core fundamentals, you won't make mistakes.
Let's do a quick final review of the key rules:
Jewelry created with carefully selected materials and thoughtful technique carries a refined beauty and warmth that mass-produced items simply cannot match. Enjoy the tactile feel of wire shaping beneath your fingers, and have fun bringing your unique designs to life!
If you found this guide helpful, please share it with your fellow crafter friends on social media or messaging apps—it truly means the world to me and keeps me motivated!
Until next time, happy crafting! This was Yassy from Crafters!

For example, if you are looking for articles about mizuhiki, try searching for "mizuhiki"; if you are interested in tools, try keywords like "nippers" or "pliers."
