Wool, Cotton, or Acrylic? A Japanese Crafter’s Guide to Choosing the Right Yarn
yassy
Crafters!

Hello, everyone! It’s Yassy from Crafters! (・∀・)
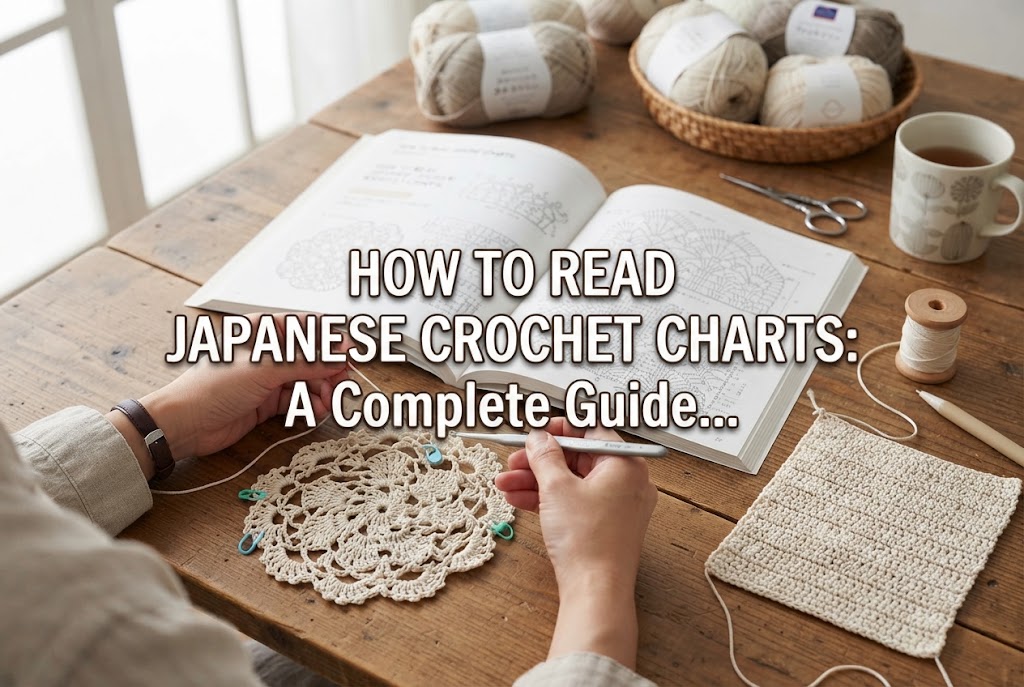
When first getting into crochet, one of the biggest initial hurdles many people face is the crochet chart (also commonly known as a stitch diagram). Looking at a sheet filled with circles, crosses, and T-shaped symbols, it is completely natural to feel intimidated and wonder, “Where do I even begin reading this?” or “How am I supposed to remember all these symbols?”
However, once you learn the fundamental rules, a crochet chart becomes like a magical map that allows you to create projects from anywhere in the world. Instead of wading through dense written patterns, a visual chart lets you intuitively understand exactly where to insert your hook and how the stitches connect.
In this guide, I will walk you through how to read crochet stitch charts thoroughly from the ground up. From deciphering basic symbols to following the reading directions for flat and circular pieces—plus mastering the tricky rules of turning chains that trip up so many beginners—let’s get you confident with visual patterns!
To read a crochet chart, the first step is to grasp the direction in which your eyes should move. In crochet, the path your eyes follow across the chart corresponds directly to the physical movement of your hands while working the stitches.
For right-handed crocheters, the hook is held in the right hand, the yarn is tensioned in the left, and stitches progress from right to left. Consequently, you will generally read a crochet chart from right to left as well. The exact reading flow depends on whether you are working flat in rows or in the round, so let’s look at both rules closely.
Flat crocheting (back-and-forth rows) is used for rectangular items like scarves, blankets, and coasters. In a flat crochet diagram, you read from the bottom upward, one row at a time.
You begin at the very bottom with the foundation chain. From there, the direction you read alternates between odd-numbered rows (Row 1, Row 3, Row 5…) and even-numbered rows (Row 2, Row 4, Row 6…).
The reason you read even-numbered rows from left to right is because you physically flip your fabric over at the end of Row 1 to work the wrong side. Flipping the piece reverses the direction of your work, so your eyes must follow along in a zigzag path across the chart.
Take a close look at the row numbers printed along the edges of the chart. If the number “1” is placed on the right side, start reading Row 1 from right to left. If the number “2” is printed on the left side, that signals you to read Row 2 from left to right. Remembering to always start reading from the side where the row number sits will keep you from ever losing your way.
Working in the round is used for doilies, beanies, amigurumi, and circular coasters. A round chart starts at the center ring (a magic ring or a ring of chain stitches) and expands outward either in a continuous spiral or in concentric rounds.
Your eyes start at the center and track counterclockwise (to the left). Because you work around the piece continuously facing the right side without turning the fabric, you read every single round in a counterclockwise direction.
At the end of each joined round, you will typically find a slip stitch symbol connecting to the start, followed by turning or “standing” chain stitches leading up into the next round. Think of it as ascending a spiral staircase, one level at a time, moving outward from the core.
The symbols used in crochet charts are designed to mimic the actual physical shape of the completed stitches. Because each graphic is directly tied to the construction of the stitch, understanding the system makes them easy to remember.
Take a close look at how the symbols are structured. A half double crochet is represented by a simple T-shape. When a diagonal slash is added across the vertical bar, it becomes a double crochet. When two diagonal slashes are added, it becomes a treble (triple) crochet. These slashes indicate the number of yarn overs you make around your hook before inserting it into the stitch.
A double crochet requires one yarn over, so it has one slash; a treble crochet requires two yarn overs, so it has two slashes. The anatomy of the symbol illustrates the mechanical steps of the stitch itself, so paying attention to the number of bars ensures you will never mistake one for another.
Increases and decreases are used to shape your work by making it wider or narrower. Because their symbols can look somewhat similar, beginners often mix them up. You can distinguish them instantly simply by observing which end branches out.
An increase symbol resembles the letter “V”. The bottom stem (where the hook enters) converges into a single point, while the top branches into two or more stitches.
This indicates that you insert your hook twice into the same stitch from the previous row to produce two new stitches. Visually, you can see two stitches emerging from a single foundation point. Whenever you spot a symbol branching upward from a single base, remember to work multiple stitches into that same single stitch.
A decrease symbol looks like an inverted “V” or a mountain peak (similar to the Japanese kanji character 人). The base spreads across two separate stitches below, while the top unites into a single point.
This illustrates working two stitches halfway through and then pulling the final loop through both to merge them into one top loop. Whenever you see two stems joined together at the apex, it means you are combining two stitches into one.
Among all the elements in a crochet chart, handling the “turning chain” (known as tachiagari no kusari-me in Japanese patterns) is where many crafters hit a wall, resulting in uneven stitch counts or skewed edges.
A turning chain consists of chain stitches worked at the beginning of a row or round to bring the working yarn up to the correct height for that particular stitch type. Since different stitches vary in height, the required number of turning chains varies accordingly.
Here is where things get tricky: whether a turning chain counts as an actual stitch depends entirely on the type of stitch being worked. Overlooking this rule will cause your stitch count to creep up or down on every pass, warping your project.
When working single crochet, the single chain stitch used to turn does not count as a stitch. It serves merely as a temporary riser to reach the proper height.
Therefore, you work your very first single crochet directly into the base stitch right beneath that turning chain (the first stitch of the previous row). When counting your stitches at the end of the row, exclude the turning chain and count only the V-shaped tops of the single crochet stitches.
Conversely, for double crochet (as well as half double and treble crochet in most conventional systems), the turning chain (typically three chains for double crochet) is counted as the first stitch of the row.
Because the turning chain already stands in as your first double crochet, you must skip the very first base stitch beneath it and work your first “true” double crochet into the top of the second stitch from the previous row. If you accidentally work a double crochet into the base stitch at the very foot of your turning chain, you will unintentionally add an extra stitch, causing your fabric’s edge to flare and ripple.
When reading a double crochet row, always remind yourself: “The turning chain of three counts as the first double crochet.”
Even once you know the rules, it is easy to lose your place or realize your stitch count is off halfway through a piece. Here are the practical preparation techniques I personally rely on when working from charts to keep mistakes at zero.
I do not recommend crocheting while staring directly at a book or a smartphone screen. Books tend to snap shut unexpectedly, and phone screens go to sleep or display diagrams too small to see subtle details, making missed stitches far more likely.
I always make an enlarged photocopy of my chart on letter or tabloid-sized paper (A4 or A3) and keep it flat beside my hands. Seeing the diagram in large print makes the connections between stitches crystal clear and prevents misreading.
Because flat crochet rows alternate between reading from the right and reading from the left, it is easy to get mixed up about which direction you should be moving.
Before crocheting, take highlighters and mark your chart. For example, highlight all odd-numbered rows (read right to left) in pink and all even-numbered rows (read left to right) in yellow. Having this visual cue eliminates the risk of reading a row in reverse.
Losing track of your current row is an all-too-familiar crocheting dilemma. To prevent this, place a sticky note over the rows you have already completed, sliding the edge upward so only your active row remains visible.
Alternatively, place a small pencil checkmark next to each row as soon as you finish it. It is a simple, analog habit, but it is by far the most foolproof way to avoid getting lost.
If you feel you have been following the chart to the letter but end up with too many or too few stitches at the end of a round, the culprit is almost always one of the following three issues.
In circular crochet, the slip stitch that joins the end of a round and the tight base of the turning chain can pull tight and mimic a standard stitch loop.
If you mistakenly insert your hook into these tight connection points, your stitch count will grow on every single round. The slip stitch is merely a seam, not an actual stitch to be worked into. Examine your chart closely to see which stitch head from the previous round the symbol is actually anchored to.
Crochet charts indicate where your hook should be inserted by how the symbols overlap.
When a stitch symbol is drawn spanning fully over or wrapping around a previous chain symbol, it means you should work “into the space” (often described in Japanese charts as soku ni hirou, or picking up the bundle). This instructs you to insert your hook into the large opening underneath the chain arch rather than into the strand itself.
Conversely, if the base tip of a stitch symbol touches an exact line of a chain, it indicates that you should pierce the specific one or two loops of that chain stitch. Mixing these two methods up will dramatically alter the openwork drape and structural tension compared to the sample photo.
Charts frequently incorporate shorthand notations to simplify repeating stitch combinations, such as “×5” or brackets indicating “repeat between [ ]”.
Missing a multiplier in the margin or misjudging the boundary of a repeating bracket will quickly throw off your stitch counts. Before making your first loop, take a moment to scan the outer margins and read any notes accompanying the chart.
At first glance, crochet charts may look like complicated hieroglyphs. But once you understand the basic directions of eye movement and a handful of stitch symbols, anyone can read them with ease.
Knowing whether to read back and forth or counterclockwise, understanding that the symbols reflect the physical anatomy of the stitches, and respecting the turning chain rules will make chart-reading an enjoyable, empowering skill. Grab a printed diagram, highlight your rows, and dive into your next project with total confidence!
If you found this guide helpful, please share it with your crafty friends on social media—it means the world to me!
Until next time, happy crafting! This was Yassy from Crafters!

For example, if you are looking for articles about mizuhiki, try searching for "mizuhiki"; if you are interested in tools, try keywords like "nippers" or "pliers."
