Japanese Craft Guide: Pigment Ink vs. Dye Ink – The Ultimate Selection Rules for Durability and Vibrancy
yassy
Crafters!

Hello everyone, Yassy from Crafters here! (・∀・)
Are you interested in "digital and print crafts"—creating designs on your PC or smartphone and printing them onto paper or stickers to make handmade goods—but feeling stuck on where to begin?
It’s completely normal to feel overwhelmed when you open a design app, get confused by canvas size options, or worry that your printed colors won't turn out the way you expected.
In this article, I will explain the absolute best project for digital print beginners to start with, along with step-by-step instructions so you can avoid failure. Drawing from my own experiences and past mistakes, I'll guide you through making your very first project a success. Let’s take that first step together!
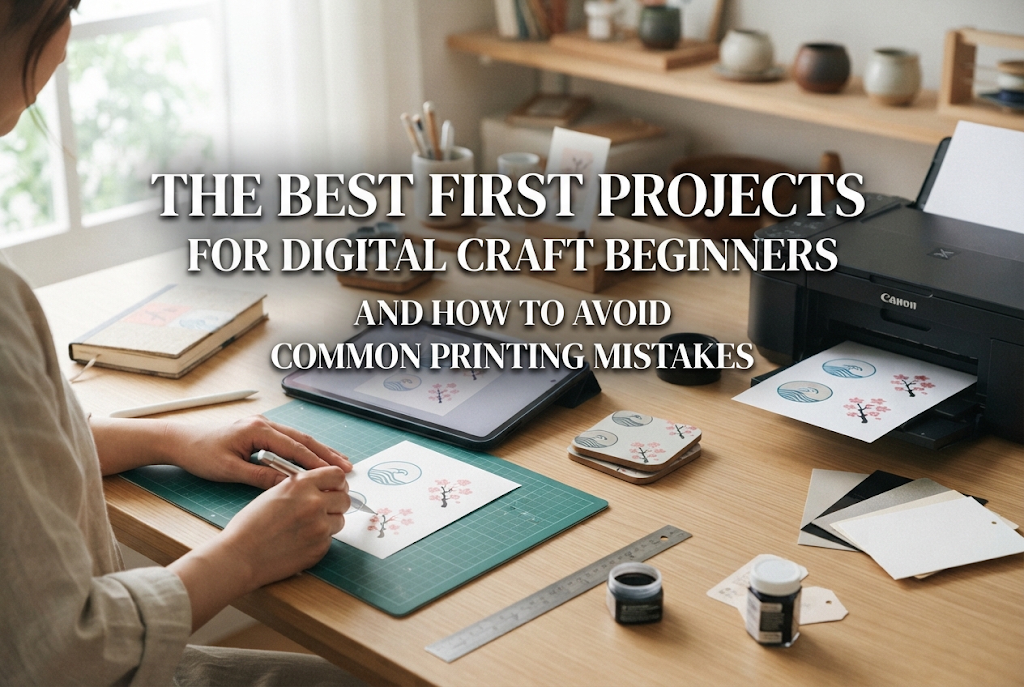
As your landmark first digital print creation, I overwhelmingly recommend making Thank You Cards or Shop Cards.
Cards expressing gratitude to include when shipping your handmade creations, or cards introducing your brand, have a small, simple structure, making them perfect for beginner practice.
There are three clear reasons why thank you cards are the ideal first project:
If you try to tackle large posters, complex packaging boxes, or multi-page booklets right away, you will likely get frustrated adjusting layout alignments and printer settings.
Starting with small, practical thank you cards is the fastest path to success because it helps you get used to how printing works and how to handle paper.
Once you’ve tackled thank you cards, the next item I recommend making is Custom Stickers.
You can create these simply by printing your own illustrations or favorite text onto sticker paper and cutting them out with scissors or a utility knife. They are extremely fun to make and use—you can stick them on packaging as a seal or include them as free extras for your customers.
Making stickers naturally helps you master essential digital crafting skills, such as how to make backgrounds transparent and how to lay out designs with cut lines in mind.
Once you can make both shop cards and custom stickers, you'll have mastered almost all the foundational knowledge required for digital print crafting!
Next, let's talk about the troubles beginners almost always face during the design process, along with their solutions. Knowing these in advance will drastically reduce wasted materials and unnecessary mistakes.
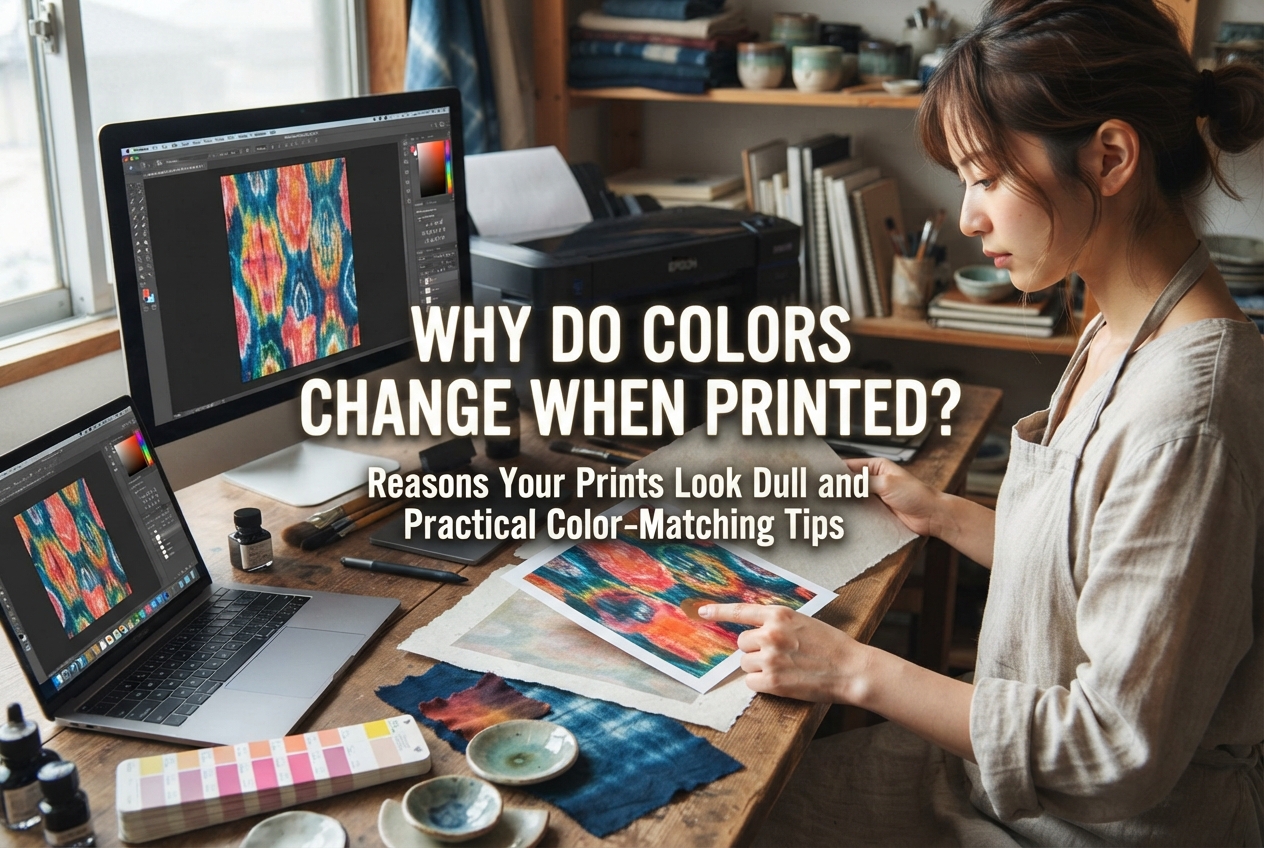
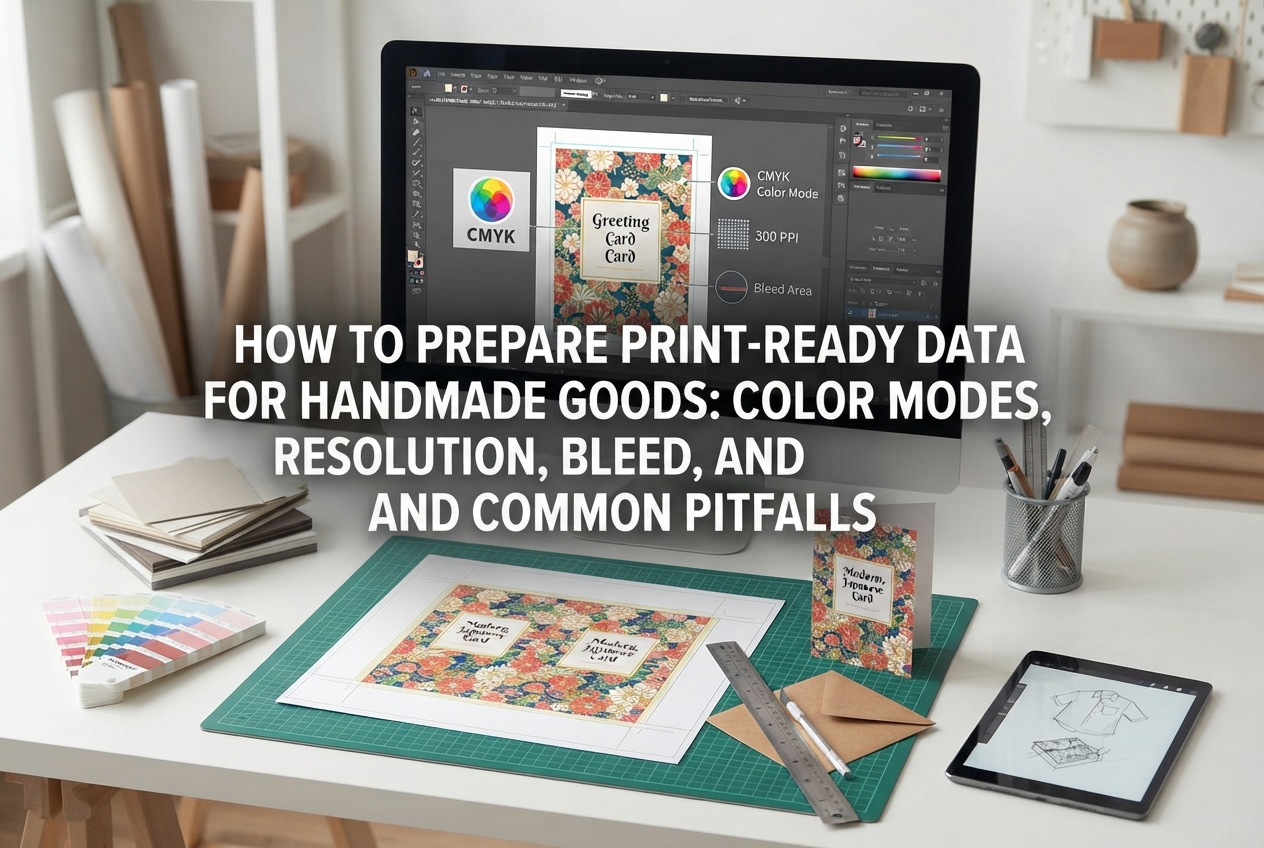
A very common experience is designing a bright, beautiful pink on a smartphone or PC screen, only to have it print out looking dull and dark. This happens because the principles behind screen color display and printer color reproduction are completely different.
Even if you use vivid neon or pastel shades on screen, ink cannot fully reproduce those exact vibrant tones. As a countermeasure, get into the habit of creating your files in "CMYK mode" from the start, or check the design using a "CMYK preview" before printing.
Also, because printed paper tends to look slightly darker than on-screen displays, my personal tip is to set your background and text colors just a little bit brighter than you think they need to be.
If you print an image downloaded from the internet or an illustration designed at a small size onto a card, the edges may appear jagged or blurry. The cause of this is low resolution (dpi).
An image that looks crisp on a smartphone screen (around 72 dpi to 150 dpi) requires a resolution of 300 dpi to 350 dpi to produce crisp, clean lines when printed on paper.
When creating a new digital canvas, always specify the size in millimeters (for example, 91mm × 55mm for a standard Japanese business card size) and set the resolution to 350 dpi before you start drawing or designing.
If you extend a background color all the way to the edge of your design canvas or place text right at the border, slight shifts when cutting with scissors or feeding paper through a printer can cause unwanted white borders or cut-off text.
To prevent this, remember the concept of "Bleed."
Draw your background image about 3mm larger on all sides than the finished size. Meanwhile, place important text and main illustrations at least 3mm inside the final trim line. Having this few millimeters of margin makes a world of difference in the professional quality of your final cut card.
If you print on heavy craft paper or glossy sticker sheets while your printer driver settings are left on "Plain Paper," too much ink will be sprayed. The ink won't dry properly and will smudge into a messy smear when touched.
In the print dialog window before clicking print, make sure to select the correct paper type (such as Glossy Paper, Heavyweight Paper, Matte Paper, etc.). This controls the ink output volume appropriately, giving you beautiful, clean prints without smudges.
Let's go over the actual steps and tools needed to make your own thank you cards.
For paper thickness, aim for around 0.2mm to 0.25mm (200 gsm or higher). This gives your card a firm, premium feel. Plain paper is too thin and can feel cheap, so pay close attention to paper thickness! Look for business card stock or heavyweight craft paper at craft supply stores or online.
Here are the steps I follow when creating card designs:
Step 1: Canvas SetupCreate a canvas sized 97mm × 61mm (which includes a 3mm bleed around the 91mm × 55mm base size) set to 350 dpi.
Step 2: Place Text and LogosPlace your main message, "Thank you," slightly above the center. Choose 1 or 2 font styles that match your branding—such as a handwritten font or an elegant serif. The secret to avoiding an amateur look is not mixing too many different fonts.
Step 3: Keep White Space in MindLeave plenty of margin space around the top, bottom, and sides of the card. Instead of crowding text and illustrations tightly together, deliberately leaving empty space creates a refined, sophisticated look.
Step 4: Test Print and CheckBefore printing on expensive heavy cardstock, print a test draft on standard printer paper. Hold it in your hand to check the text size, readability, and overall balance. The feel of a design on a screen is very different from holding it in your hands, so never skip this test print!
Step 5: Final Print and CutPrint your final design onto cardstock and wait for the ink to dry completely before cutting. If you use a ruler and craft knife, a transparent ruler with a metal edge guide will prevent the blade from slipping, allowing you to cut perfectly straight lines.
Many crafters wonder whether they should print at home or order through an online printing company. Both options have pros and cons, so the best approach depends on your situation.
The biggest advantage of a home printer is that you can print a single sheet immediately. If you want to tweak your design, you can fix it right away and reprint only what you need, when you need it.
On the flip side, ink costs can add up, borderless printing may shift slightly, and cutting large quantities by hand takes a lot of time and effort.
The main appeal of commercial online printing is the stunning finish quality and affordability. Printed on professional machinery and cut precisely, your cards arrive with shop-ready quality instantly. For bulk orders (like 100 cards or more), it is much cheaper than printing and cutting them yourself.
The downsides are that it takes a few days for delivery, and small orders of just a few cards carry a high cost per piece.
Here is my smart workflow strategy:
For initial prototypes or until a design is finalized, print and test at home. Once you decide "This design is final!" and need 100+ cards for an event or sales packaging, submit your file to an online printing service for bulk ordering.
This approach minimizes effort, avoids costly ordering mistakes, and keeps expenses as low as possible.
In this guide, I covered Thank You Cards and Custom Stickers as the best entry projects for digital printing beginners, along with foundational tips to avoid common mistakes.
Digital printing might feel intimidating at first due to technical terms like resolution and color modes. However, once you experience the excitement of seeing your digital design turned into a real, beautiful paper product in your hands, you’ll definitely fall in love with digital crafting!
Don't be afraid to make mistakes—open a business-card-sized canvas on your PC or smartphone, type out a simple "Thank you," and take that first step today!
I sincerely hope your handmade crafting journey becomes even more fun and rewarding!
If you enjoyed this article, I’d be so grateful if you shared it with your friends on social media or messaging apps!
Until next time—this was Yassy from Crafters!

For example, if you are looking for articles about mizuhiki, try searching for "mizuhiki"; if you are interested in tools, try keywords like "nippers" or "pliers."
